- Summertime is Summer Tire Check Time: 7 Tips To Combat 11,000+ Tire-Related Accidents Annually — and Keep Tires Rolling for Longer
- 10 DIY Tips to Add Years to a Vehicle’s Life & Minimize Expensive Repairs
- Defensive Driving Tips to Avoid Costly Repairs As Wintery Driving Conditions Continue to Plague Roads
- AutoPartsWarehouse.com 2013 Child Passenger Safety Tips and Resource Guide
- Top Five Parts to Make Your Vehicle More Fuel Efficient
Review: RBP Running Boards
- 2013 Ram 2500 Laramie 4×4
- 2” Pro Comp leveling kit
- 20” XD HOSS Wheels & 305/55 R20 Nitto Tires
- AIR LIFT Load Lifter 5000
- Rancho RS9000XL’s
After owning this truck for one year I decided to add running boards to make my life a little easier. The 4×4 Ram truck has a nice ride height with good ground clearance but that made it a challenge for my wife and kids to get in. After researching my options on AutoPartsWarehouse.com I decided on the RBP RBPD09107CC-RX3 Nerf Bars in Black. The parts arrived within a few days, the box was much larger and heavier than I expected! When I opened the box I was more than pleased with the look of the running boards and couldn’t wait to get them on.
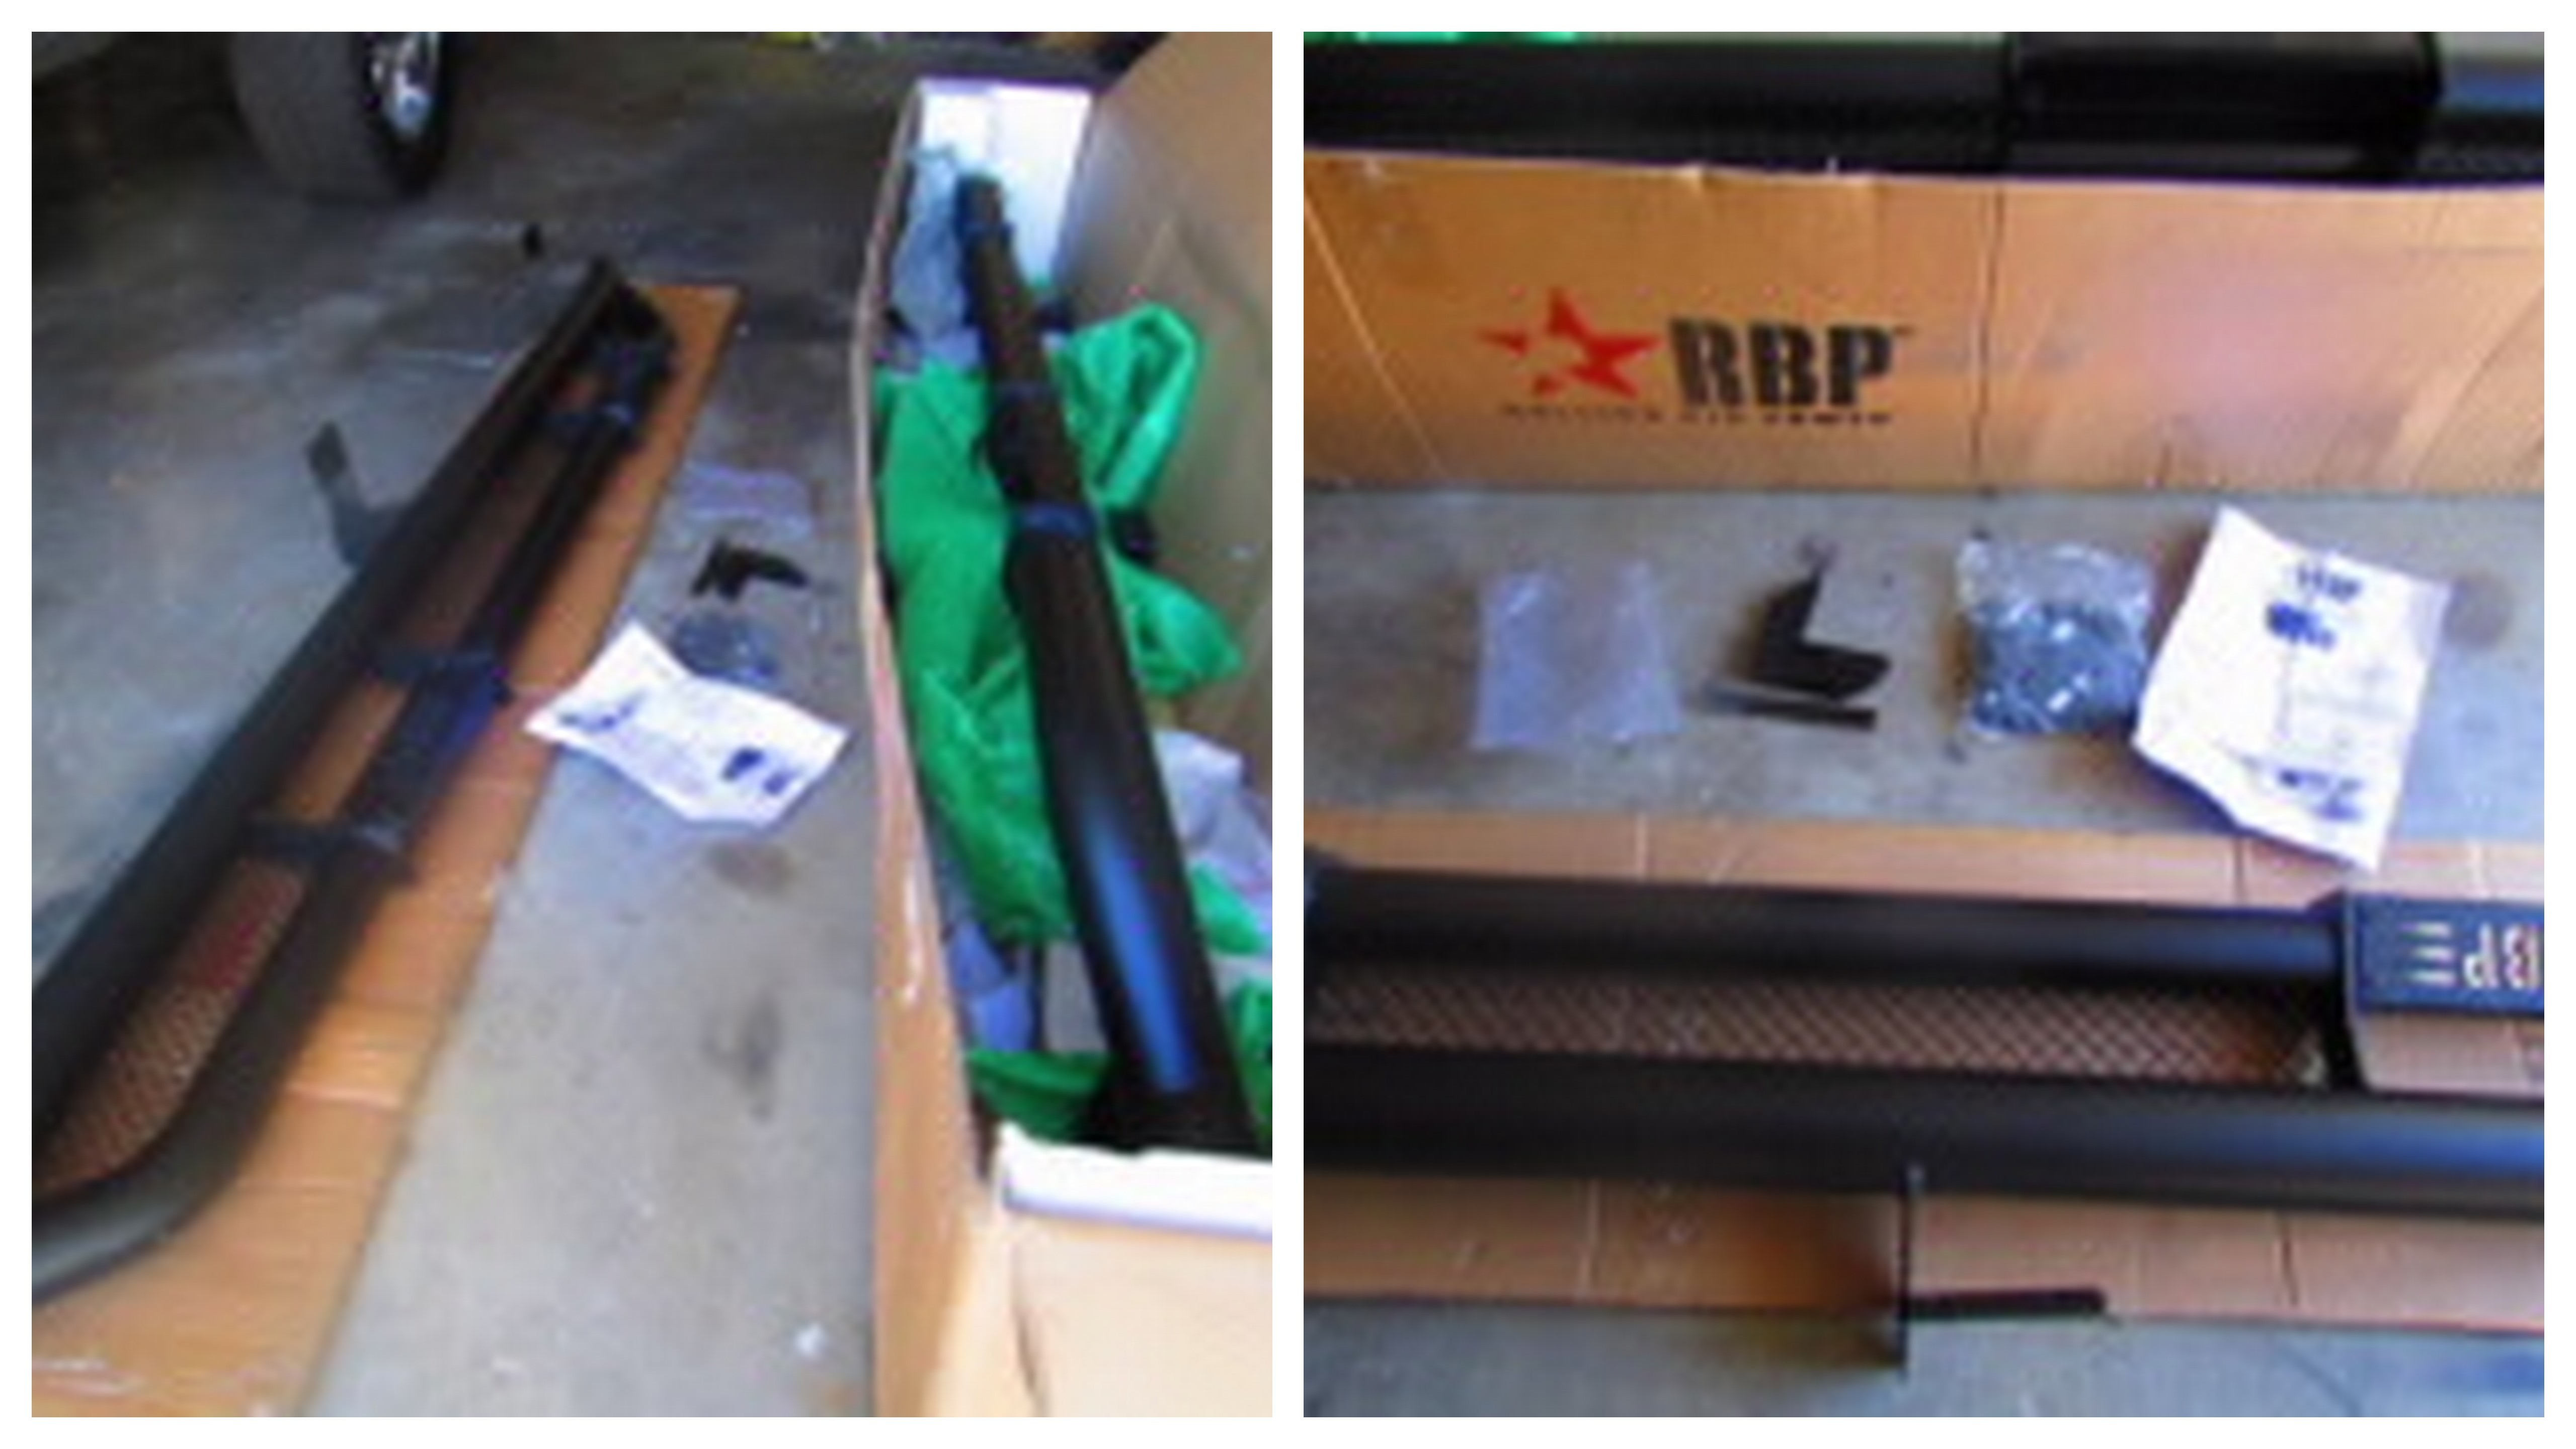
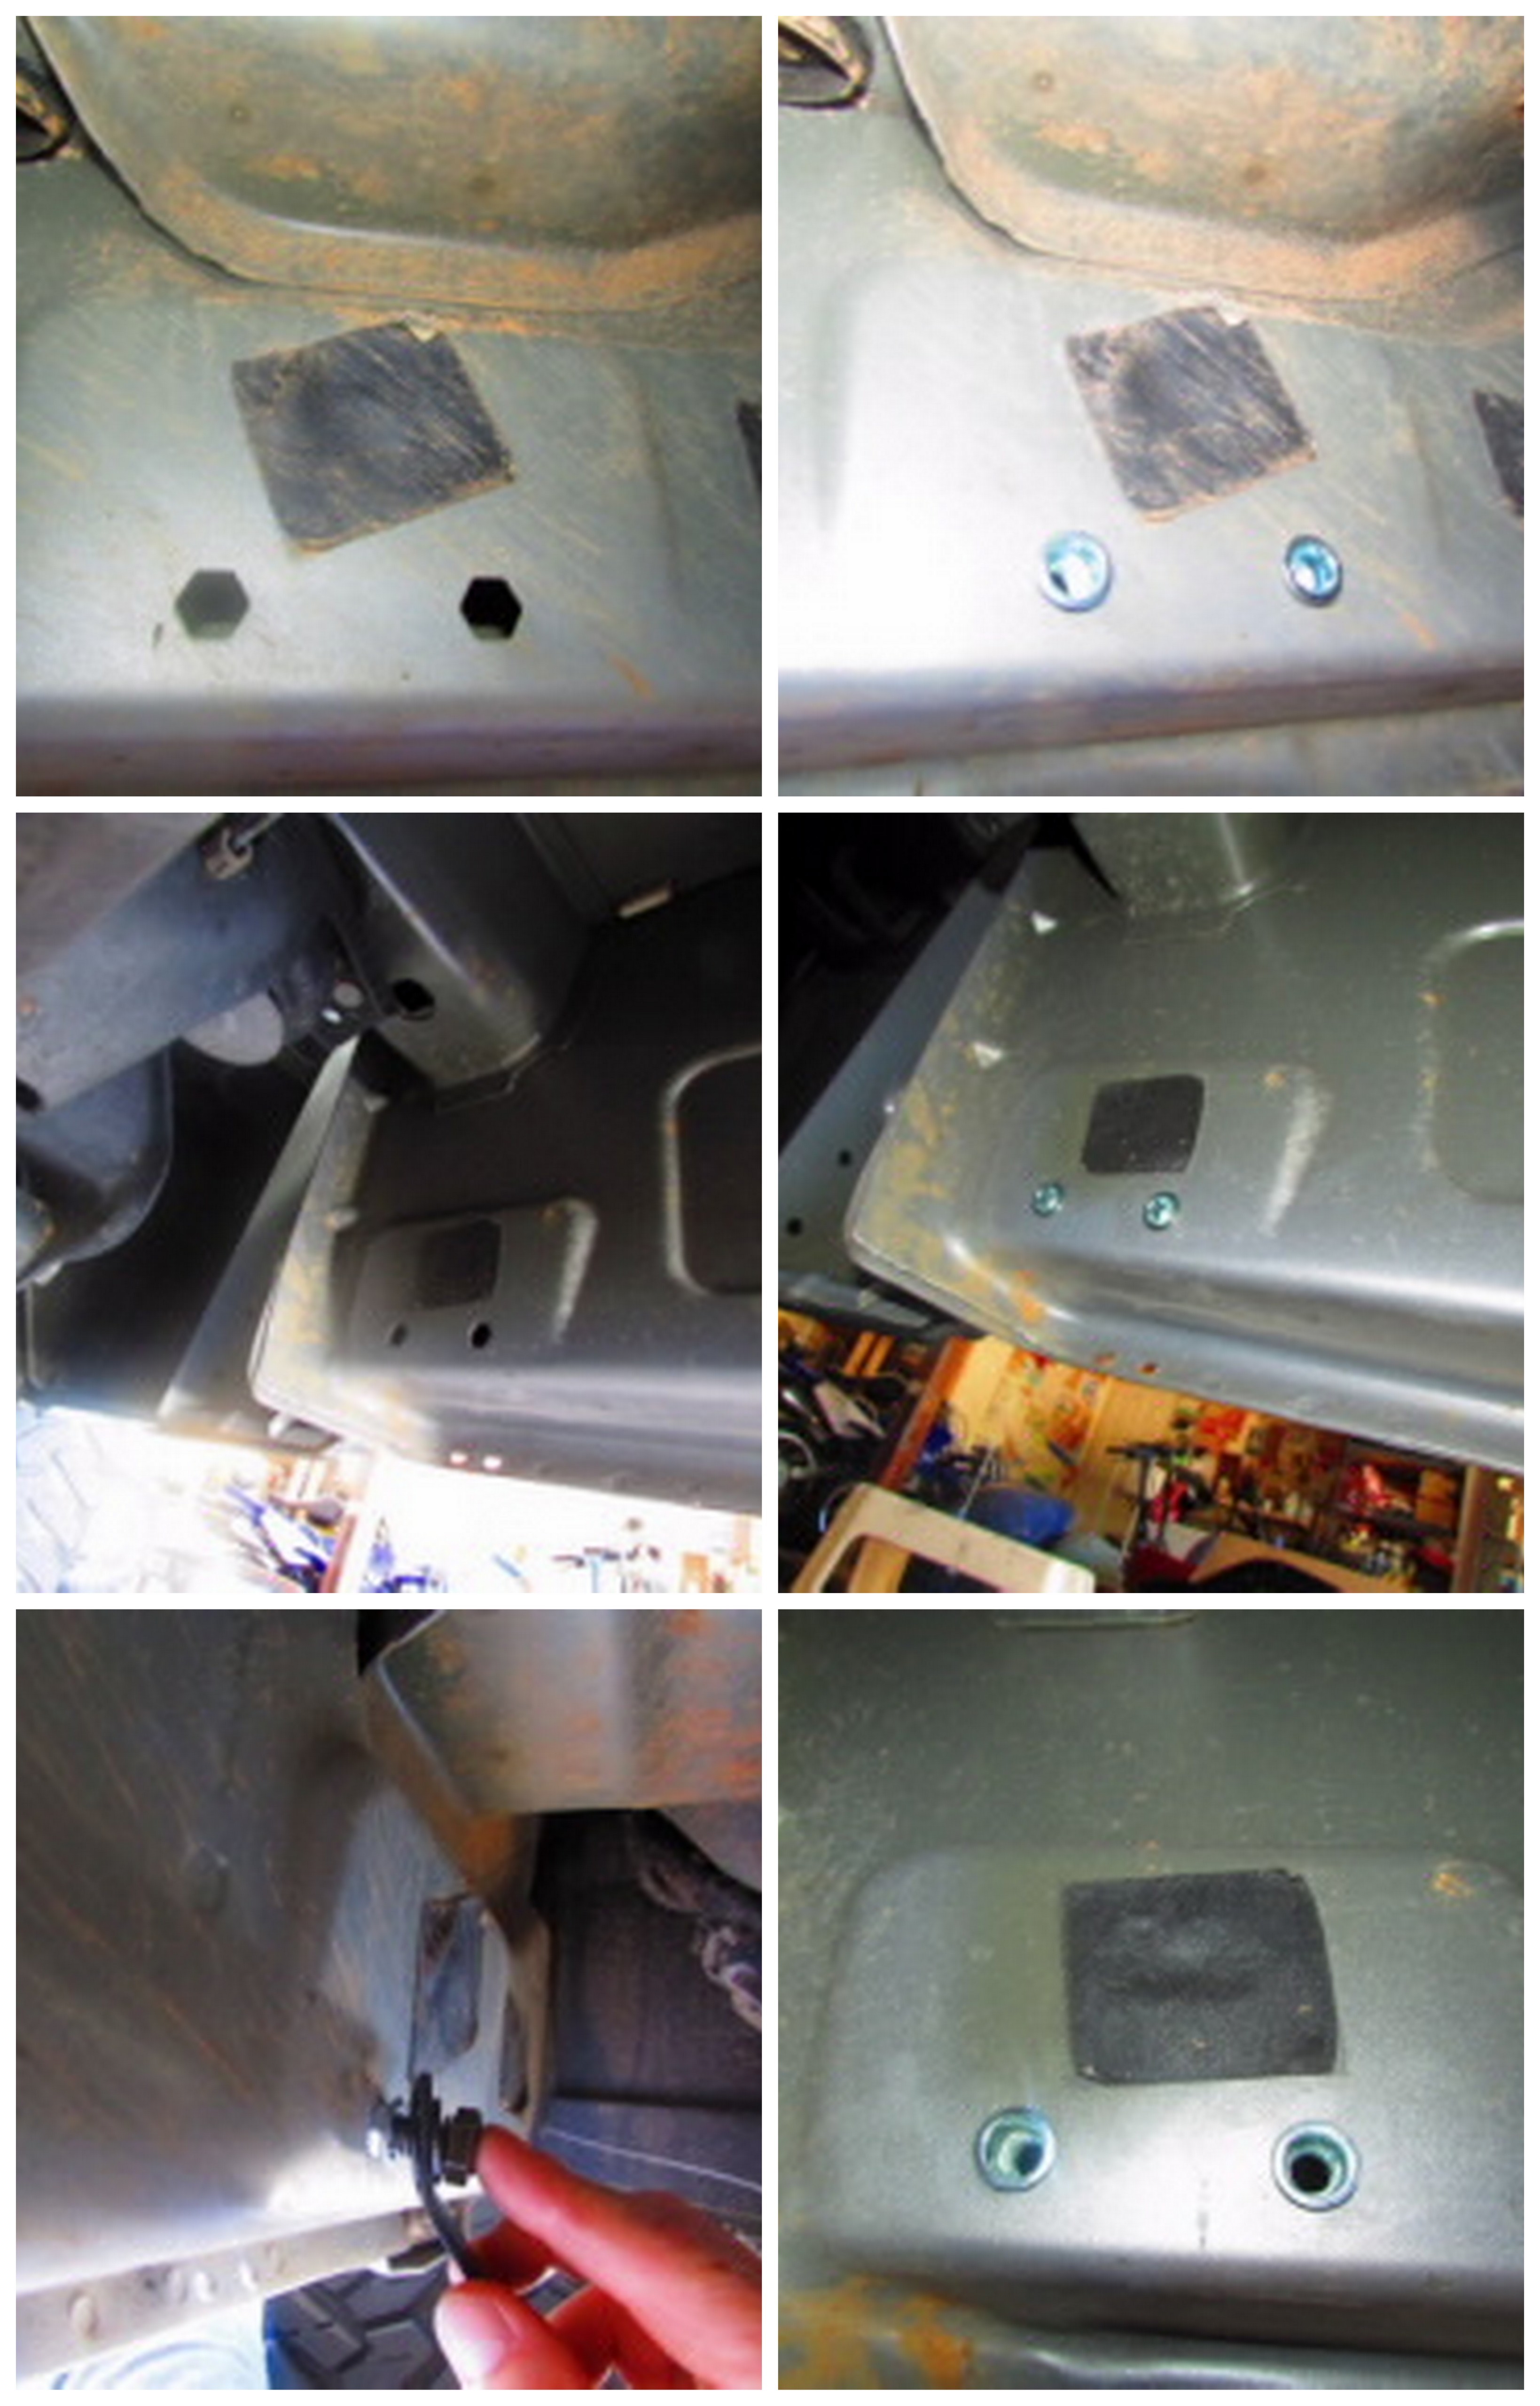
The parts were packaged well and came complete with everything I needed to install them myself. The directions provided had a good explanation with a few pictures. After unwrapping the parts I began the install. The first step was to insert the silver threaded pieces into the factory hex holes located on the inside of the body panel starting under the driver’s side door. The parts bag included a tool to help hold the piece in place while tightening a bolt into it. The purpose of this step is to make the insert expand and stay in the body panel. After tightening the bolt the insert should stay in the body, I then unscrewed the bolt and repeated that step for the other 5 hex holes on the driver’s side.
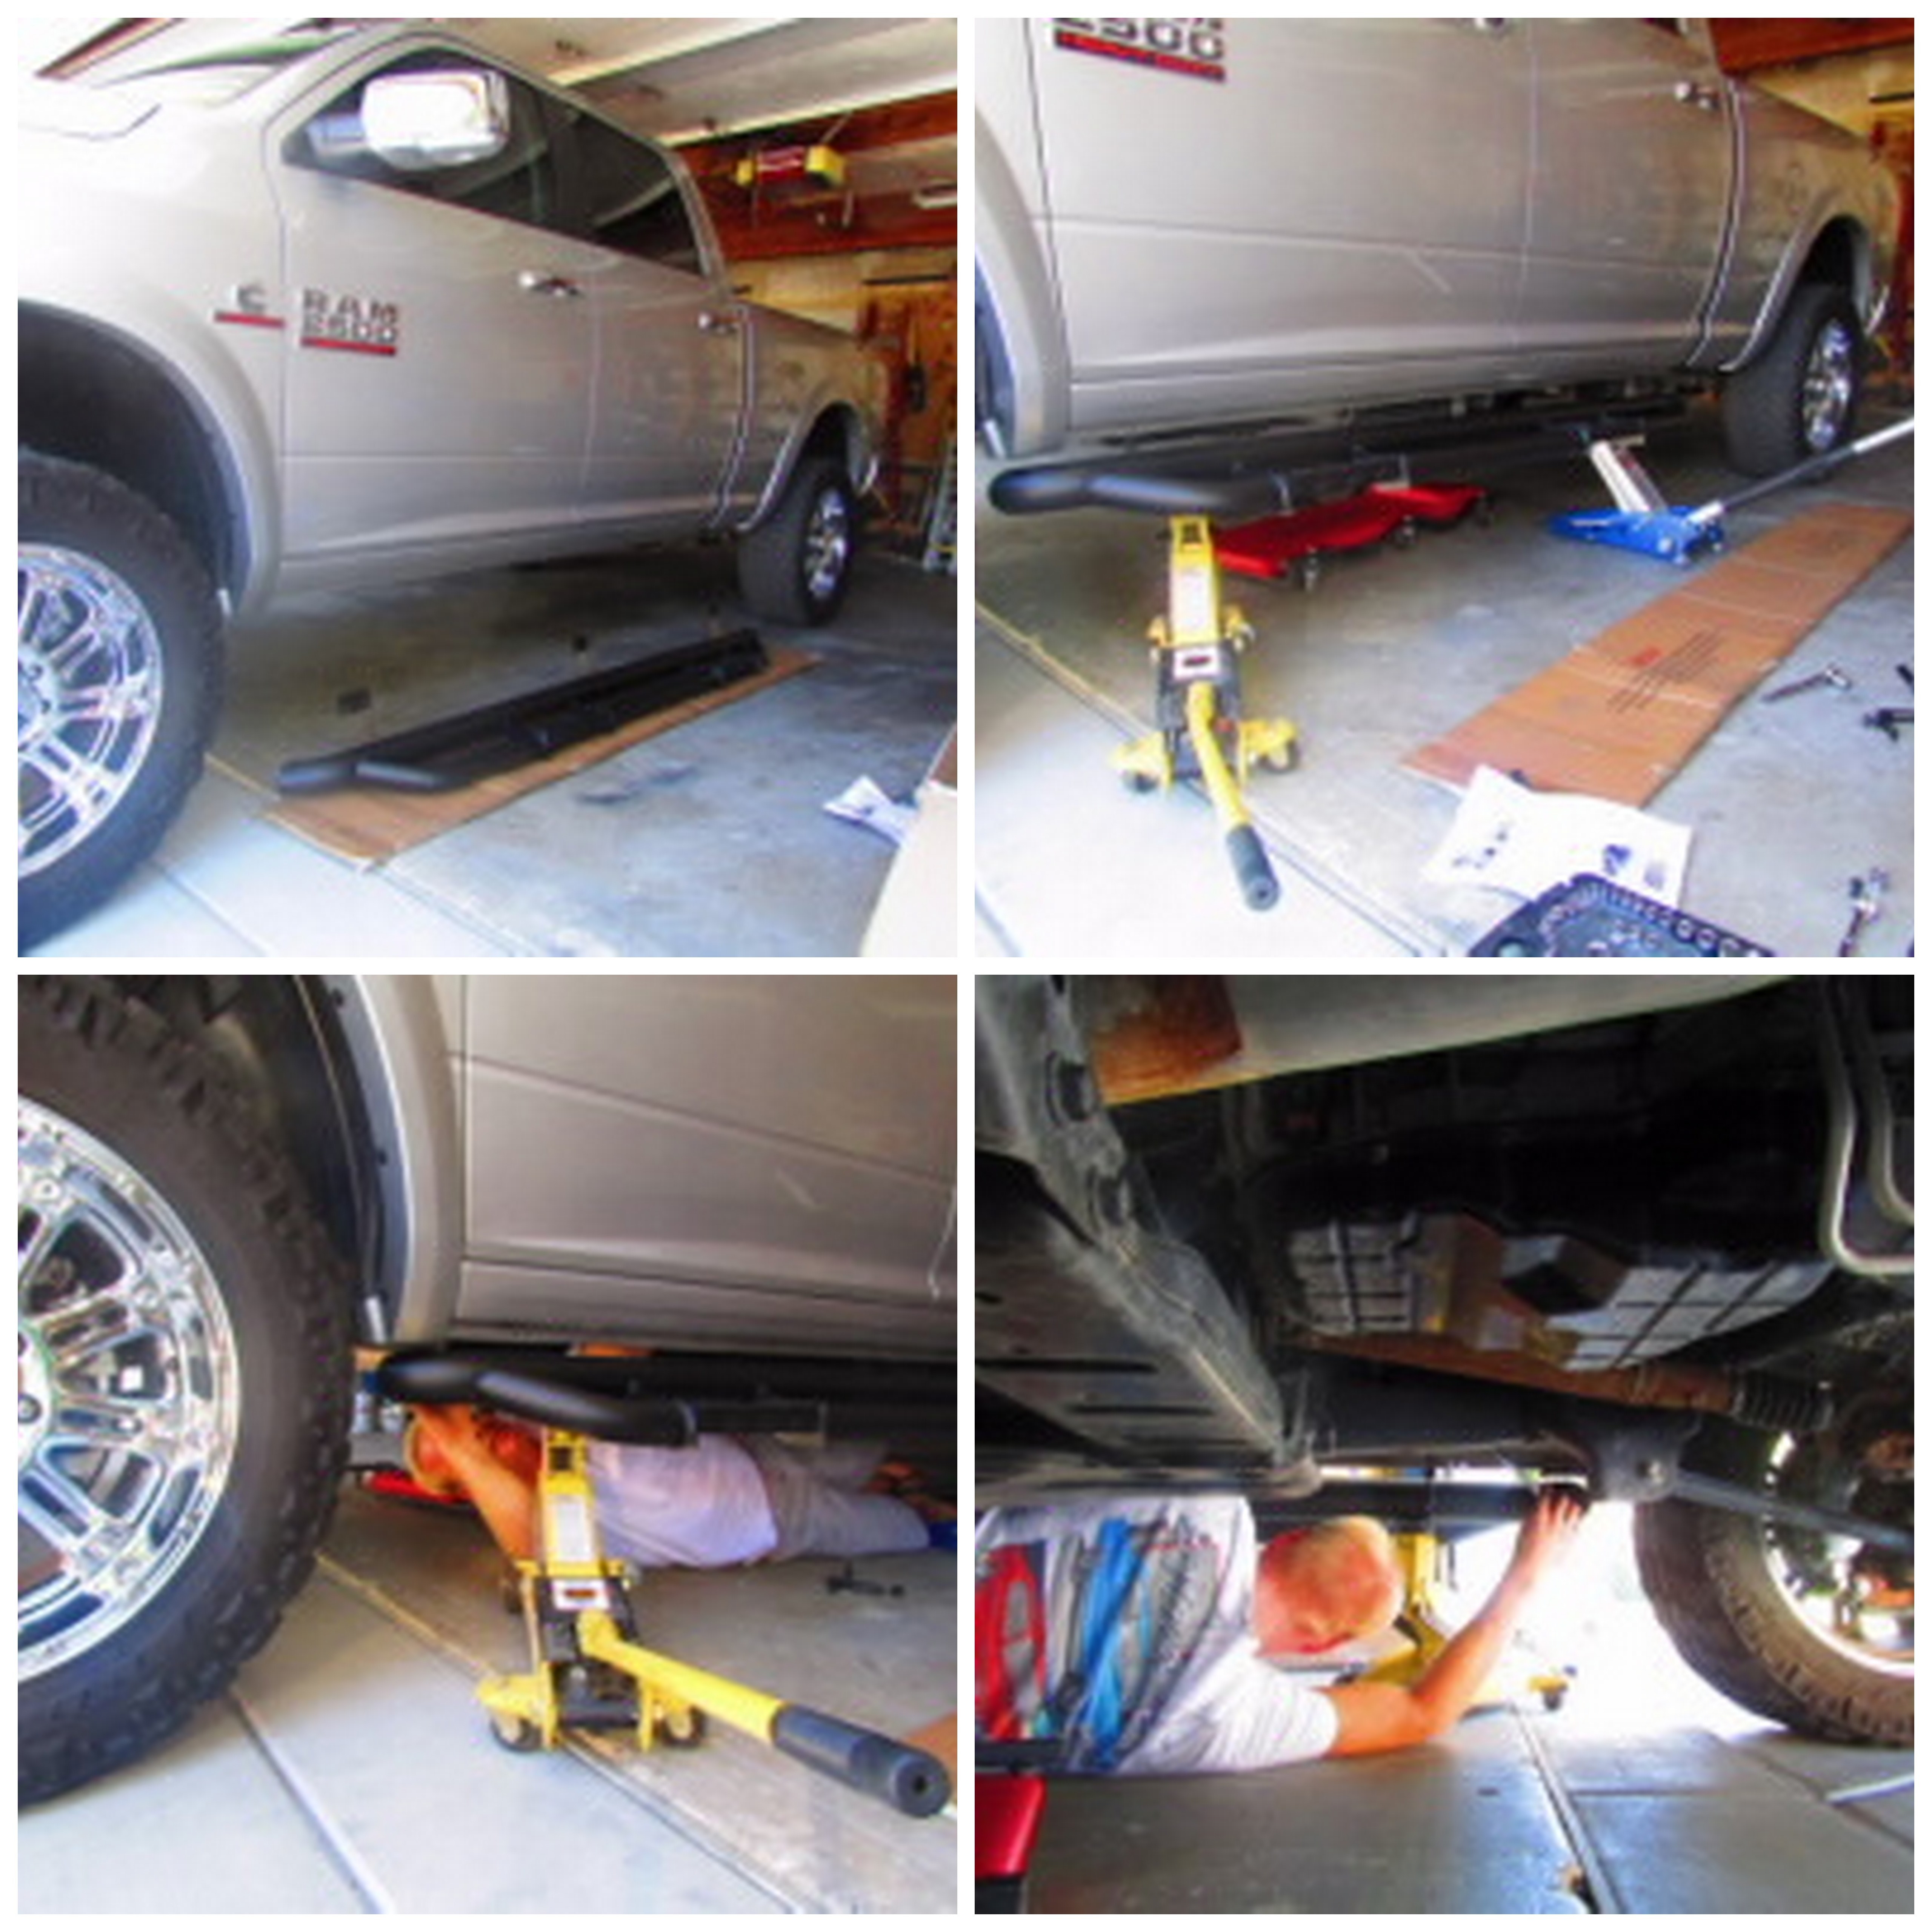
Once the inserts were installed the next step was to position the running board under the truck and bolt it on. I used two floor jacks to keep the running board where I needed it. These are heavy running boards and they need to be supported, especially if you are attempting the install by yourself.
After screwing in the 6 bolts it was time to install the 3 “L” brackets provided. These brackets easily bolt right through the factory holes in the pinch weld at the bottom of the body panel.
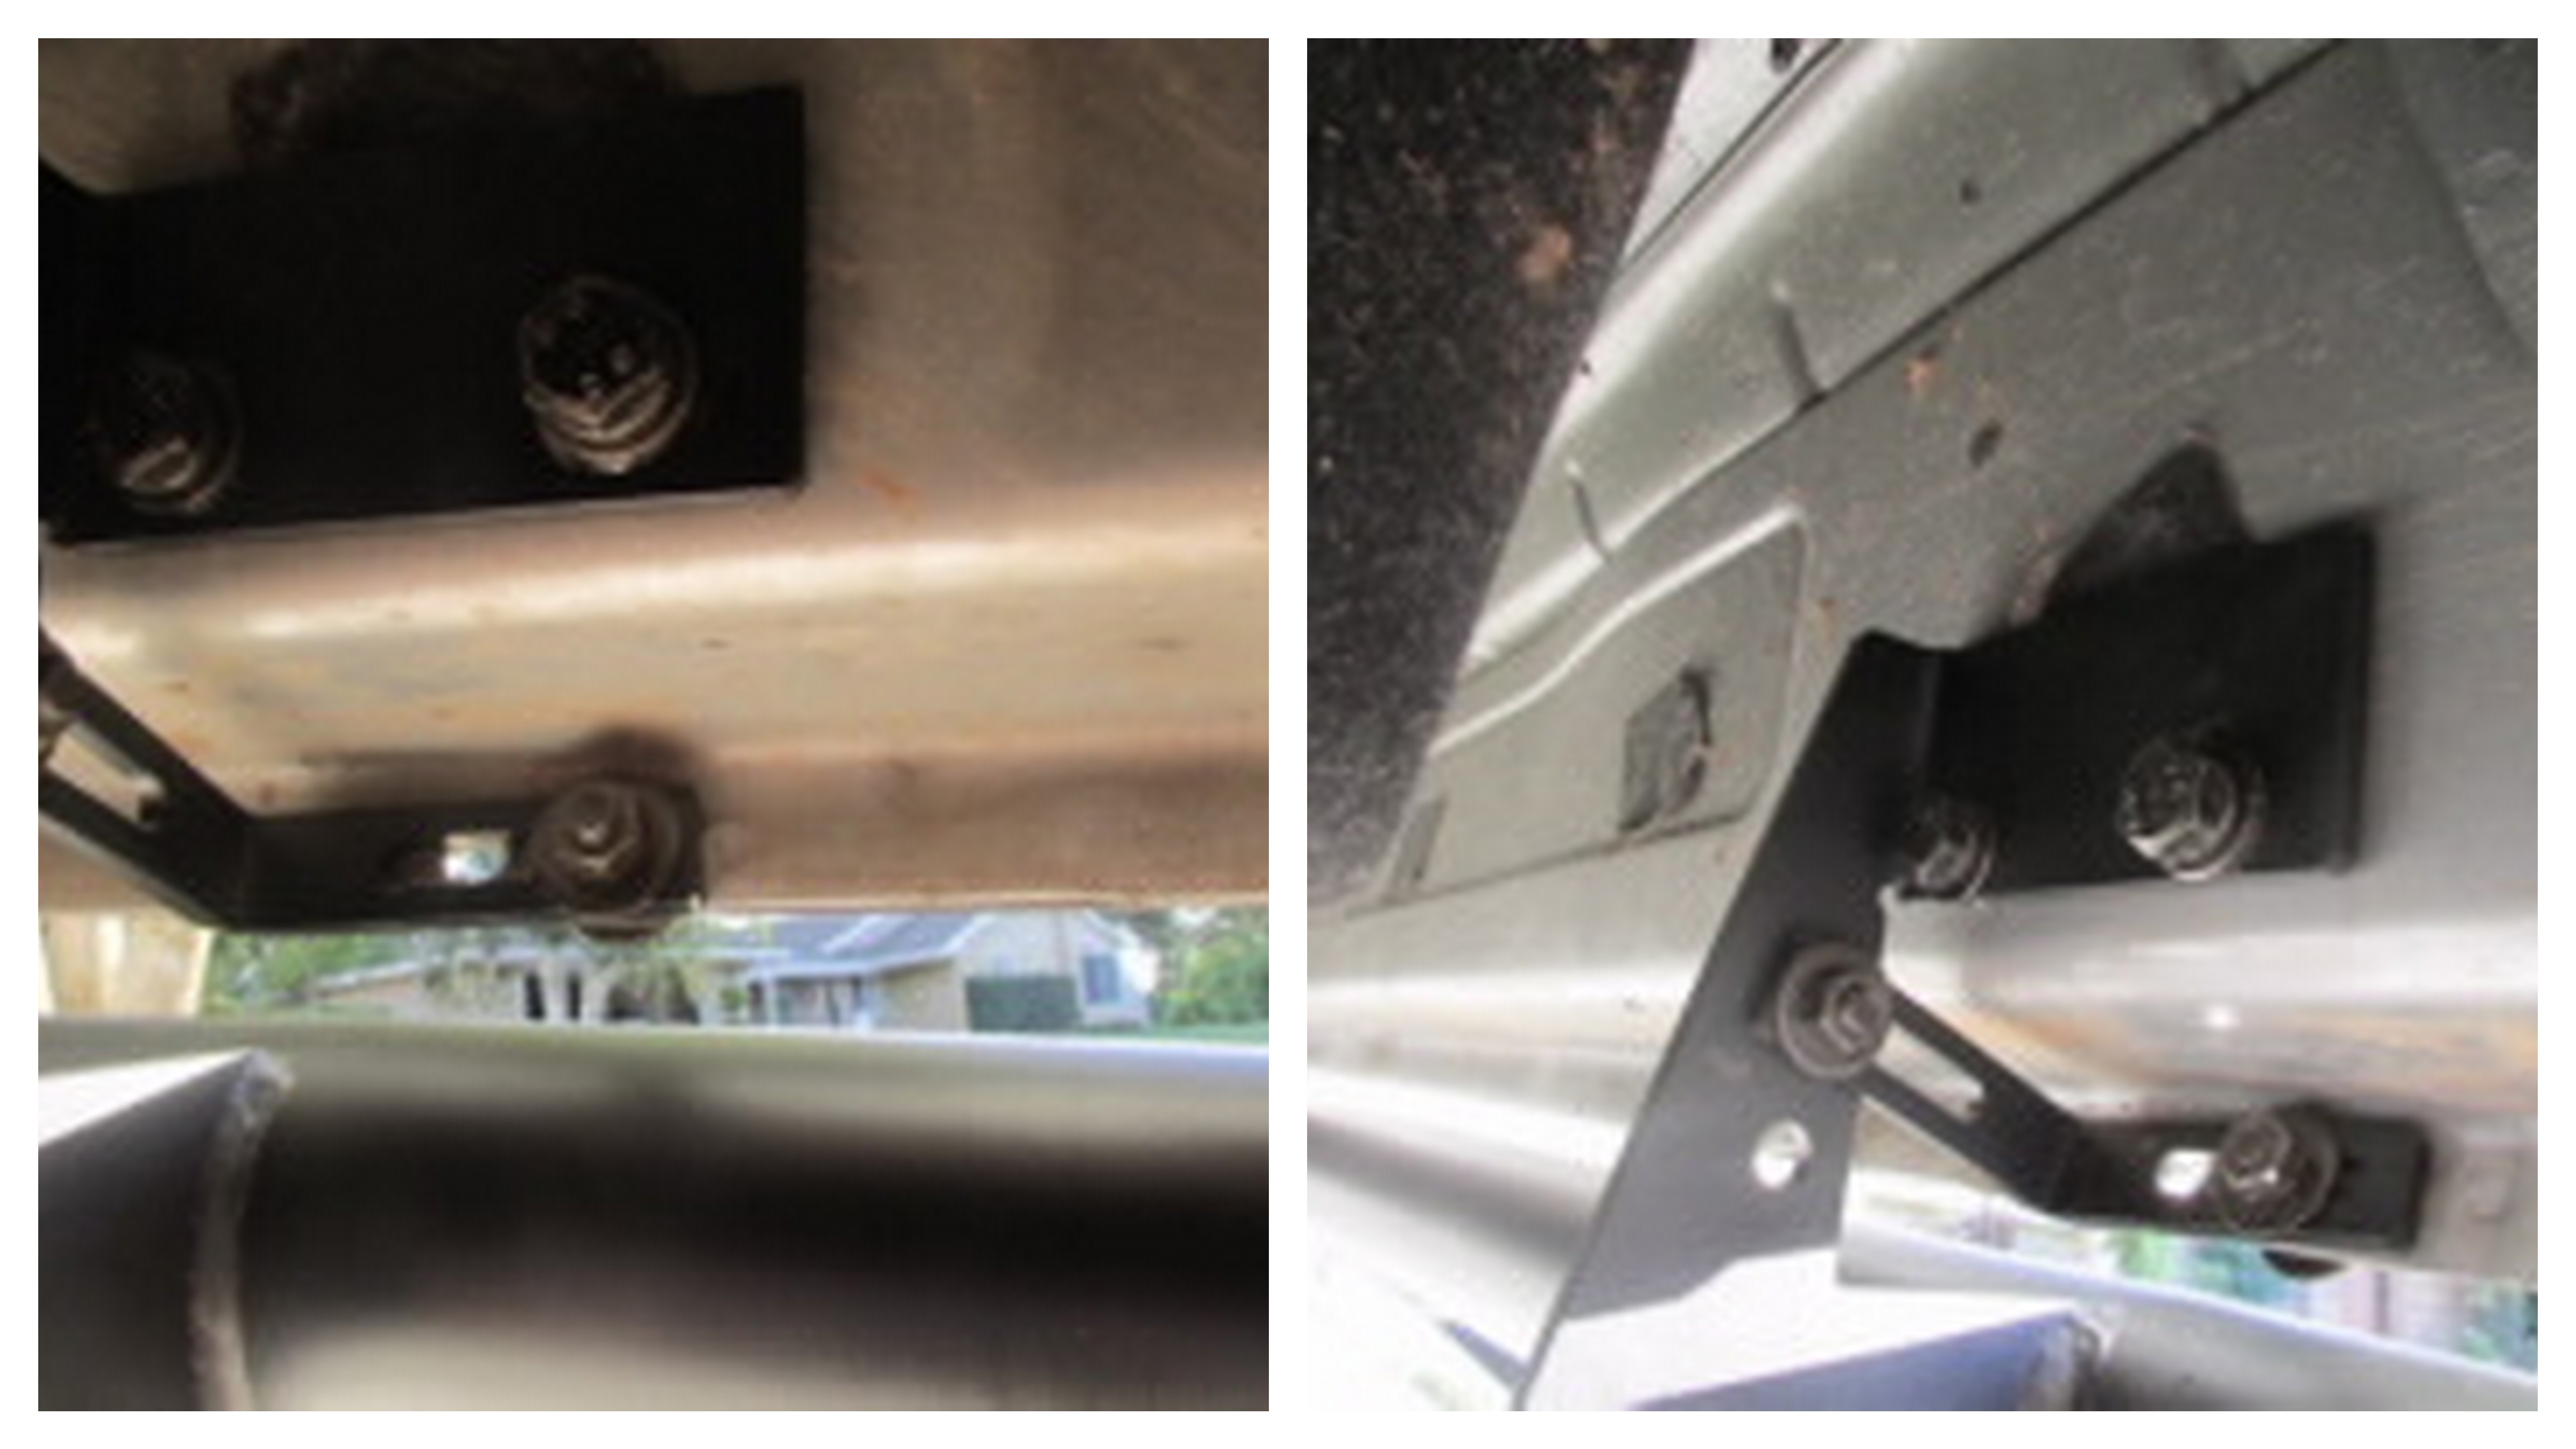
Once the three L brackets were installed I tightened down all the bolts and the driver side running board was done. I then repeated the same steps for the passenger side.
The total time for this install was about 1 ½ hours and that included a few breaks for photos. Just hand tools are needed for this project and include a socket wrench with 13mm and 16mm sockets and two floor jacks. Over all this was a fairly simple install that any truck owner should be able to handle. I am very pleased with the look and functionality of the RBP running boards. I no longer have to help my kids get in my truck!

Related Posts


-
 Kendall Motor Oil Knowledge Session-Things to know about Full Synthetic Motor Oil Additives
By AutoPartsWarehouse Staff, images courtesy of Kendall Motor Oil...
- November 10, 2017
-
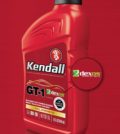 Kendall Motor Oil Knowledge Session-Things to know about Full Synthetic Motor Oil
By AutoPartsWarehouse Staff, images courtesy of Kendall Motor Oil...
- November 10, 2017
-
 Autolite Iridium XP Spark Plug Install
by Steve and Gavin Maloof The guys at AutoPartsWarehouse...
- August 2, 2017
-
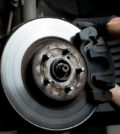 Car Care 101: Common Reasons Why Your Brakes Squeak
Does it bother you when you hear unusual noises...
- June 28, 2017
-
 Car Care Checklist for Summer: Part II
Here are more things to consider to get your...
- June 24, 2017
-
 Top Five Auto Parts the Average Consumer Should Purchase Online — and Here’s Why!
AutoPartsWarehouse.com says the Internet is the best place for...
- January 21, 2013
-
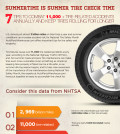 Summertime is Summer Tire Check Time: 7 Tips To Combat 11,000+ Tire-Related Accidents Annually — and Keep Tires Rolling for Longer
U.S. drivers put almost 3 billion miles on their...
- June 4, 2014
-
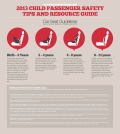 AutoPartsWarehouse.com 2013 Child Passenger Safety Tips and Resource Guide
A Wake Up Call On Child Passenger Safety The...
- September 12, 2013
-
 6 Amazing Classic Car Restorations
Restoring old cars always come with a hefty price...
- November 24, 2014
-