- Summertime is Summer Tire Check Time: 7 Tips To Combat 11,000+ Tire-Related Accidents Annually — and Keep Tires Rolling for Longer
- 10 DIY Tips to Add Years to a Vehicle’s Life & Minimize Expensive Repairs
- Defensive Driving Tips to Avoid Costly Repairs As Wintery Driving Conditions Continue to Plague Roads
- AutoPartsWarehouse.com 2013 Child Passenger Safety Tips and Resource Guide
- Top Five Parts to Make Your Vehicle More Fuel Efficient
Review: Monroe Shocks
Project: Monroe Shocks Install
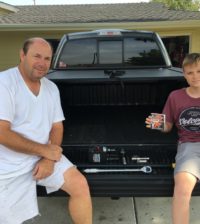
Vehicle: 2005 Chevy Tahoe LT
Owner/Installer: Stan Maloof
Level of Difficulty: Easy
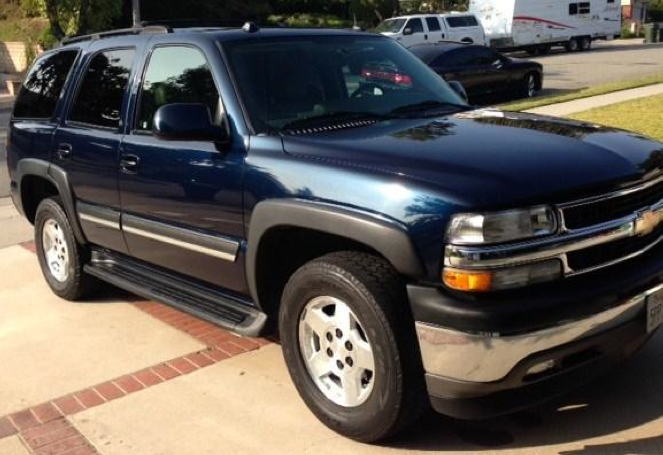
Over the past few months, I’ve noticed a big change in the way my wife’s 2005 Tahoe rides. It’s especially noticeable when driving her Tahoe immediately after driving my newer car. The ride quality seems to have changed significantly. Driving over speed bumps creates a series of 3 to 4 bounces as the vehicle settles. I’m told this is called rebound-the kids think it’s called a roller coaster. Also, under hard braking the front end dives and when accelerating the front end lifts as if a wheelie bar may be necessary. I knew it was time to make a change when on a recent outing with friends, my sister-in-law said “whoa, this thing floats like a 1974 Impala!” My buddy used to own one; I knew exactly what she meant.
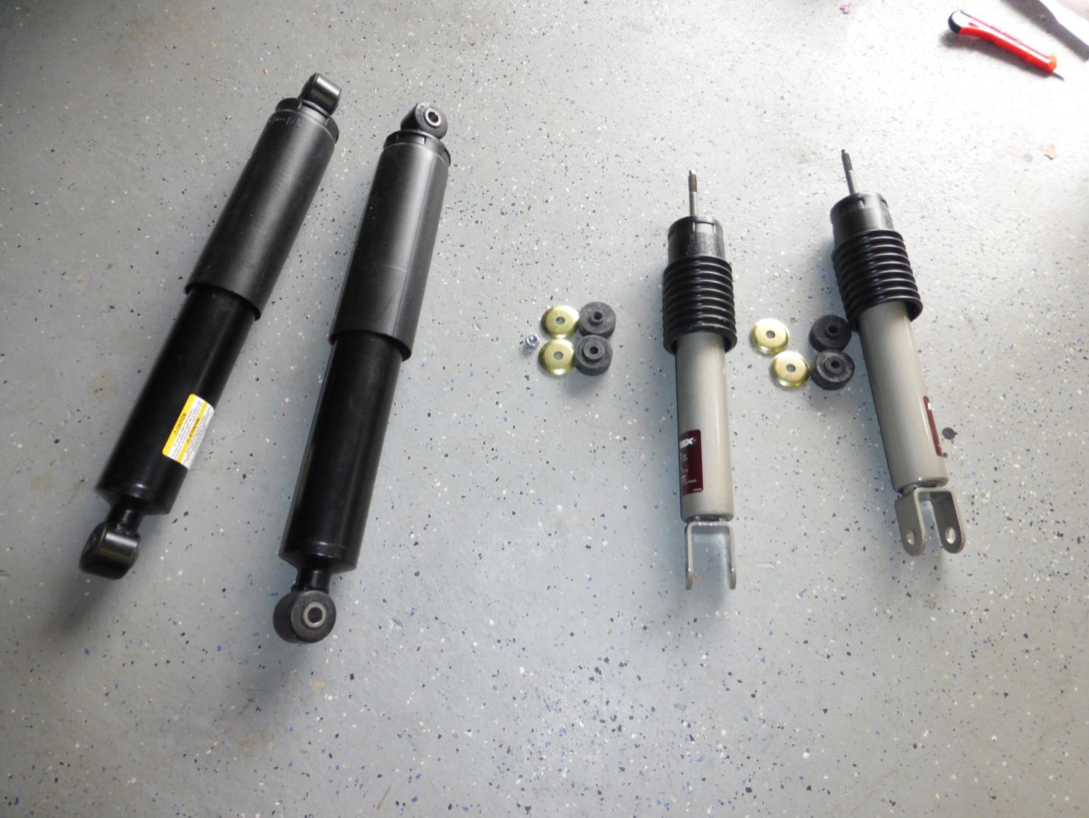
The Tahoe is nearly ten years old with 86,000 miles on the clock I figured it was time to replace the shocks. So I started researching online and found the perfect Monroe Shocks, guaranteed to fit at a reasonable price. The shocks arrived a few days later and I estimated that replacing all four shocks should take about 2 hours.
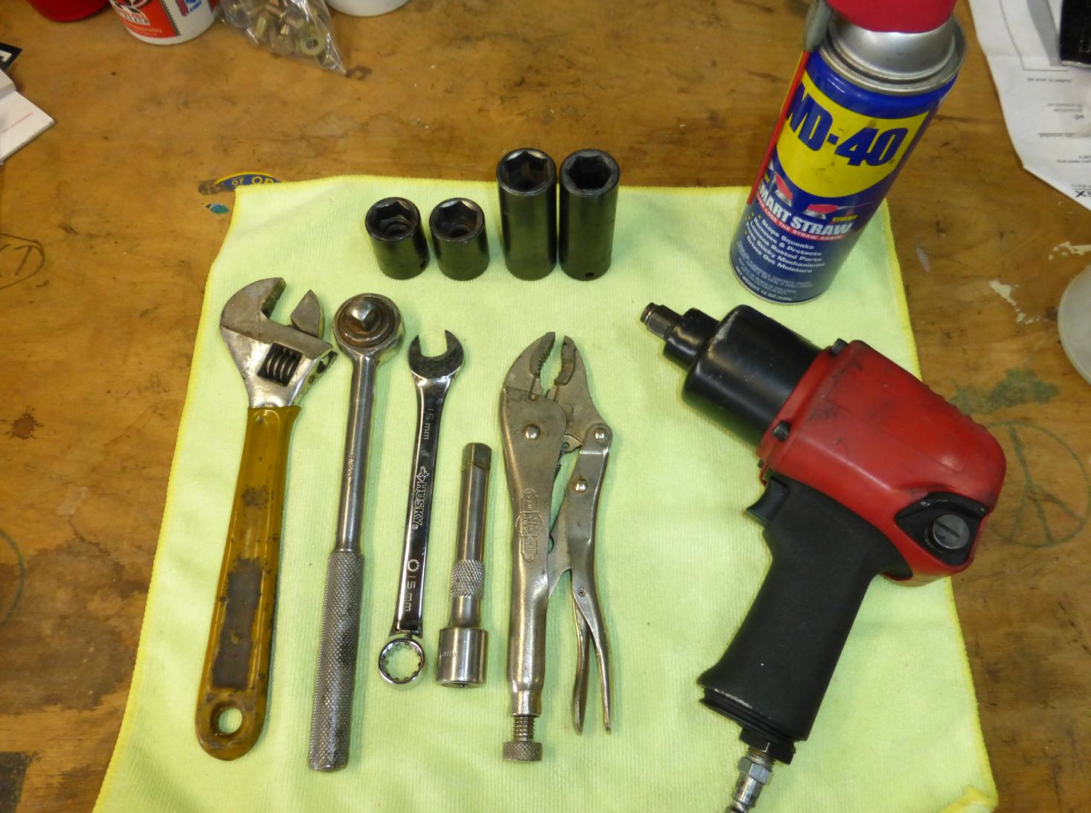
Hand tools required for this job are basic including 15mm wrench and 21mm and 22mm sockets. If you have access to air tools it will make the work go much faster, especially removing and reinstalling 24 lug nuts.

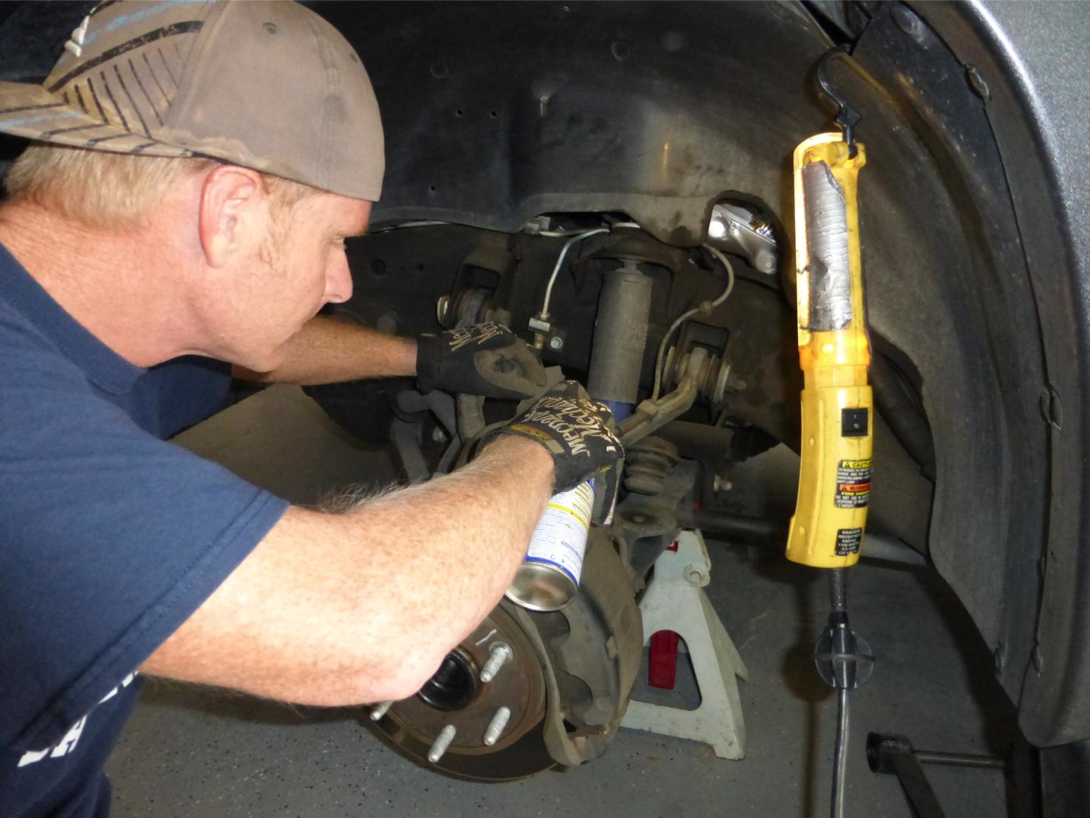
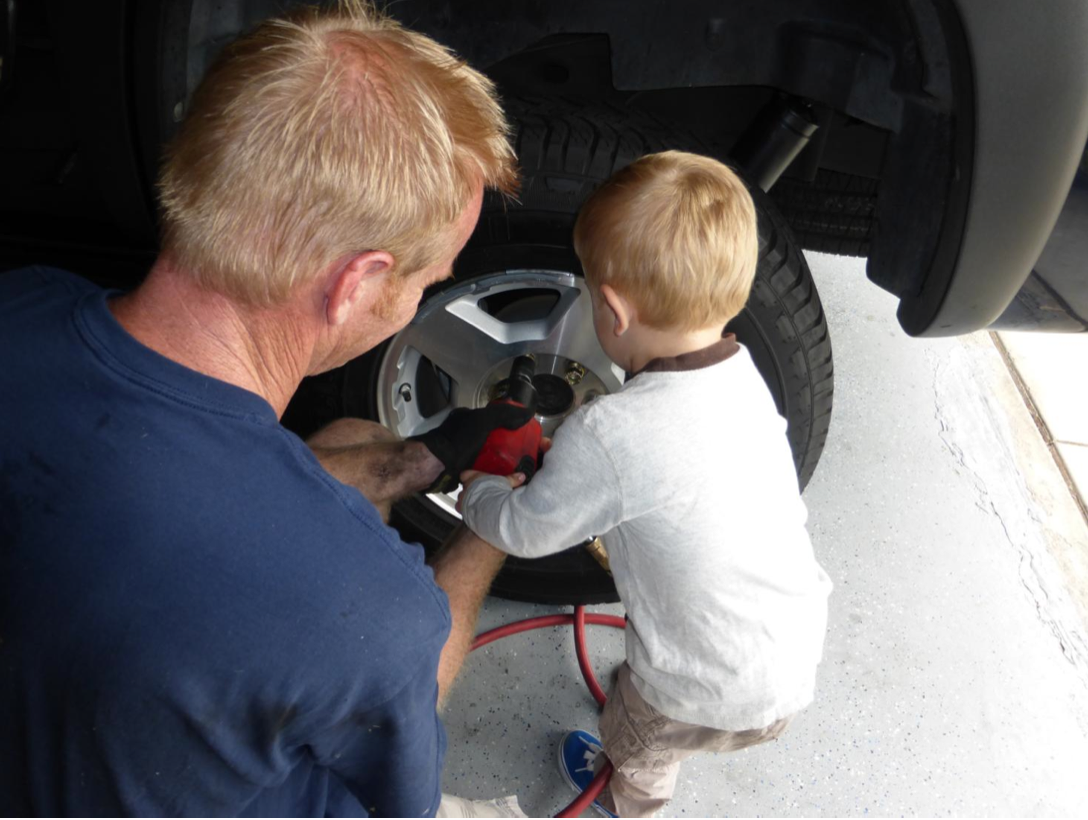
With the jack and jack stand in position I decided to start with the front shocks. My son Blake decided he wanted to help pull the wheels off to get started. A four year old with an impact gun is a very happy kid.

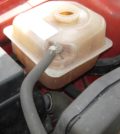
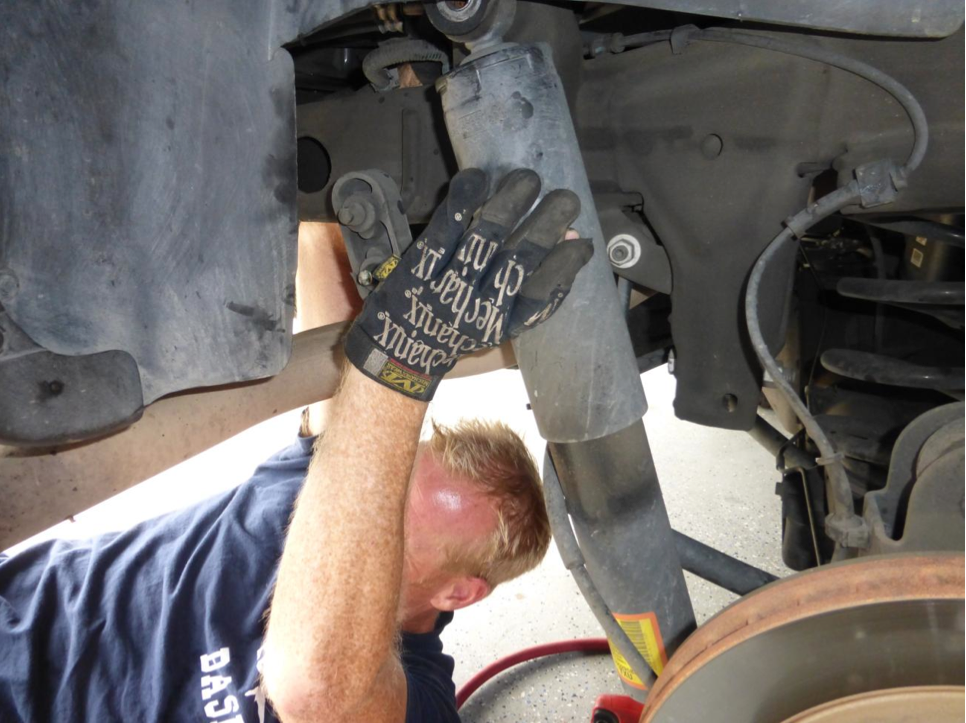
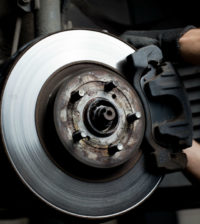
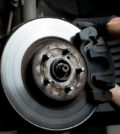
Once the wheel was off I was surprised how easy it was to remove the old shocks and install the new Monroe shocks. I gave all of the fasteners a quick shot of WD-40 to help disassembly. Fortunately there is plenty of room to access the hardware and starting with the front shocks I held the stud with a pair of Vise-Grips to stop the shock from spinning while I removed the top nut.
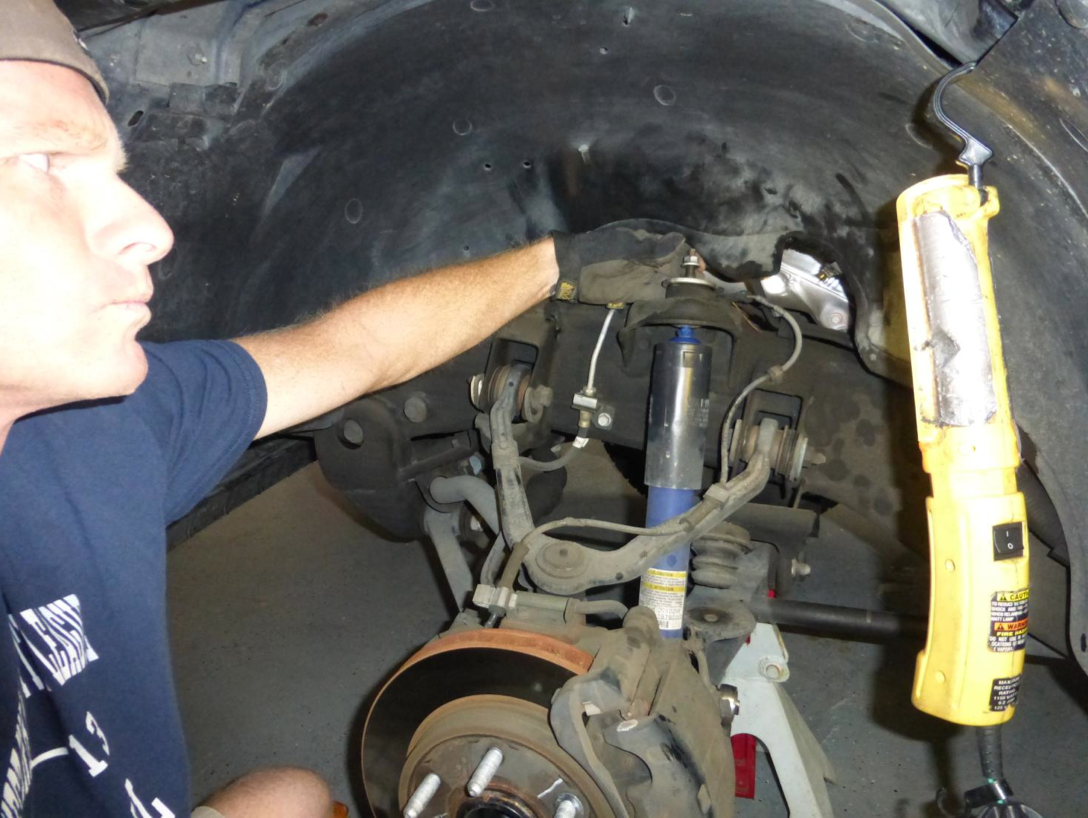
The bolt securing the bottom of the shock was easy to access and with an impact gun it came off very easily. Fitting the new shock was the reverse and went in just a few minutes.
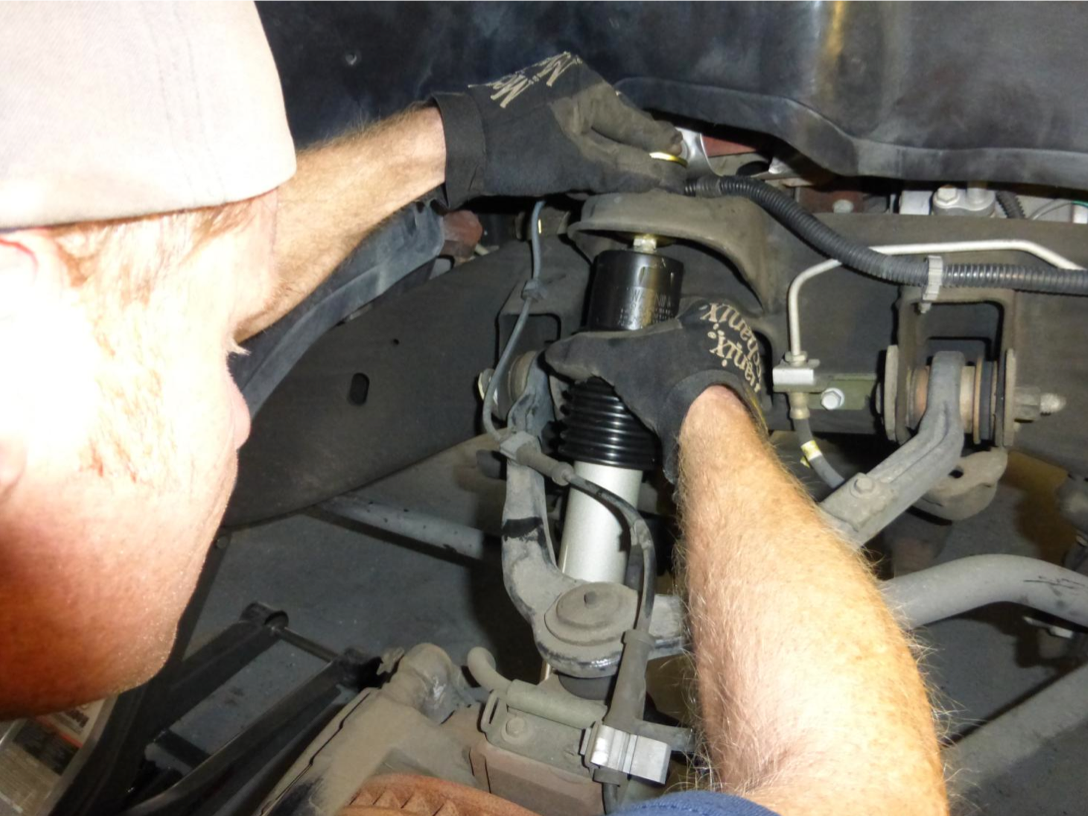
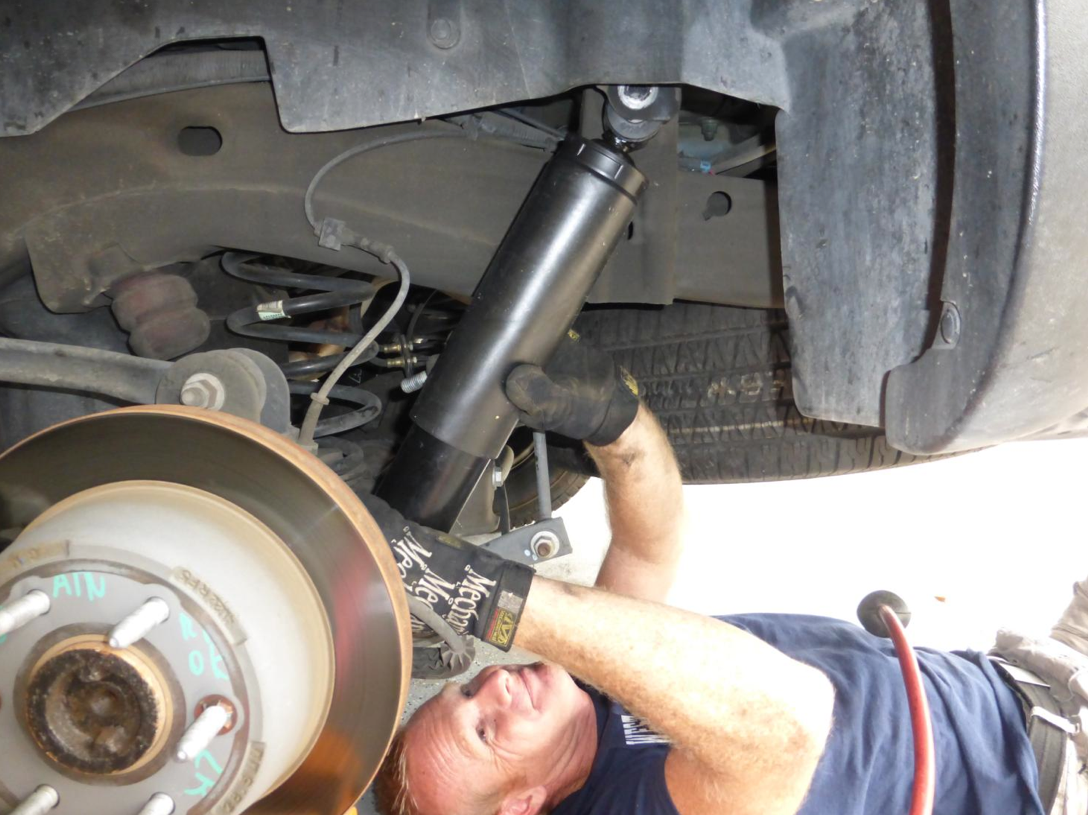
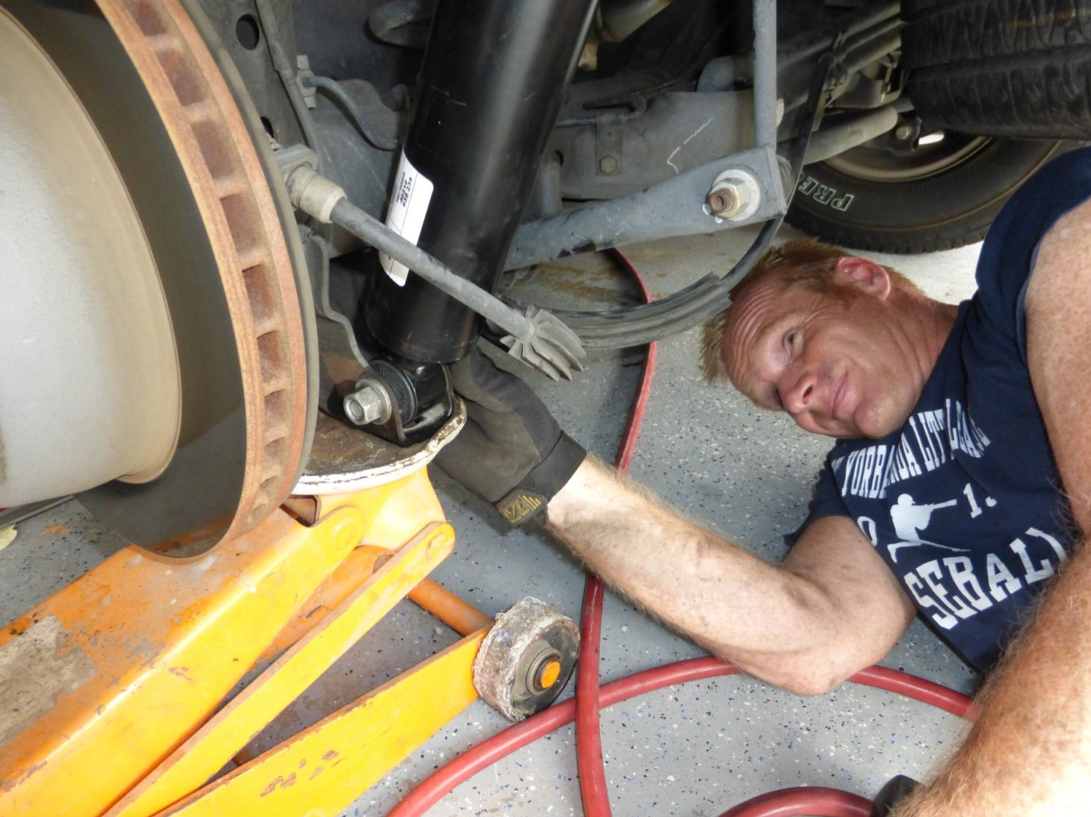
Moving to the other side, I followed the same process and was feeling good about how smoothly the project was proceeding! With the front axle completed and the wheels back on it was time to move to the rear axle to fit the shocks. Again the access to the hardware is good without too many obstacles. Look out for dust and debris! I loosened the bottom bolt with the impact gun and moved to the top to remove the shock.
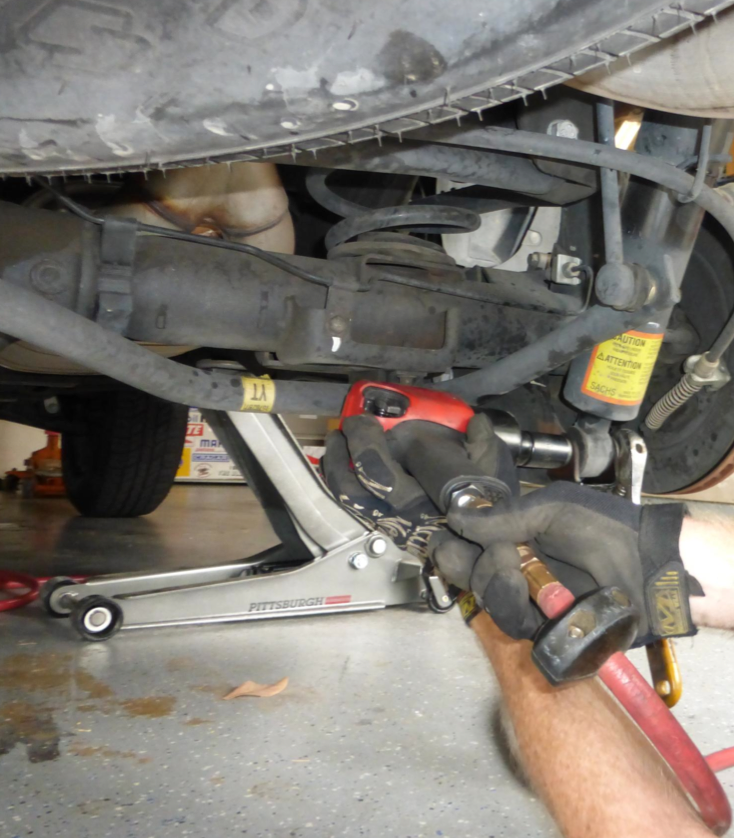
The new rear shock fits perfectly and with the floor jack I lined up the rear axle to push the bottom bolt through and tightened everything up. Take a look at the before and after video to see (and hear) the difference the new Monroe shocks make on our Tahoe.
I called in my Assistant to help button everything up.
The install was quick and easy, taking no more than 1.5hrs. The result was instantly noticeable as I backed out of the driveway. The vehicle feels more stable almost like a new car. No more uncontrolled rebound on speed bumps, driveway dips or diving on heavy braking or acceleration. Like Monroe says, “Everything Gets Old” and I highly recommend Monroe shocks to replace worn out components when the time comes.
Videos:
Before
After
Related Posts


-
 Kendall Motor Oil Knowledge Session-Things to know about Full Synthetic Motor Oil Additives
By AutoPartsWarehouse Staff, images courtesy of Kendall Motor Oil...
- November 10, 2017
-
 Kendall Motor Oil Knowledge Session-Things to know about Full Synthetic Motor Oil
By AutoPartsWarehouse Staff, images courtesy of Kendall Motor Oil...
- November 10, 2017
-
 Autolite Iridium XP Spark Plug Install
by Steve and Gavin Maloof The guys at AutoPartsWarehouse...
- August 2, 2017
-
 Car Care 101: Common Reasons Why Your Brakes Squeak
Does it bother you when you hear unusual noises...
- June 28, 2017
-
 Car Care Checklist for Summer: Part II
Here are more things to consider to get your...
- June 24, 2017
-
 Top Five Auto Parts the Average Consumer Should Purchase Online — and Here’s Why!
AutoPartsWarehouse.com says the Internet is the best place for...
- January 21, 2013
-
 Summertime is Summer Tire Check Time: 7 Tips To Combat 11,000+ Tire-Related Accidents Annually — and Keep Tires Rolling for Longer
U.S. drivers put almost 3 billion miles on their...
- June 4, 2014
-
 AutoPartsWarehouse.com 2013 Child Passenger Safety Tips and Resource Guide
A Wake Up Call On Child Passenger Safety The...
- September 12, 2013
-
 6 Amazing Classic Car Restorations
Restoring old cars always come with a hefty price...
- November 24, 2014
-