- Summertime is Summer Tire Check Time: 7 Tips To Combat 11,000+ Tire-Related Accidents Annually — and Keep Tires Rolling for Longer
- 10 DIY Tips to Add Years to a Vehicle’s Life & Minimize Expensive Repairs
- Defensive Driving Tips to Avoid Costly Repairs As Wintery Driving Conditions Continue to Plague Roads
- AutoPartsWarehouse.com 2013 Child Passenger Safety Tips and Resource Guide
- Top Five Parts to Make Your Vehicle More Fuel Efficient
Review: KC HiLites SlimLites Driving Light
Product: KC HiLites SlimLites Driving Light
Vehicle: 2008 Dodge Ram Cummins MegaCab 2×4
Level of Difficulty: Moderate
Overview

KC HiLites SlimLites Driving Light
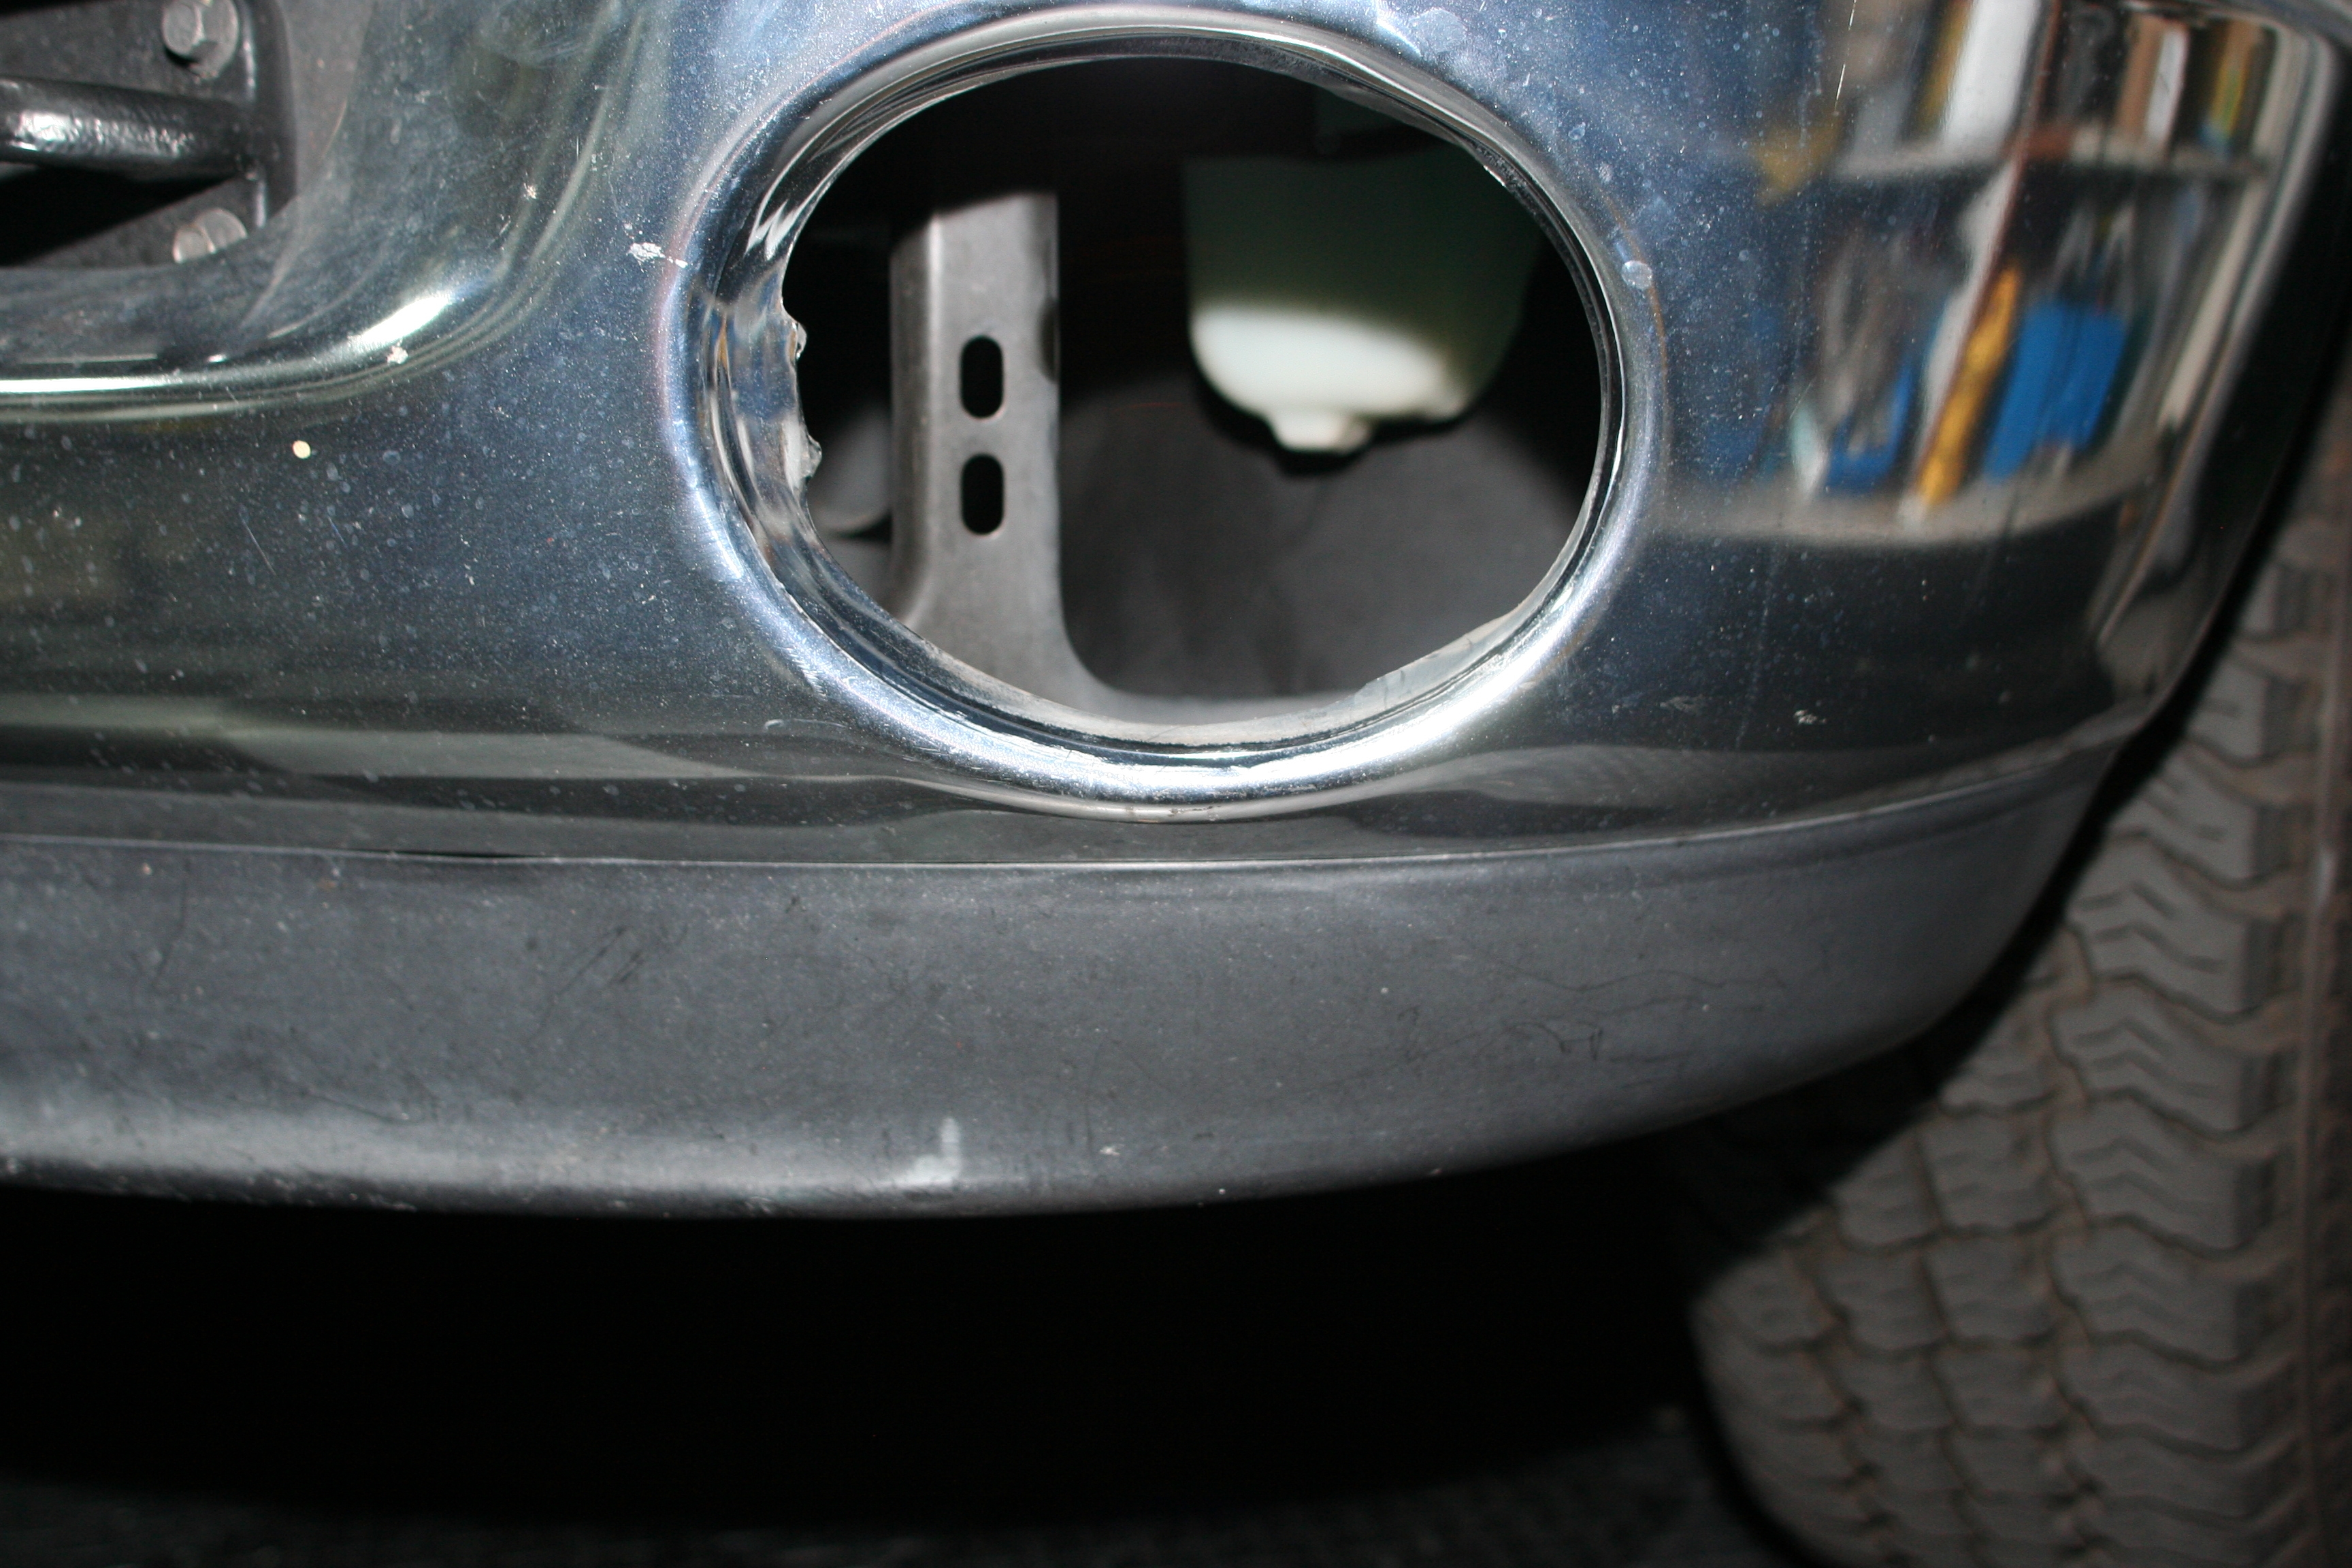
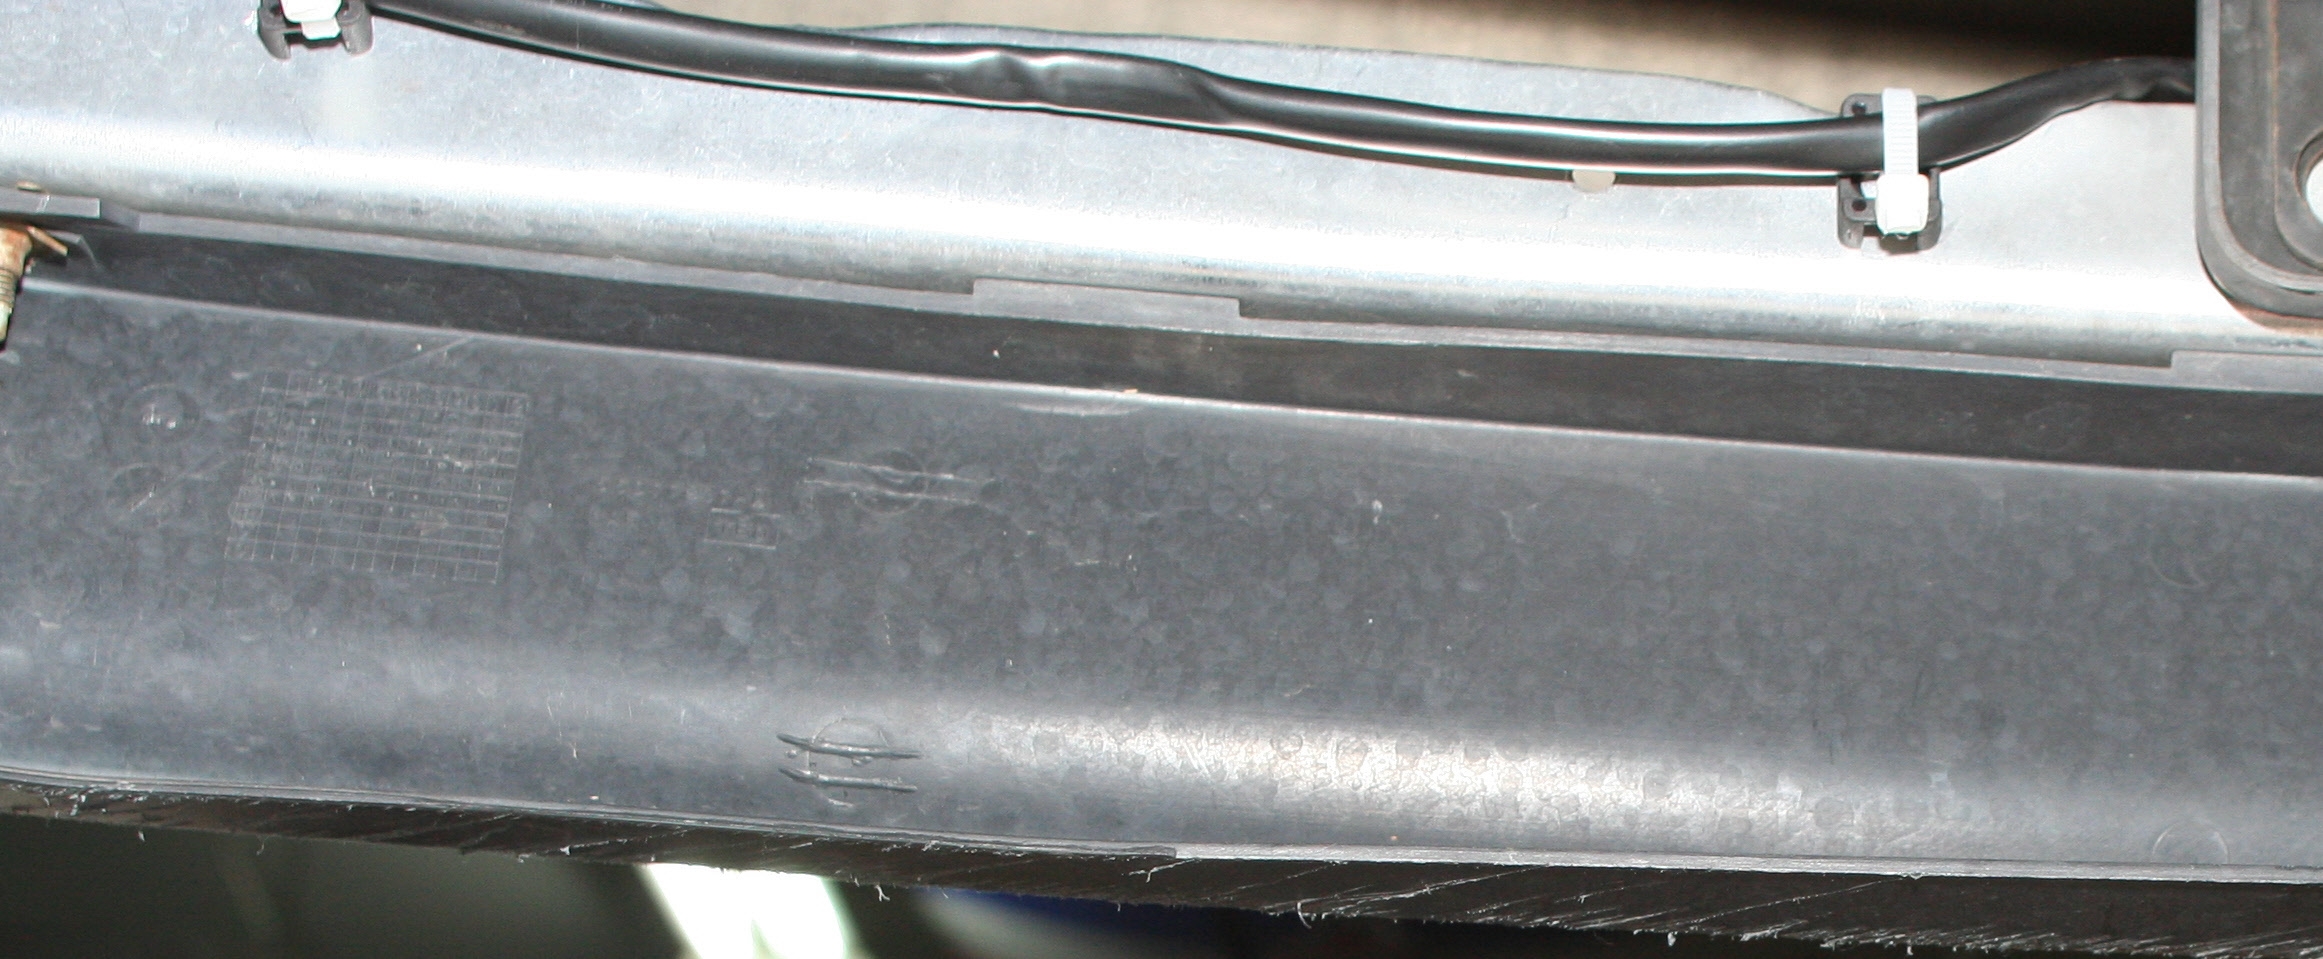
I have a 2008 Dodge Ram Cummins MegaCab 2×4 and always wanted additional lighting up front for extra vision and safety. Stock “plug and play” driving lights just wouldn’t do. So the path I chose was installing KC HiLites SlimLights in the front bumper currently serving as brake ducts.
To begin, I went to AutoPartsWarehouse.com to see if the driving light bezel was available at reasonable price or I was going to get soaked by the dealer for this exclusive piece of plastic. Luckily, APW had the part and a great price so I ordered it up.
So at this point, I have two bezels and a nicely packaged set of two 130watt KC HiLites Off road/fog/driving lights. My first hurdle was a mounting bracket for the lights. The factory mounting points didn’t provide for a plug and play scenario. I went down to the hardware store and found two “L” brackets that will provide a sturdy mount. The “L” brackets needed minor fabrication with drill bits and sawzall to mount to the bumper reliably. Holes already existed and two nut and bolts per mount is very adequate. The taper of the bumper was a major hurdle to adjust the mounting of the lights. The KC HiLites mounting bracket points were very sturdy and straight forward.
Installation
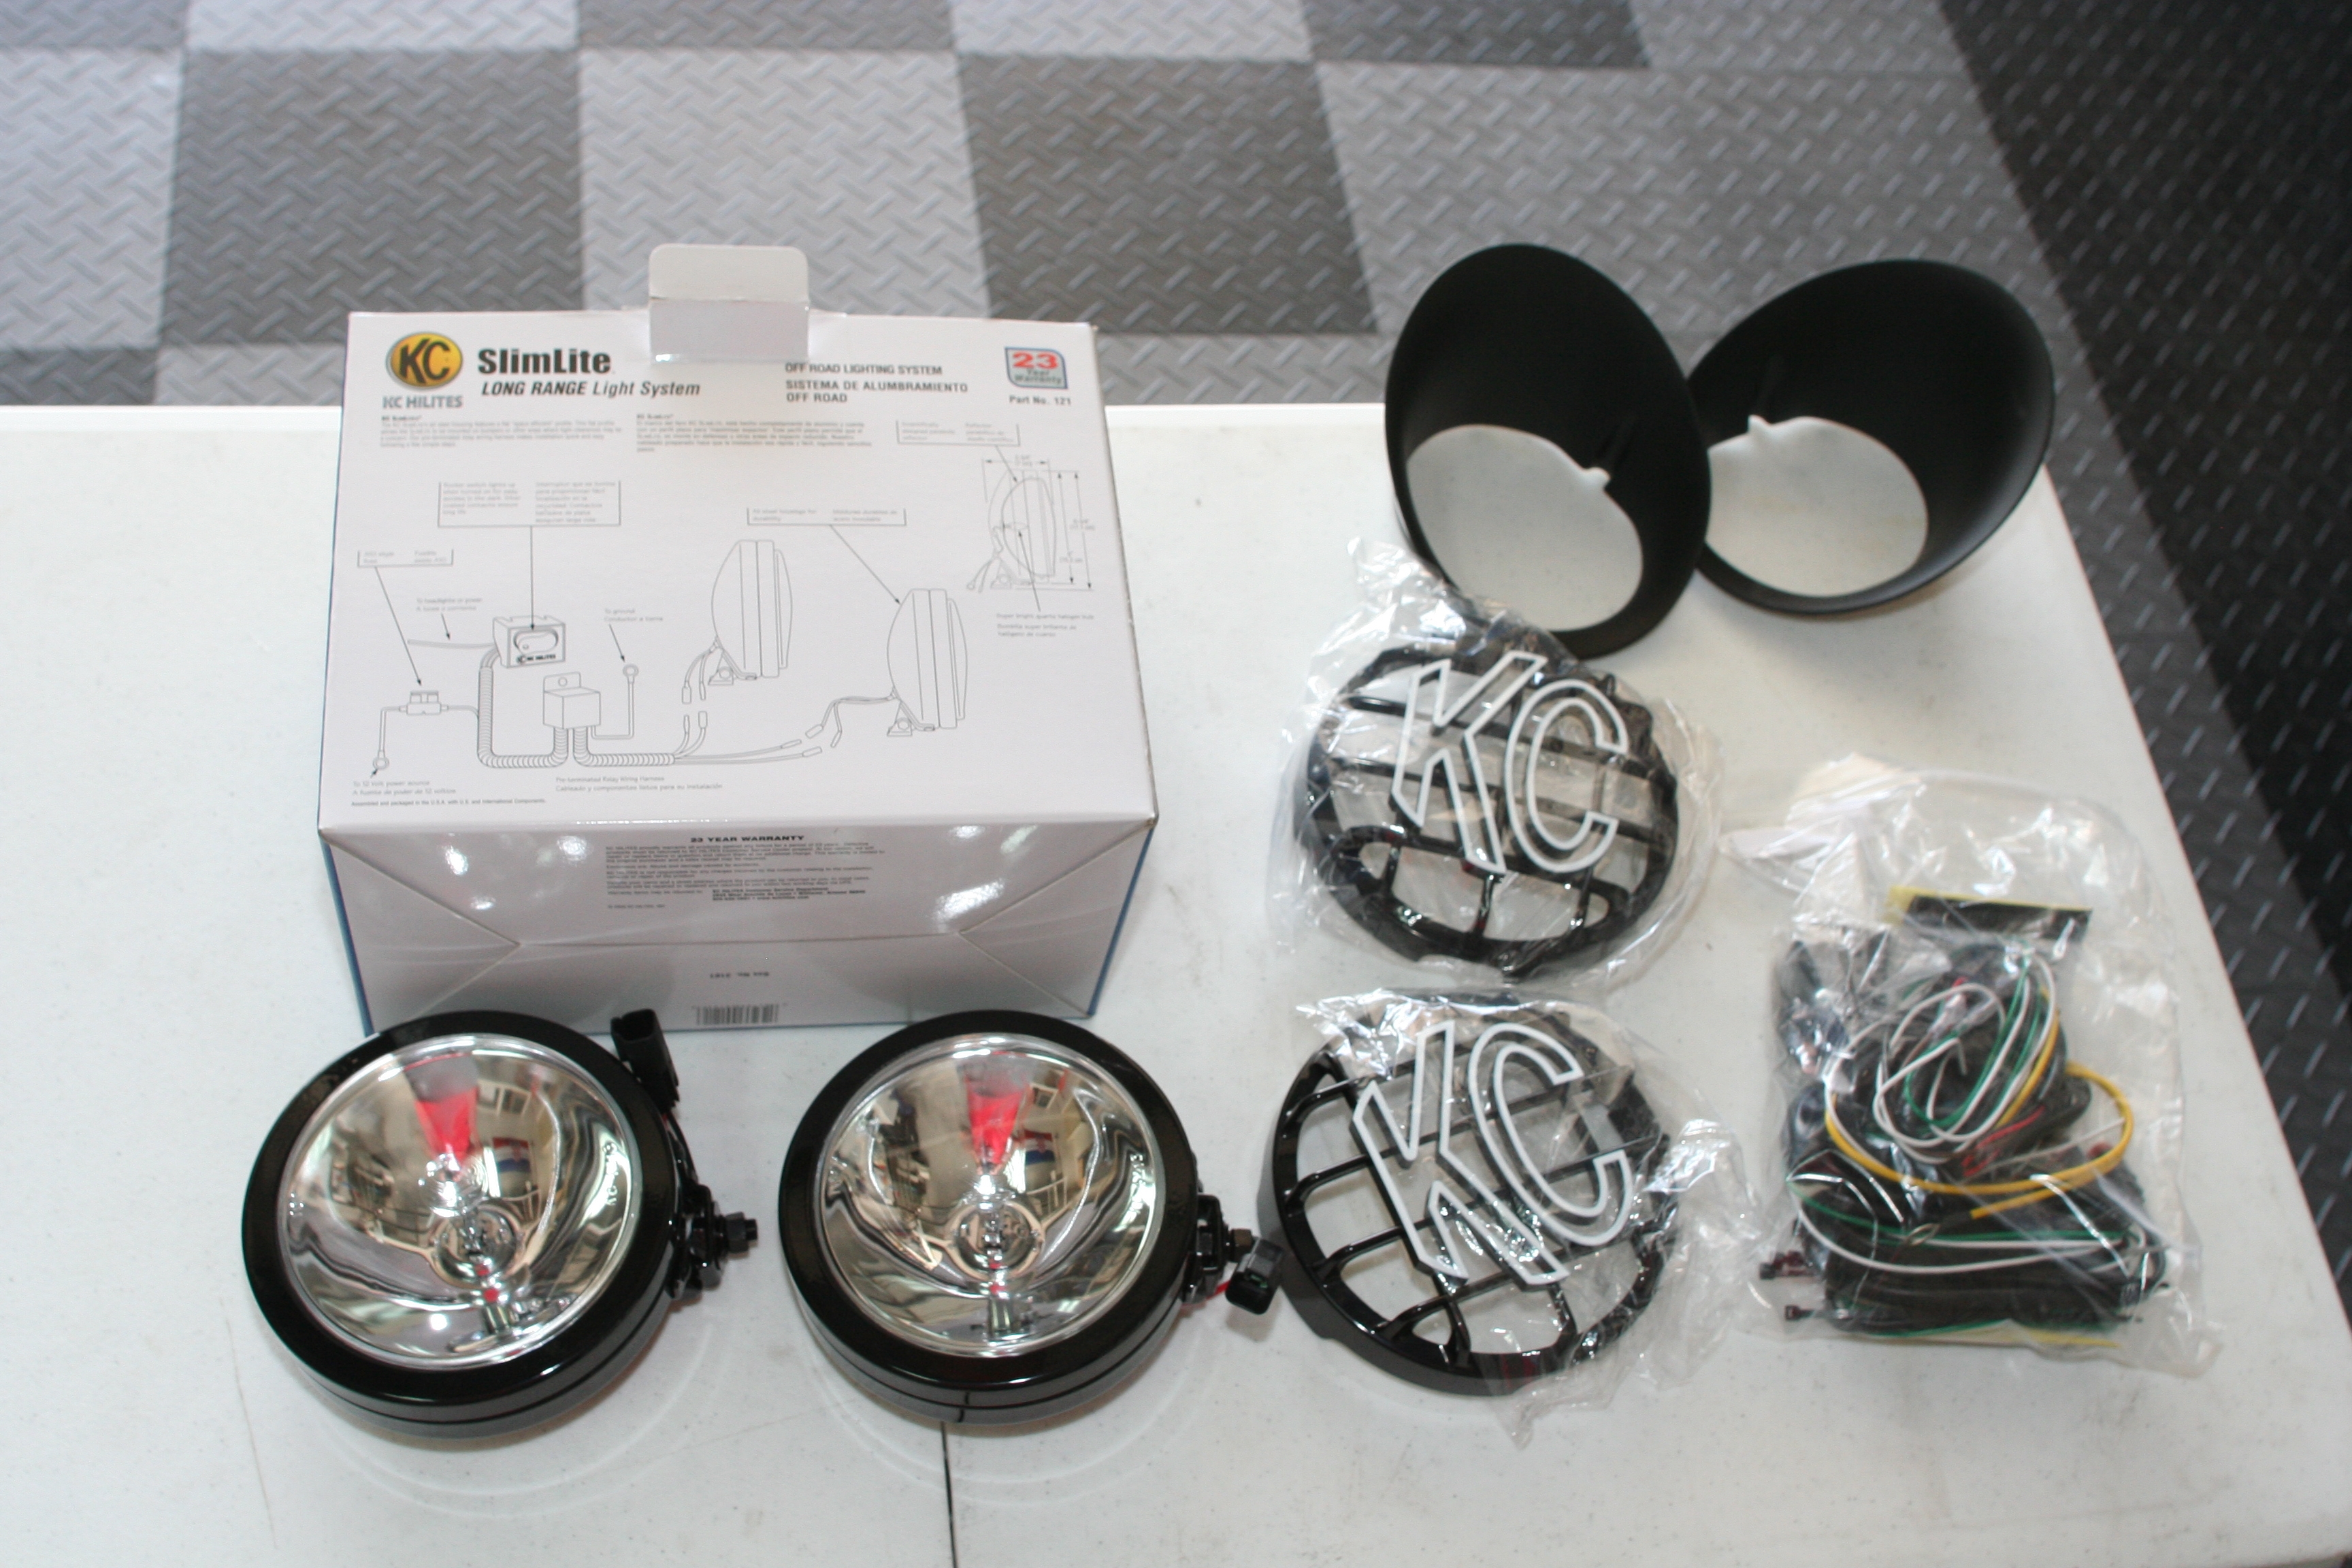
What’s in the box
Mounting the “L” Brackets
Steps on Mounting the “L” Brackets:
- Remove the stock plastic vents.
- Install the new plastic bezels.
- Temporarily clamp the “L” brackets in place.
- Measure and mark the mounting points.
- Drill and trim the “L” brackets.
- Mount the “L” brackets.
Wiring harness
Wiring harness
Next step is mounting the lights to the “L” bracket. This is the time in the project were your knuckles might bleed and tight spaces can get irritating. Every project has one. With the hole for the 3/8 stud marked and drilled it is time to mount the Lights. It is time to mount up the lights to see if the geometry of the layout is going to some minor changes to meet fitment. Since I side mounted the lights I needed to rotate the lens to compensate.
Steps on Mounting the Lights to the “L” Bracket:
- Mount the KC ‘s with the provided 3/8 stud.
- Loose fit the light into the position desired as snug as possible to the bezel. A large crescent is useful if you need to bend the bracket a little.
- Tighten the KC side brackets with lock washers.
- Position and adjust and re tighten all mounting points.
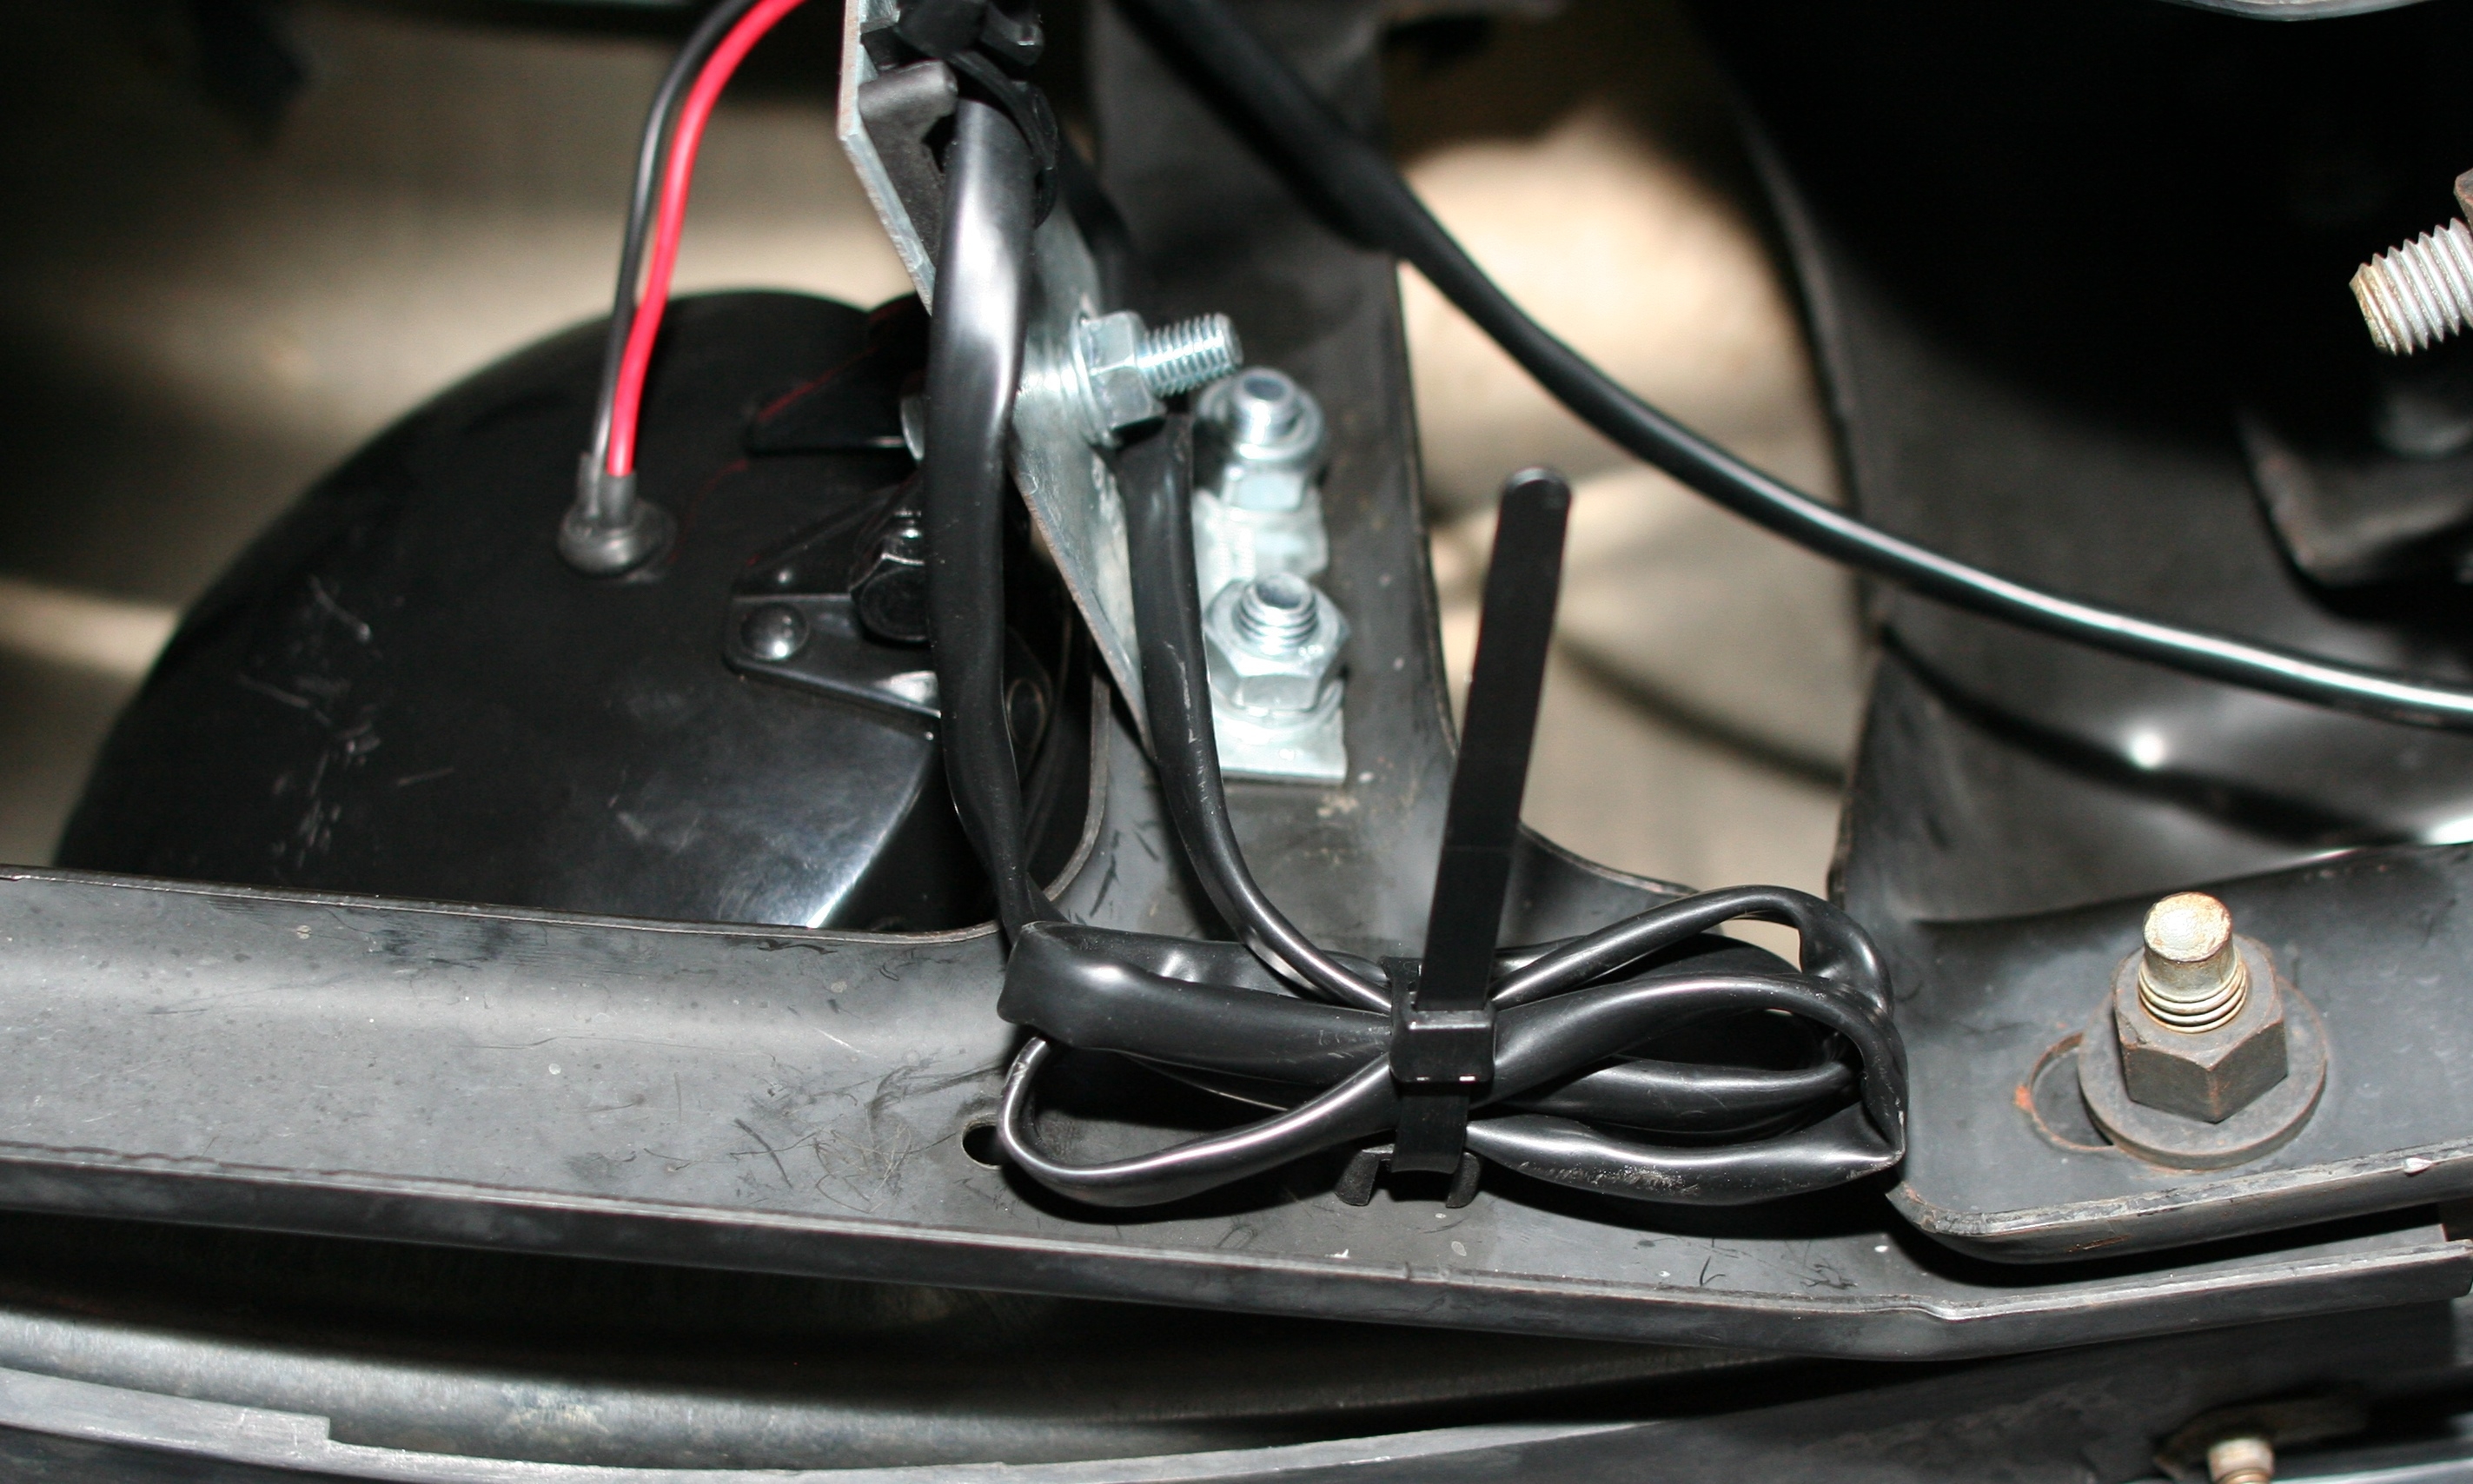
Next effort is the wiring harness. KC really does a nice job with the harness the bulk of the wires are loomed in plastic tubing for protection from the road. The part of the project was straight forward; I went a little overkill on the mounting points to keep the harness secure and away from radiator heat. Running the wires to the battery is a job for a very limber skinny arm, I have neither. I drilled holes for brackets I had laying around using my Rivet gun to mount then zip tie to hold down the Harness points. Two inline fuses are part of the kit those end up connecting to the positive side and one ground in the engine compartment and on ground in the cab terminating at the switch.
Steps on Setting Up the Wire Harness:
- Map out your path to your battery and ultimately to the switch in the cab.
- Connect the lights to the harness and run the low side of the harness.
- Mount the included relay in a high location on the way to the positive terminals.
- Pull your fuses and connect your positive side wires.
- Pull your green and white thin gauge wires through the firewall to the location of the switch.
- Make the connections at the switch.
- Tidy up the wires with zip ties.
- Mount the inline fuses and put the fuses back in.
- Hit the switch and adjust the lights a low even direction.

-
 Kendall Motor Oil Knowledge Session-Things to know about Full Synthetic Motor Oil Additives
By AutoPartsWarehouse Staff, images courtesy of Kendall Motor Oil...
- November 10, 2017
-
 Kendall Motor Oil Knowledge Session-Things to know about Full Synthetic Motor Oil
By AutoPartsWarehouse Staff, images courtesy of Kendall Motor Oil...
- November 10, 2017
-
 Autolite Iridium XP Spark Plug Install
by Steve and Gavin Maloof The guys at AutoPartsWarehouse...
- August 2, 2017
-
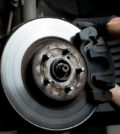 Car Care 101: Common Reasons Why Your Brakes Squeak
Does it bother you when you hear unusual noises...
- June 28, 2017
-
 Car Care Checklist for Summer: Part II
Here are more things to consider to get your...
- June 24, 2017
-
 Top Five Auto Parts the Average Consumer Should Purchase Online — and Here’s Why!
AutoPartsWarehouse.com says the Internet is the best place for...
- January 21, 2013
-
 Summertime is Summer Tire Check Time: 7 Tips To Combat 11,000+ Tire-Related Accidents Annually — and Keep Tires Rolling for Longer
U.S. drivers put almost 3 billion miles on their...
- June 4, 2014
-
 AutoPartsWarehouse.com 2013 Child Passenger Safety Tips and Resource Guide
A Wake Up Call On Child Passenger Safety The...
- September 12, 2013
-
 6 Amazing Classic Car Restorations
Restoring old cars always come with a hefty price...
- November 24, 2014
-