- Summertime is Summer Tire Check Time: 7 Tips To Combat 11,000+ Tire-Related Accidents Annually — and Keep Tires Rolling for Longer
- 10 DIY Tips to Add Years to a Vehicle’s Life & Minimize Expensive Repairs
- Defensive Driving Tips to Avoid Costly Repairs As Wintery Driving Conditions Continue to Plague Roads
- AutoPartsWarehouse.com 2013 Child Passenger Safety Tips and Resource Guide
- Top Five Parts to Make Your Vehicle More Fuel Efficient
Review: K&N 57 Series Generation II Air Intake Kit and Hypertech Power Programmer
Overview
Products: K&N 57 Series Generation II Air Intake Kit and Hypertech Power Programmer
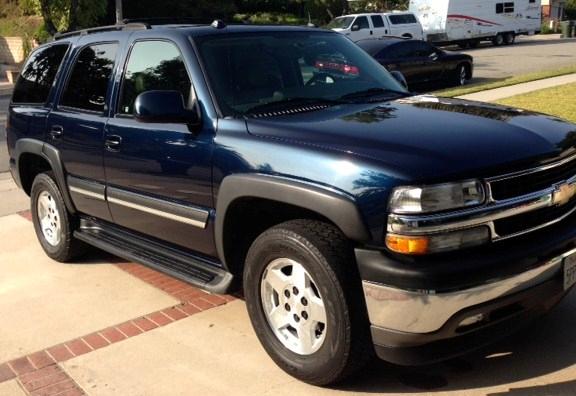
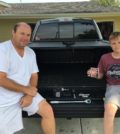
Vehicle: 2005 Chevrolet Tahoe 5.3L
Level of Difficulty: Easy
Background
We’ve owned our Tahoe for more than 8 years now and it’s been a great family car. I was looking, however, to give it a little performance makeover and maximize its potential for fuel economy. After browsing the web and reading a number of blogs to understand my options, it appeared as though an intake system combined with a tuner was the way to go. My trusted resource for parts has always been Auto Parts Warehouse, so away I went to search for the best bang for my buck.
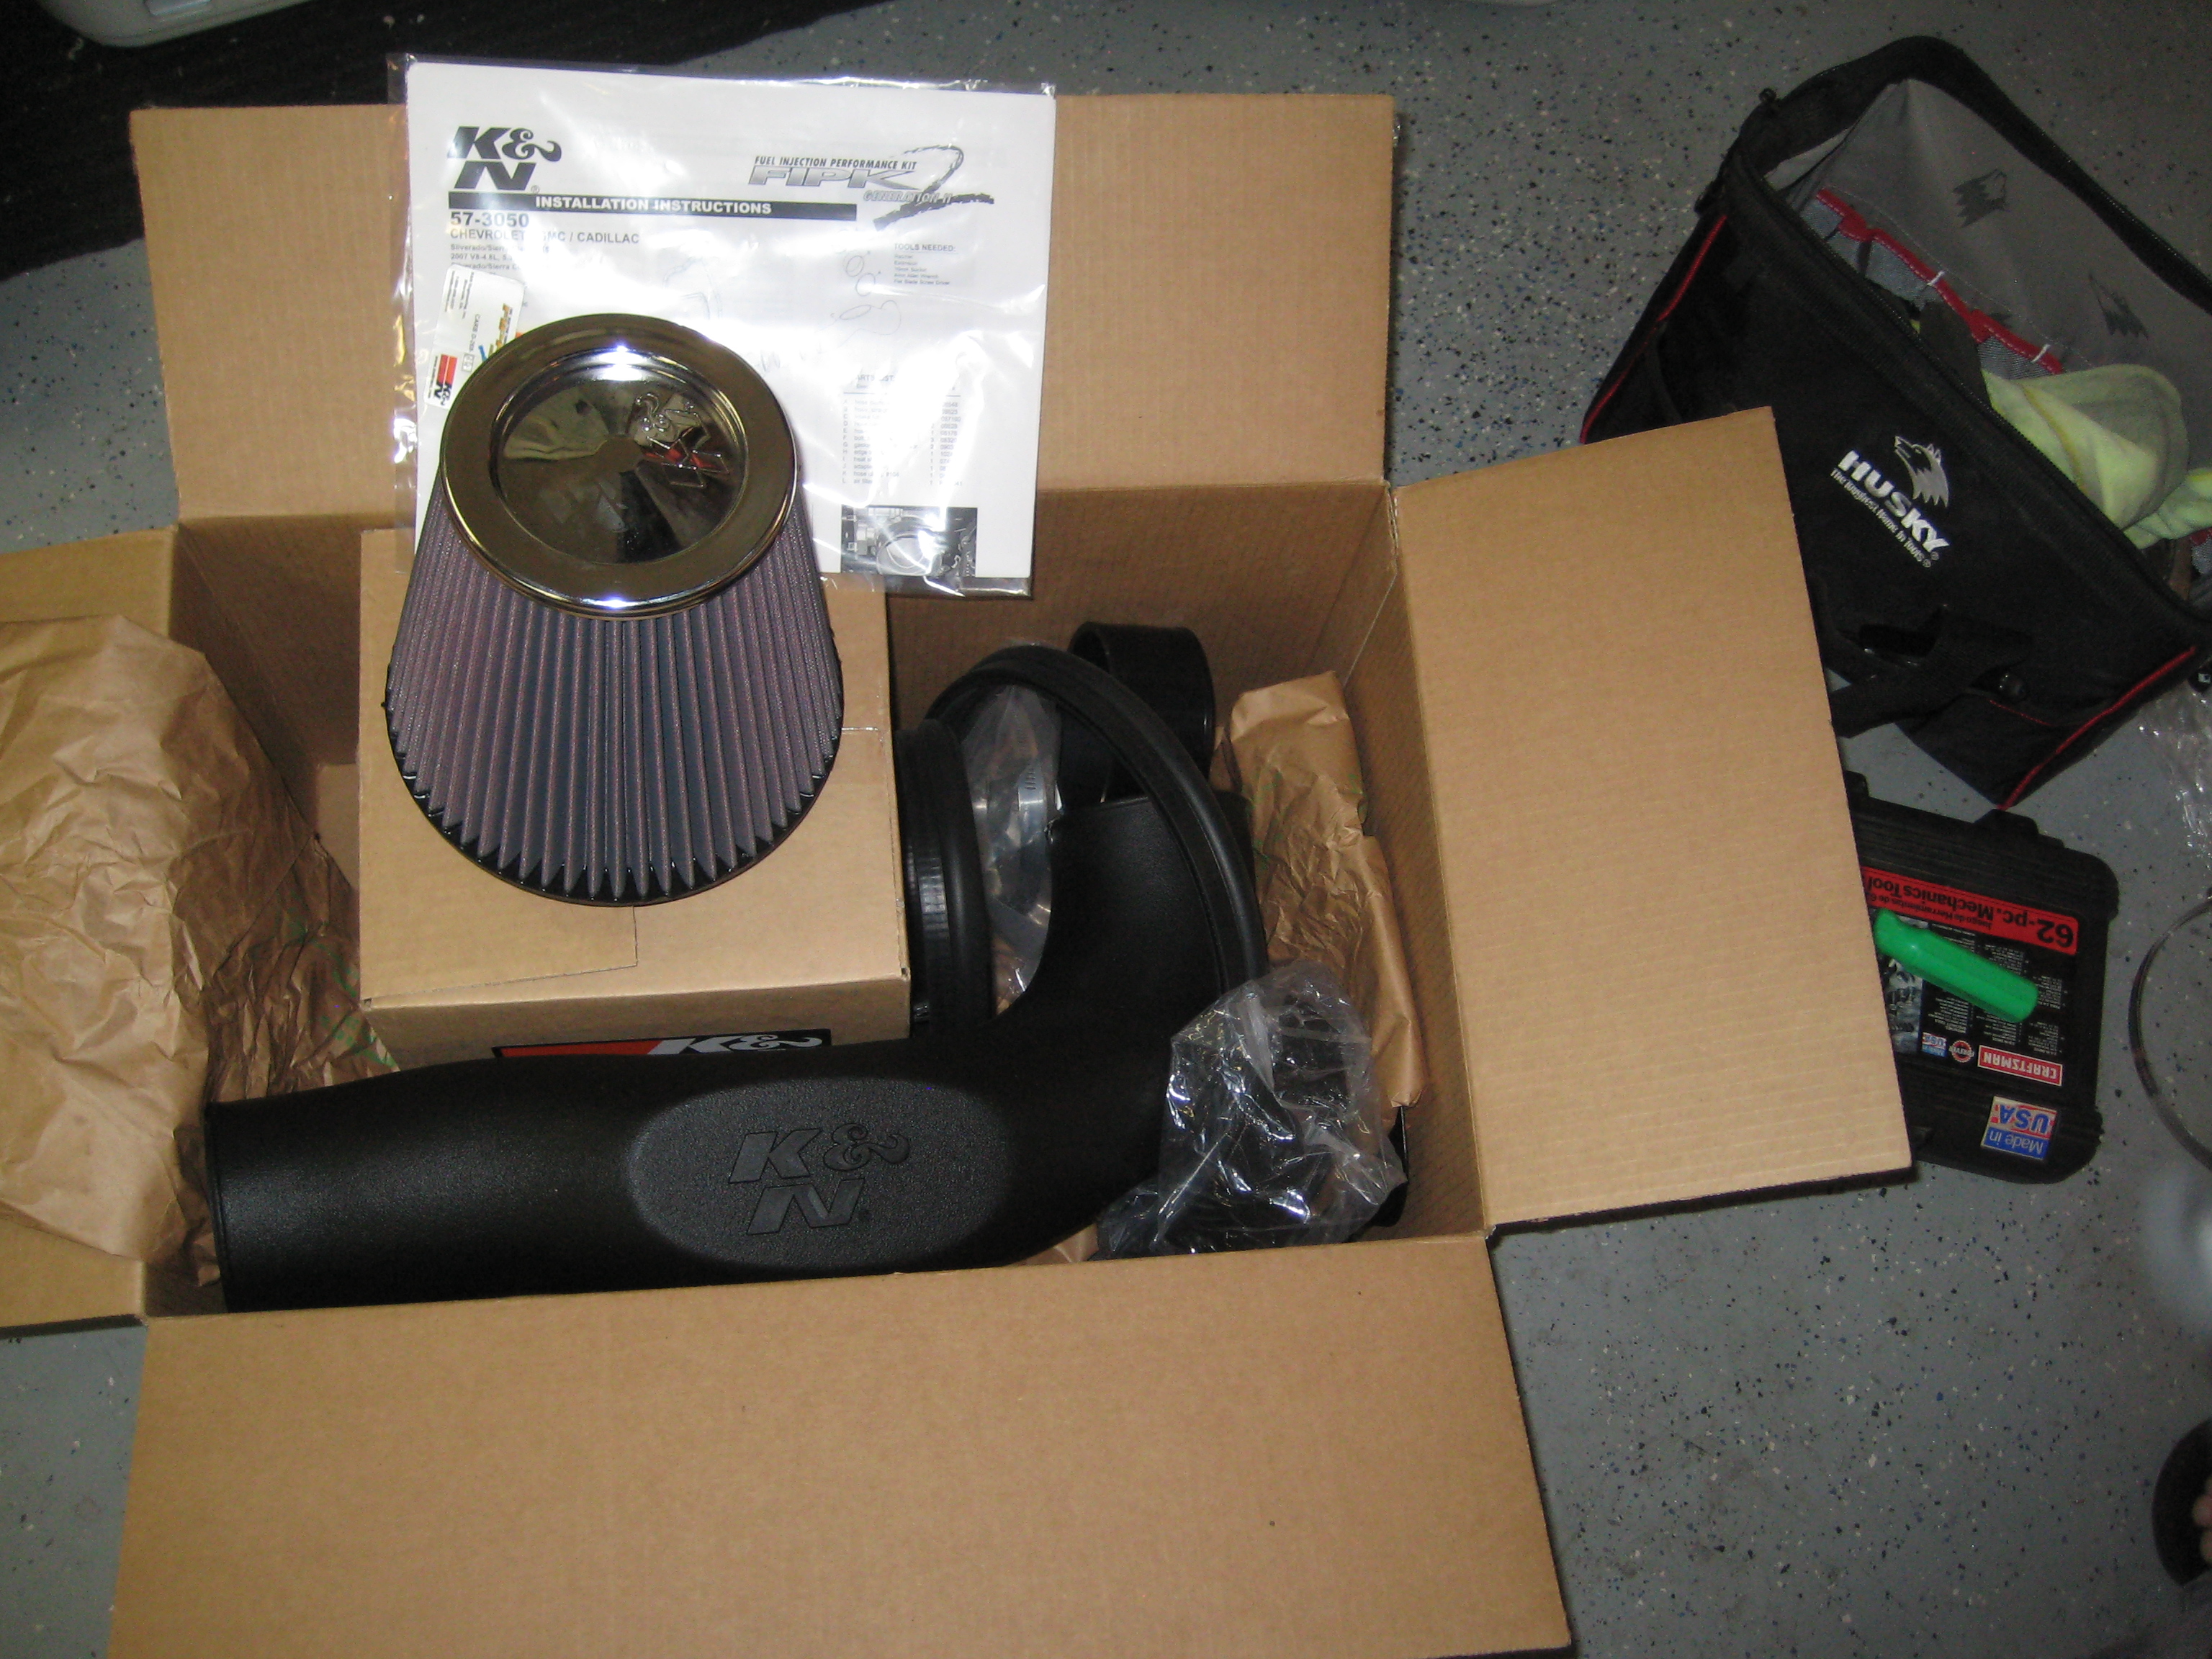
K&N 57 Series Generation II Air Intake Kit
First Impressions
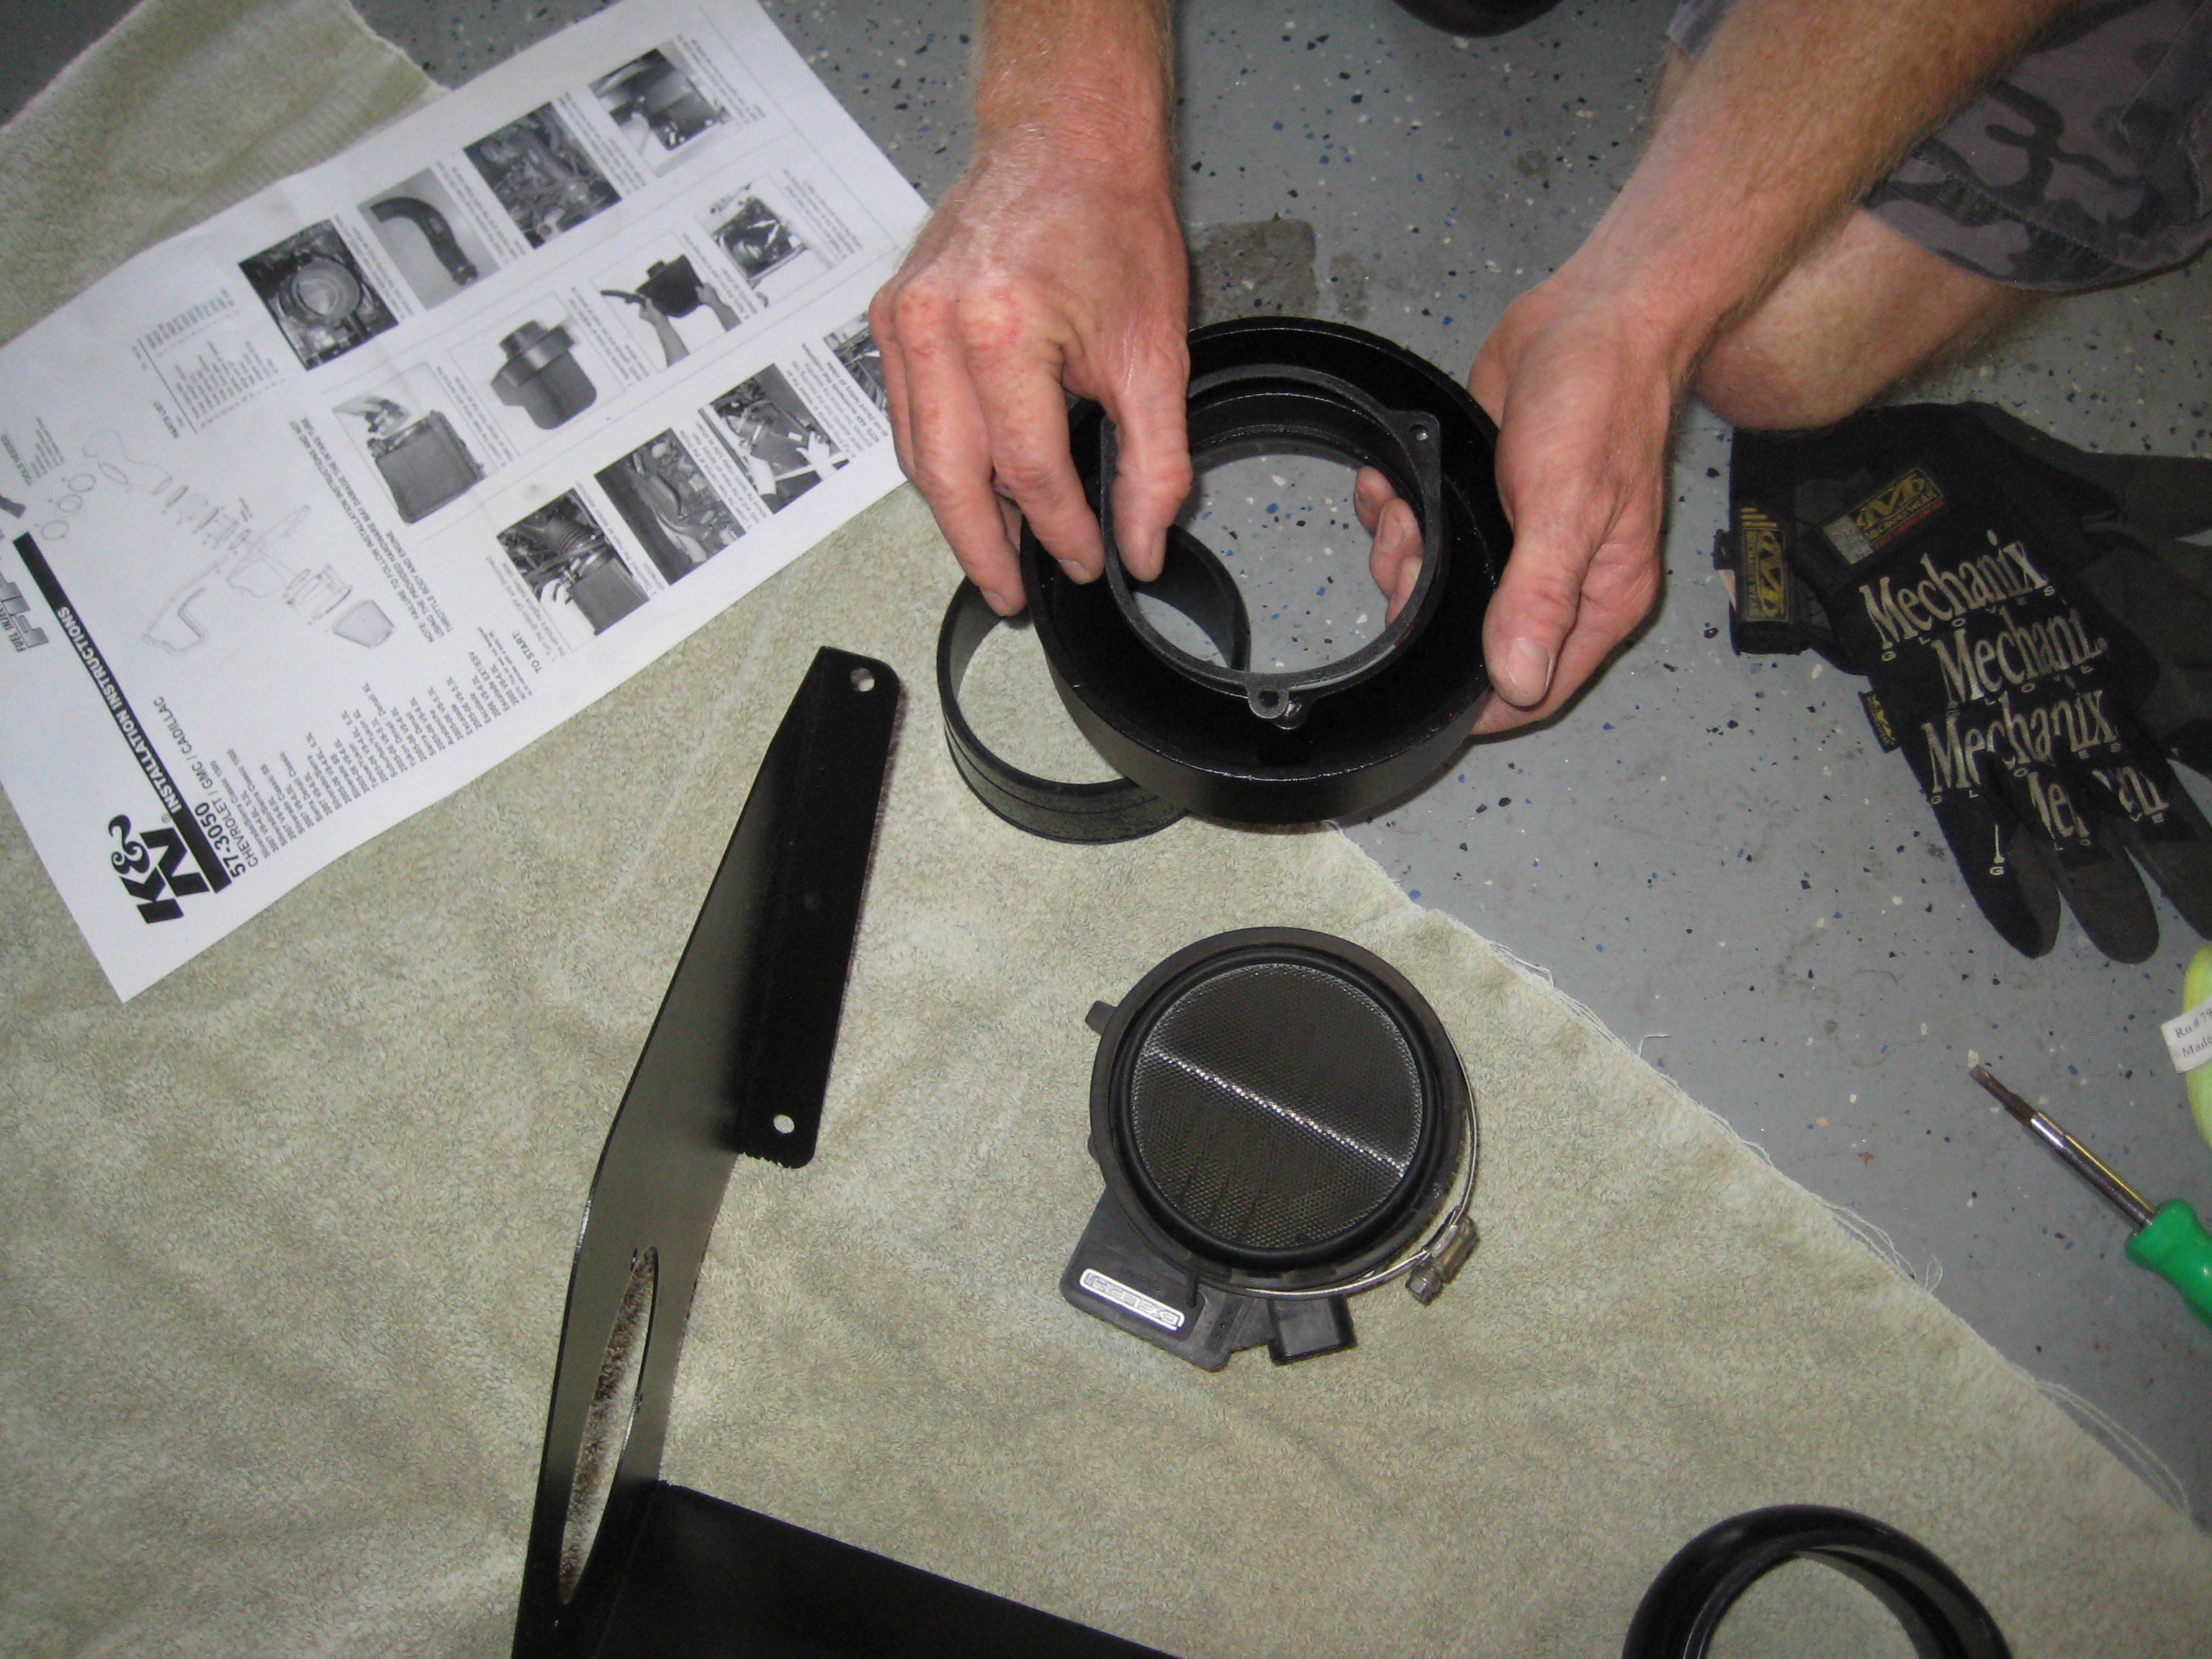
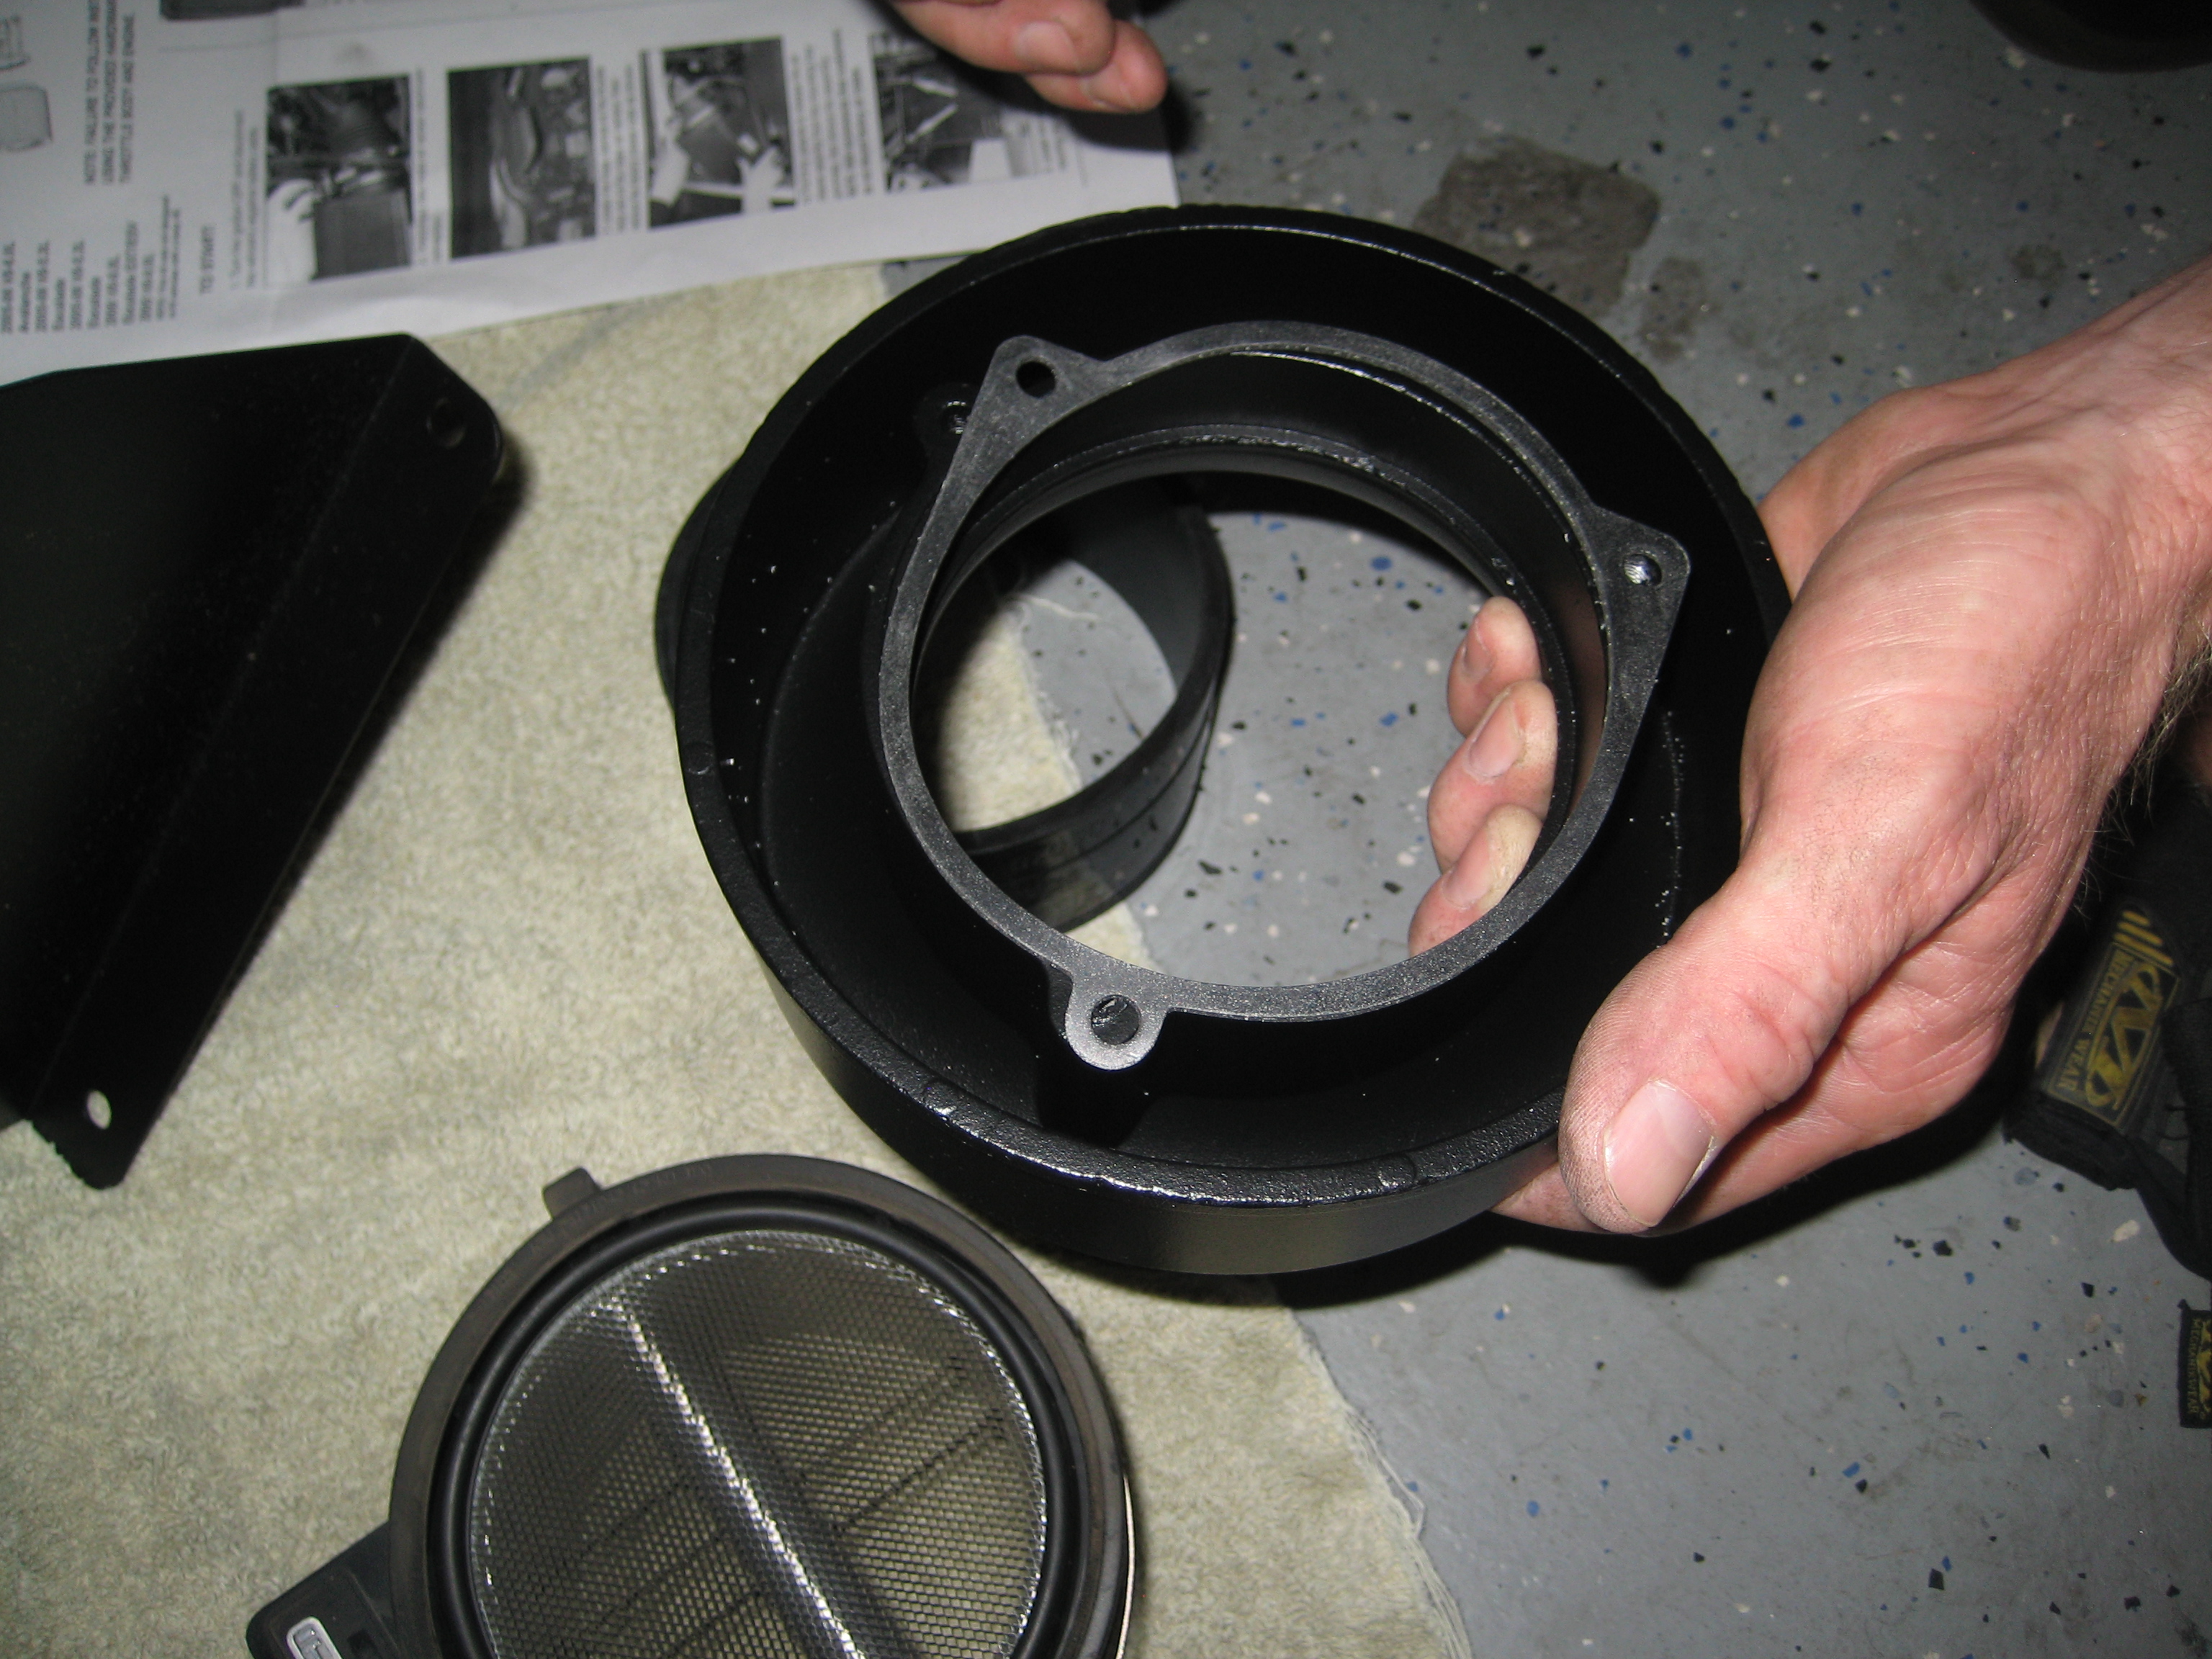
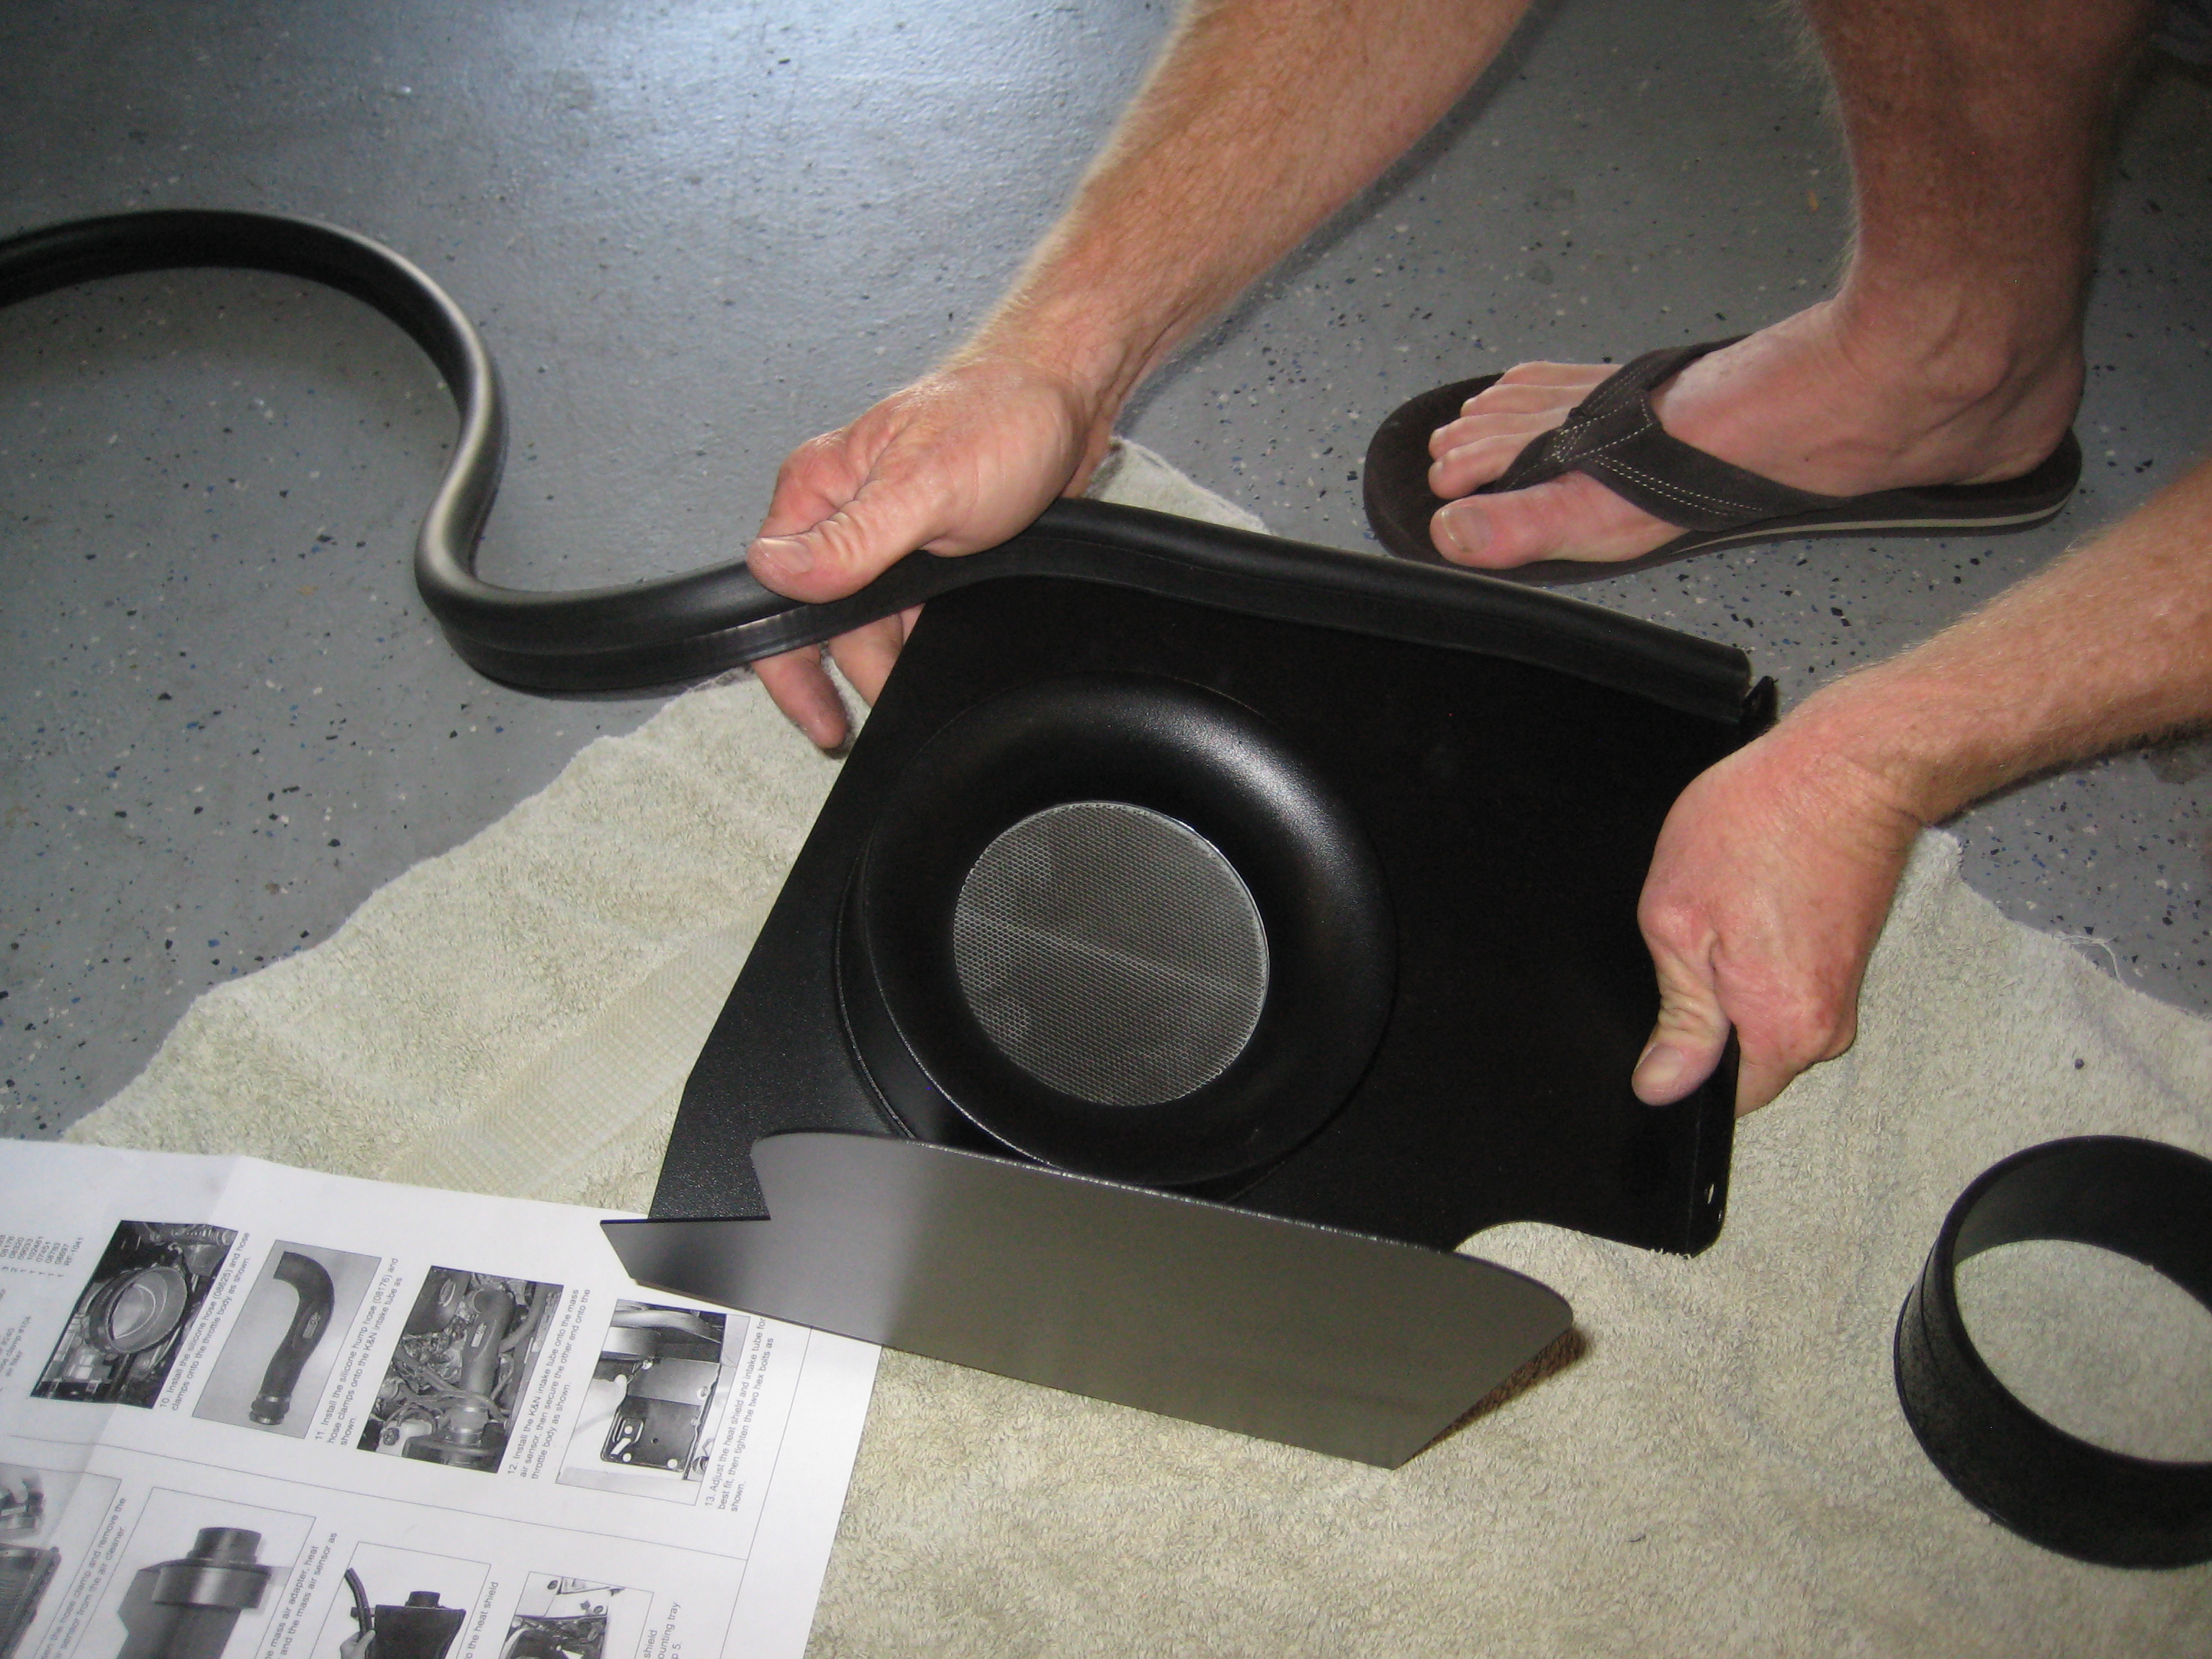
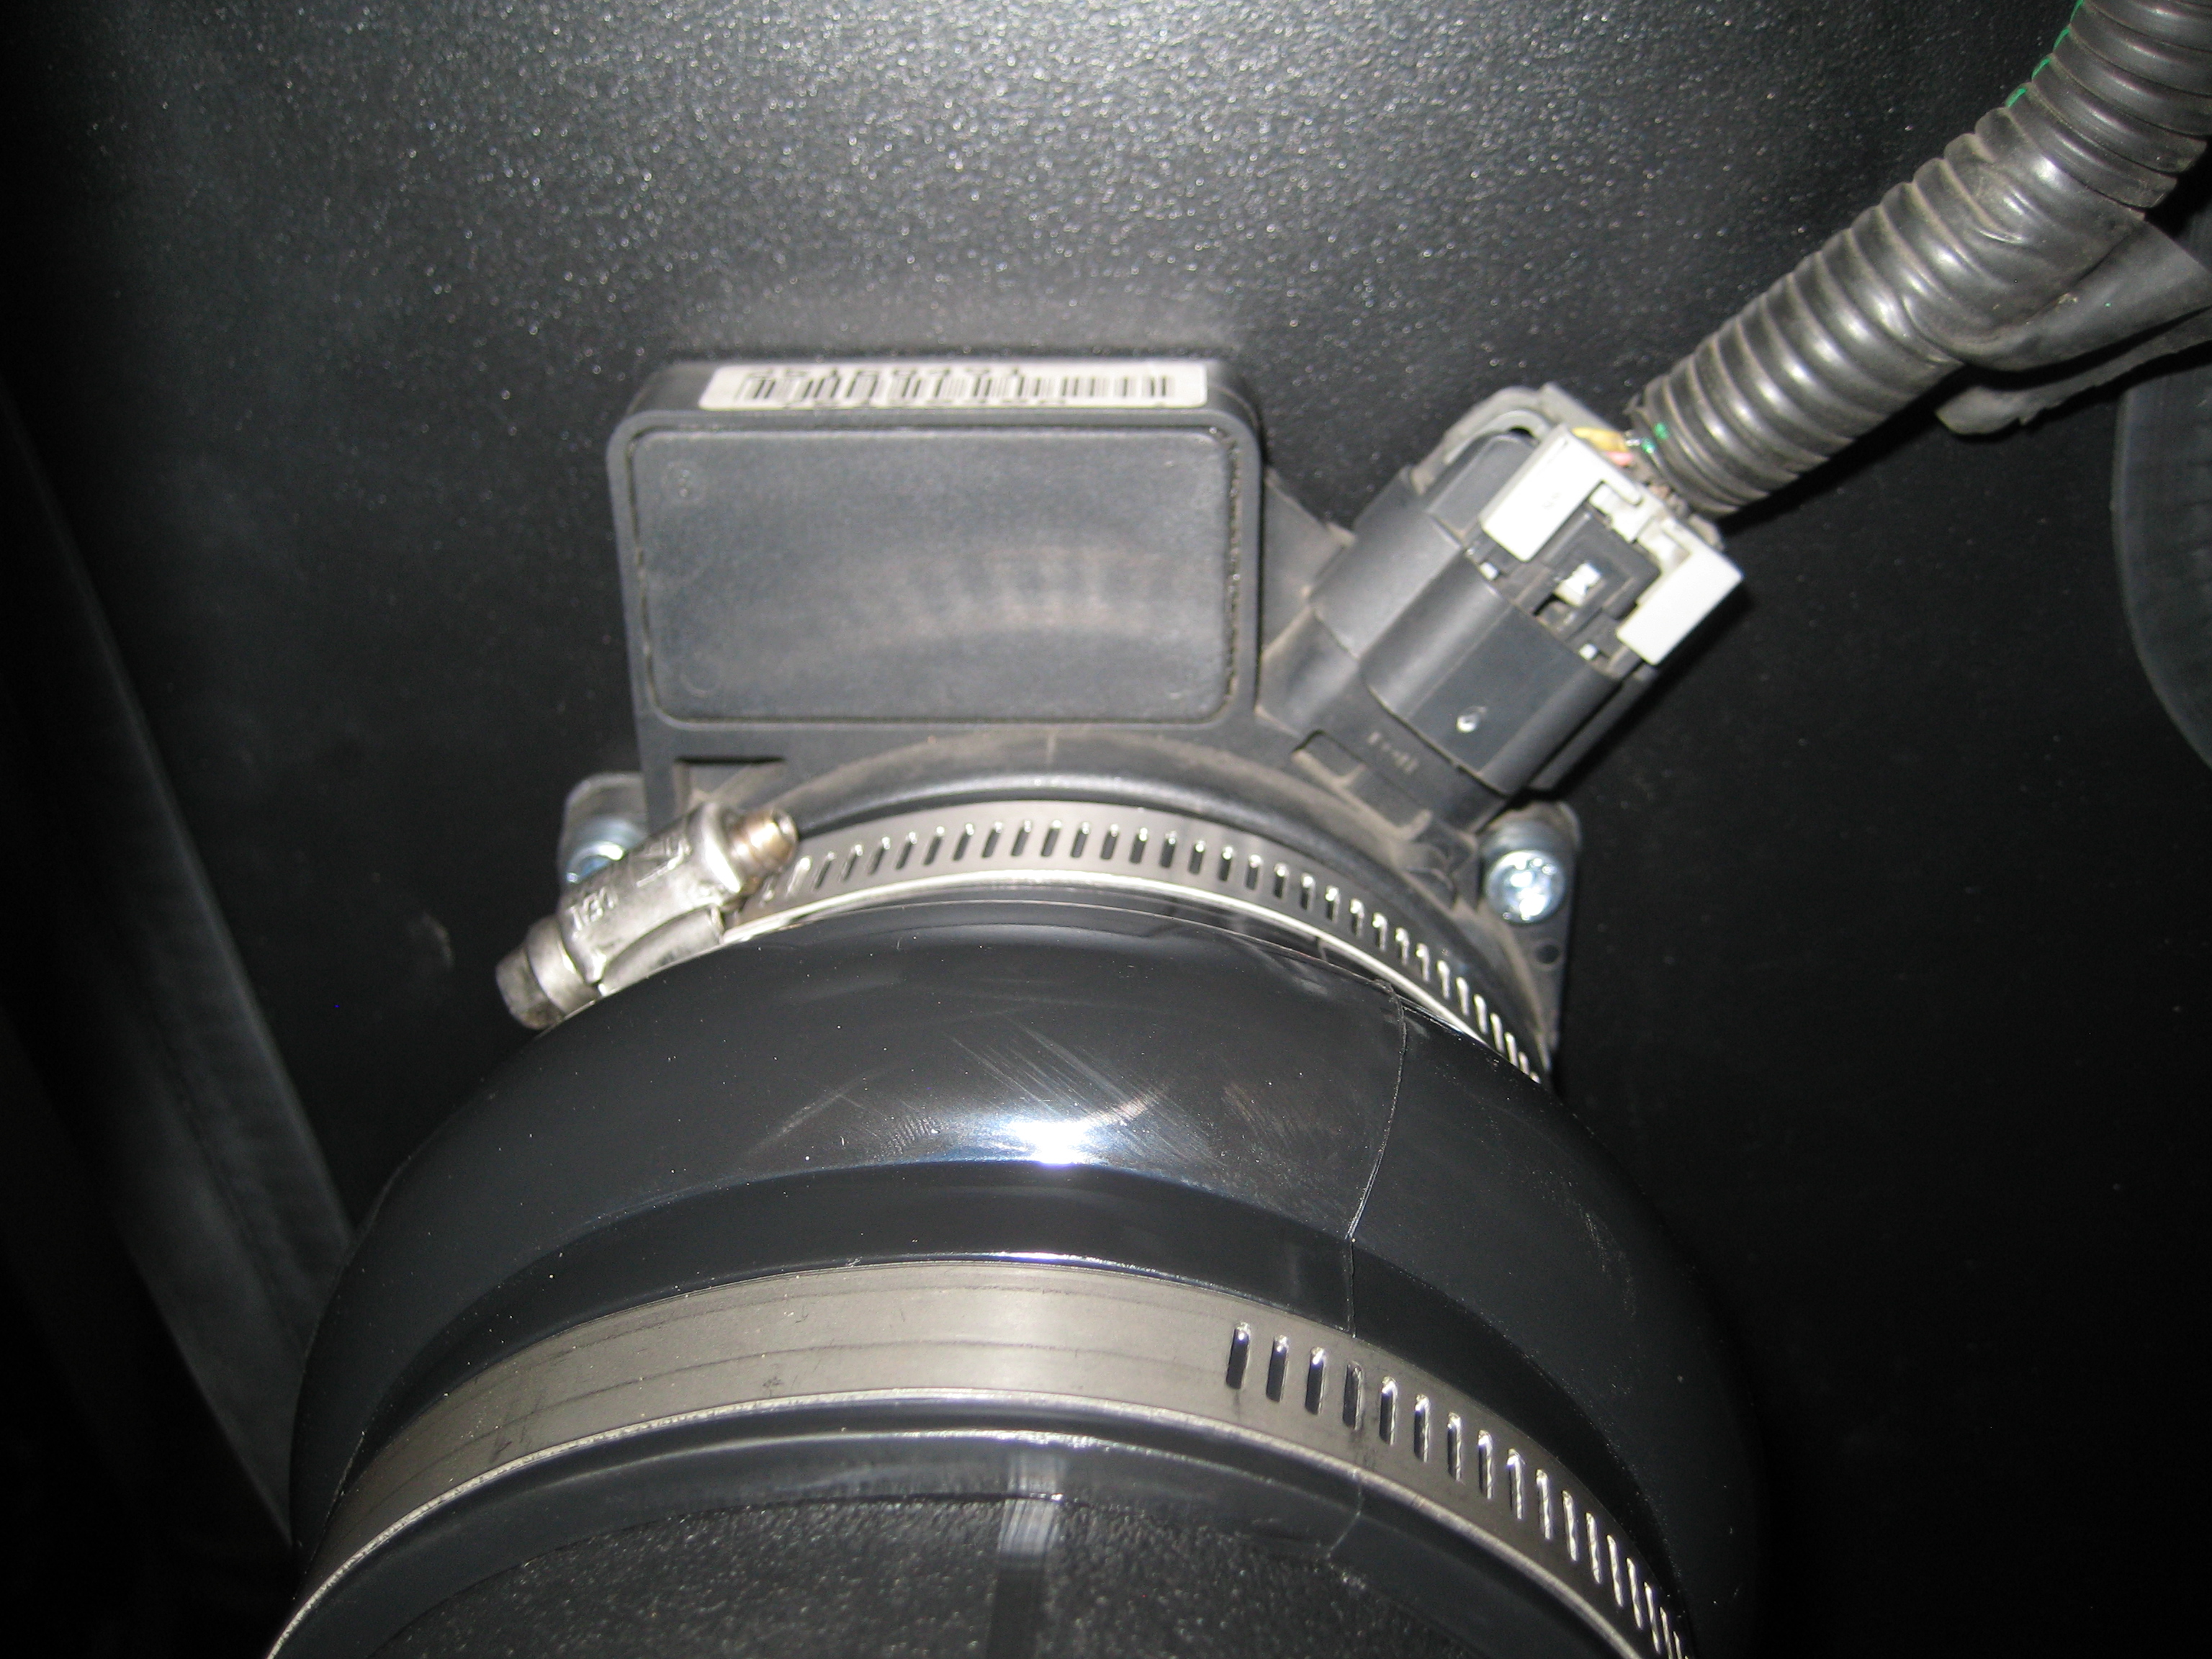
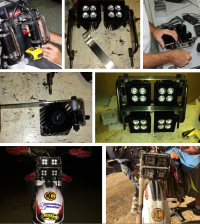
I began with the Intake system. I opted for the K&N® – 57 Series Generation II Air Intake Kit. It appeared to be priced better than average among competitors and the brand name recognition played a significant role. My order was placed on a Friday and the new intake system arrived on Tuesday the following week, which was quite handy. It was neatly packaged and all parts were accounted for.

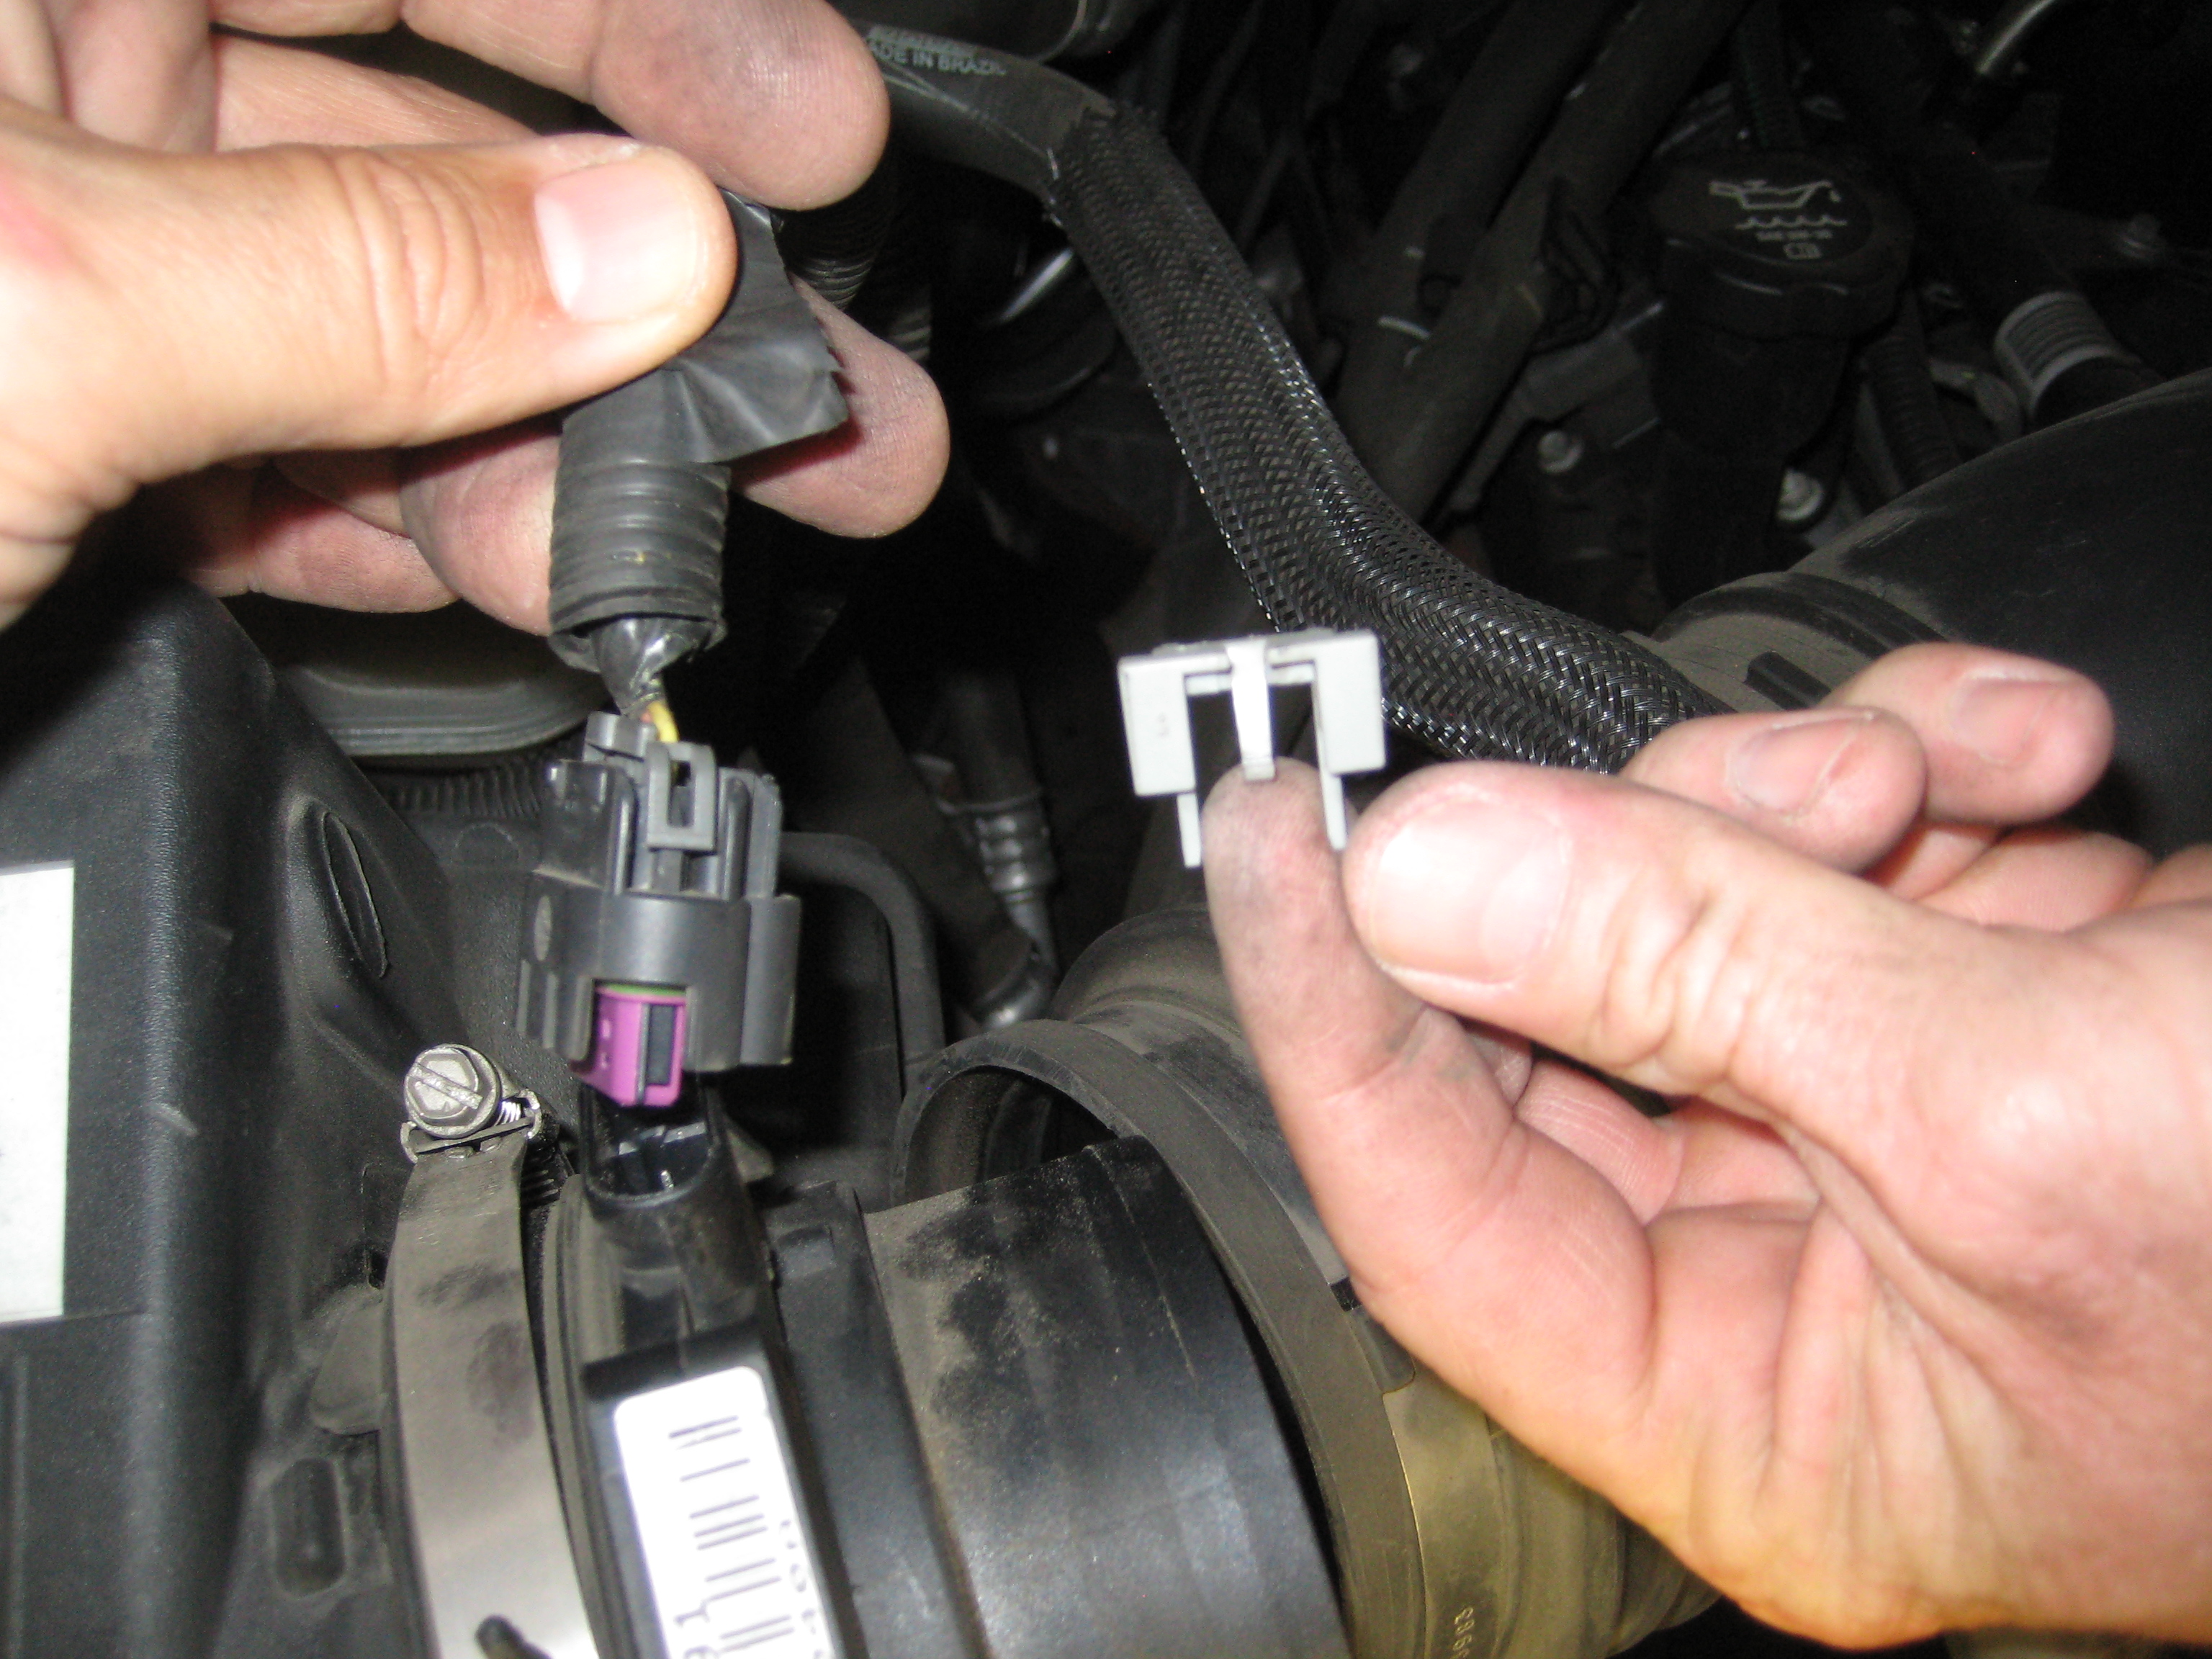
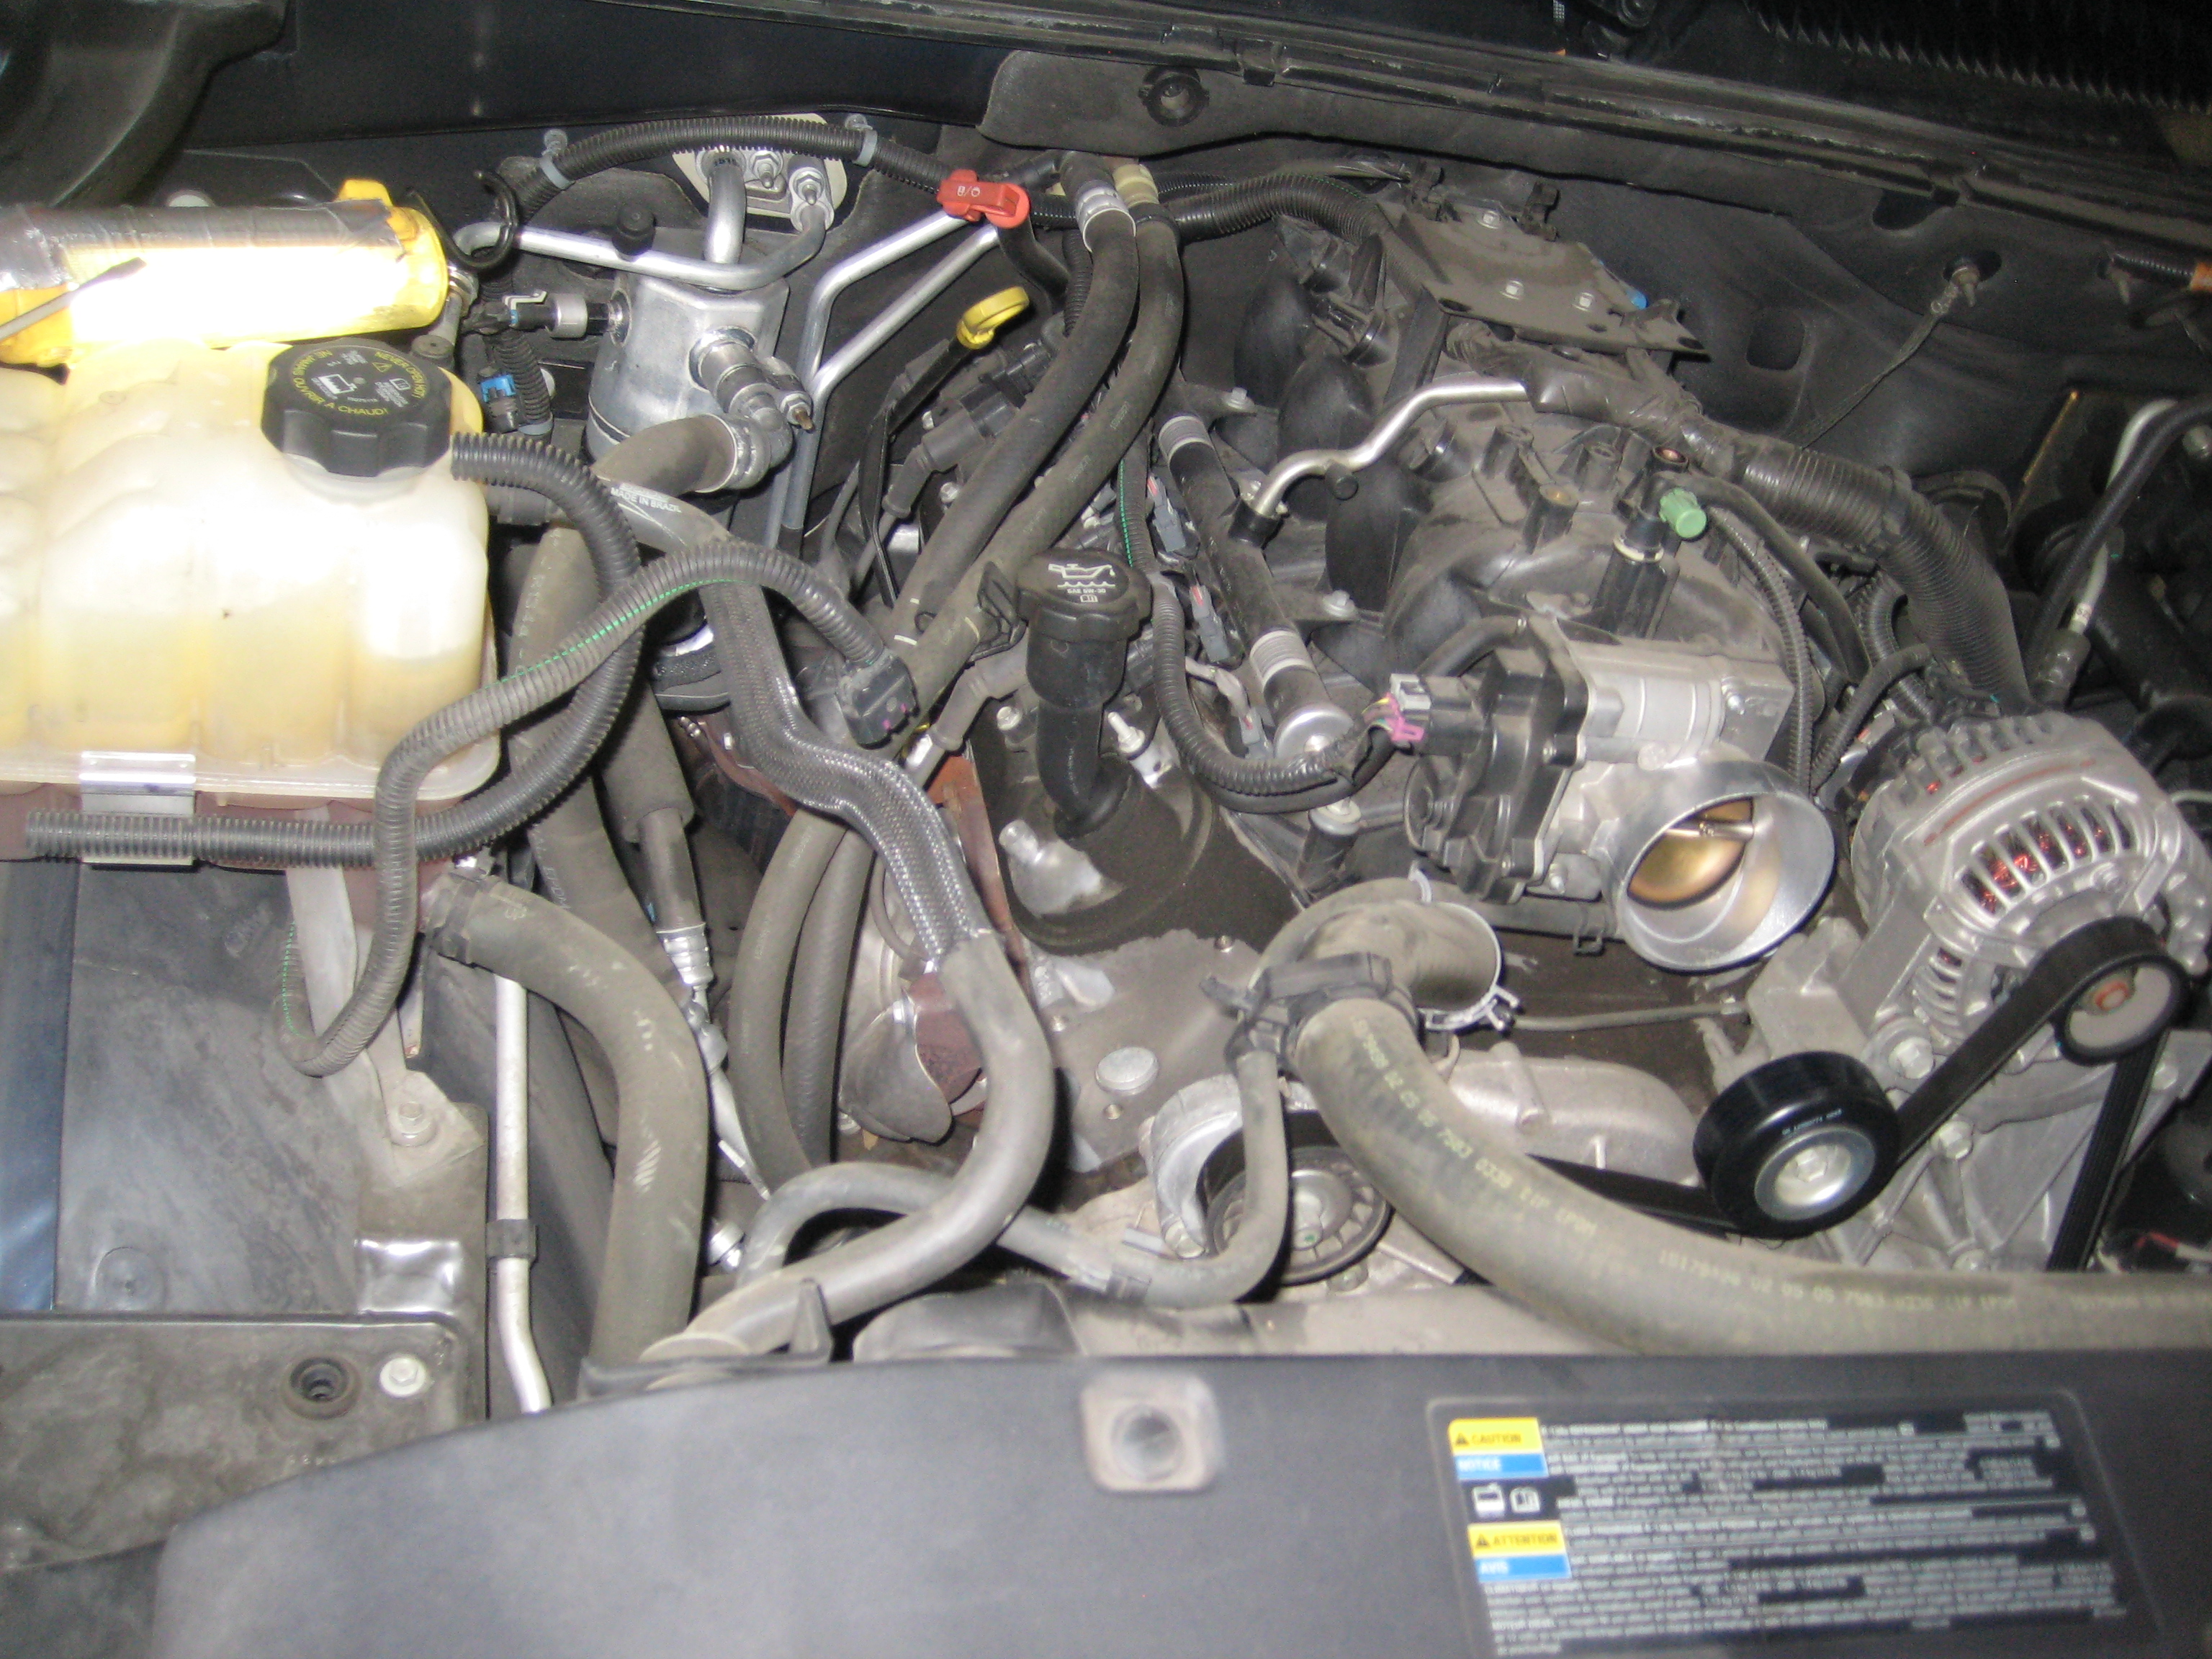
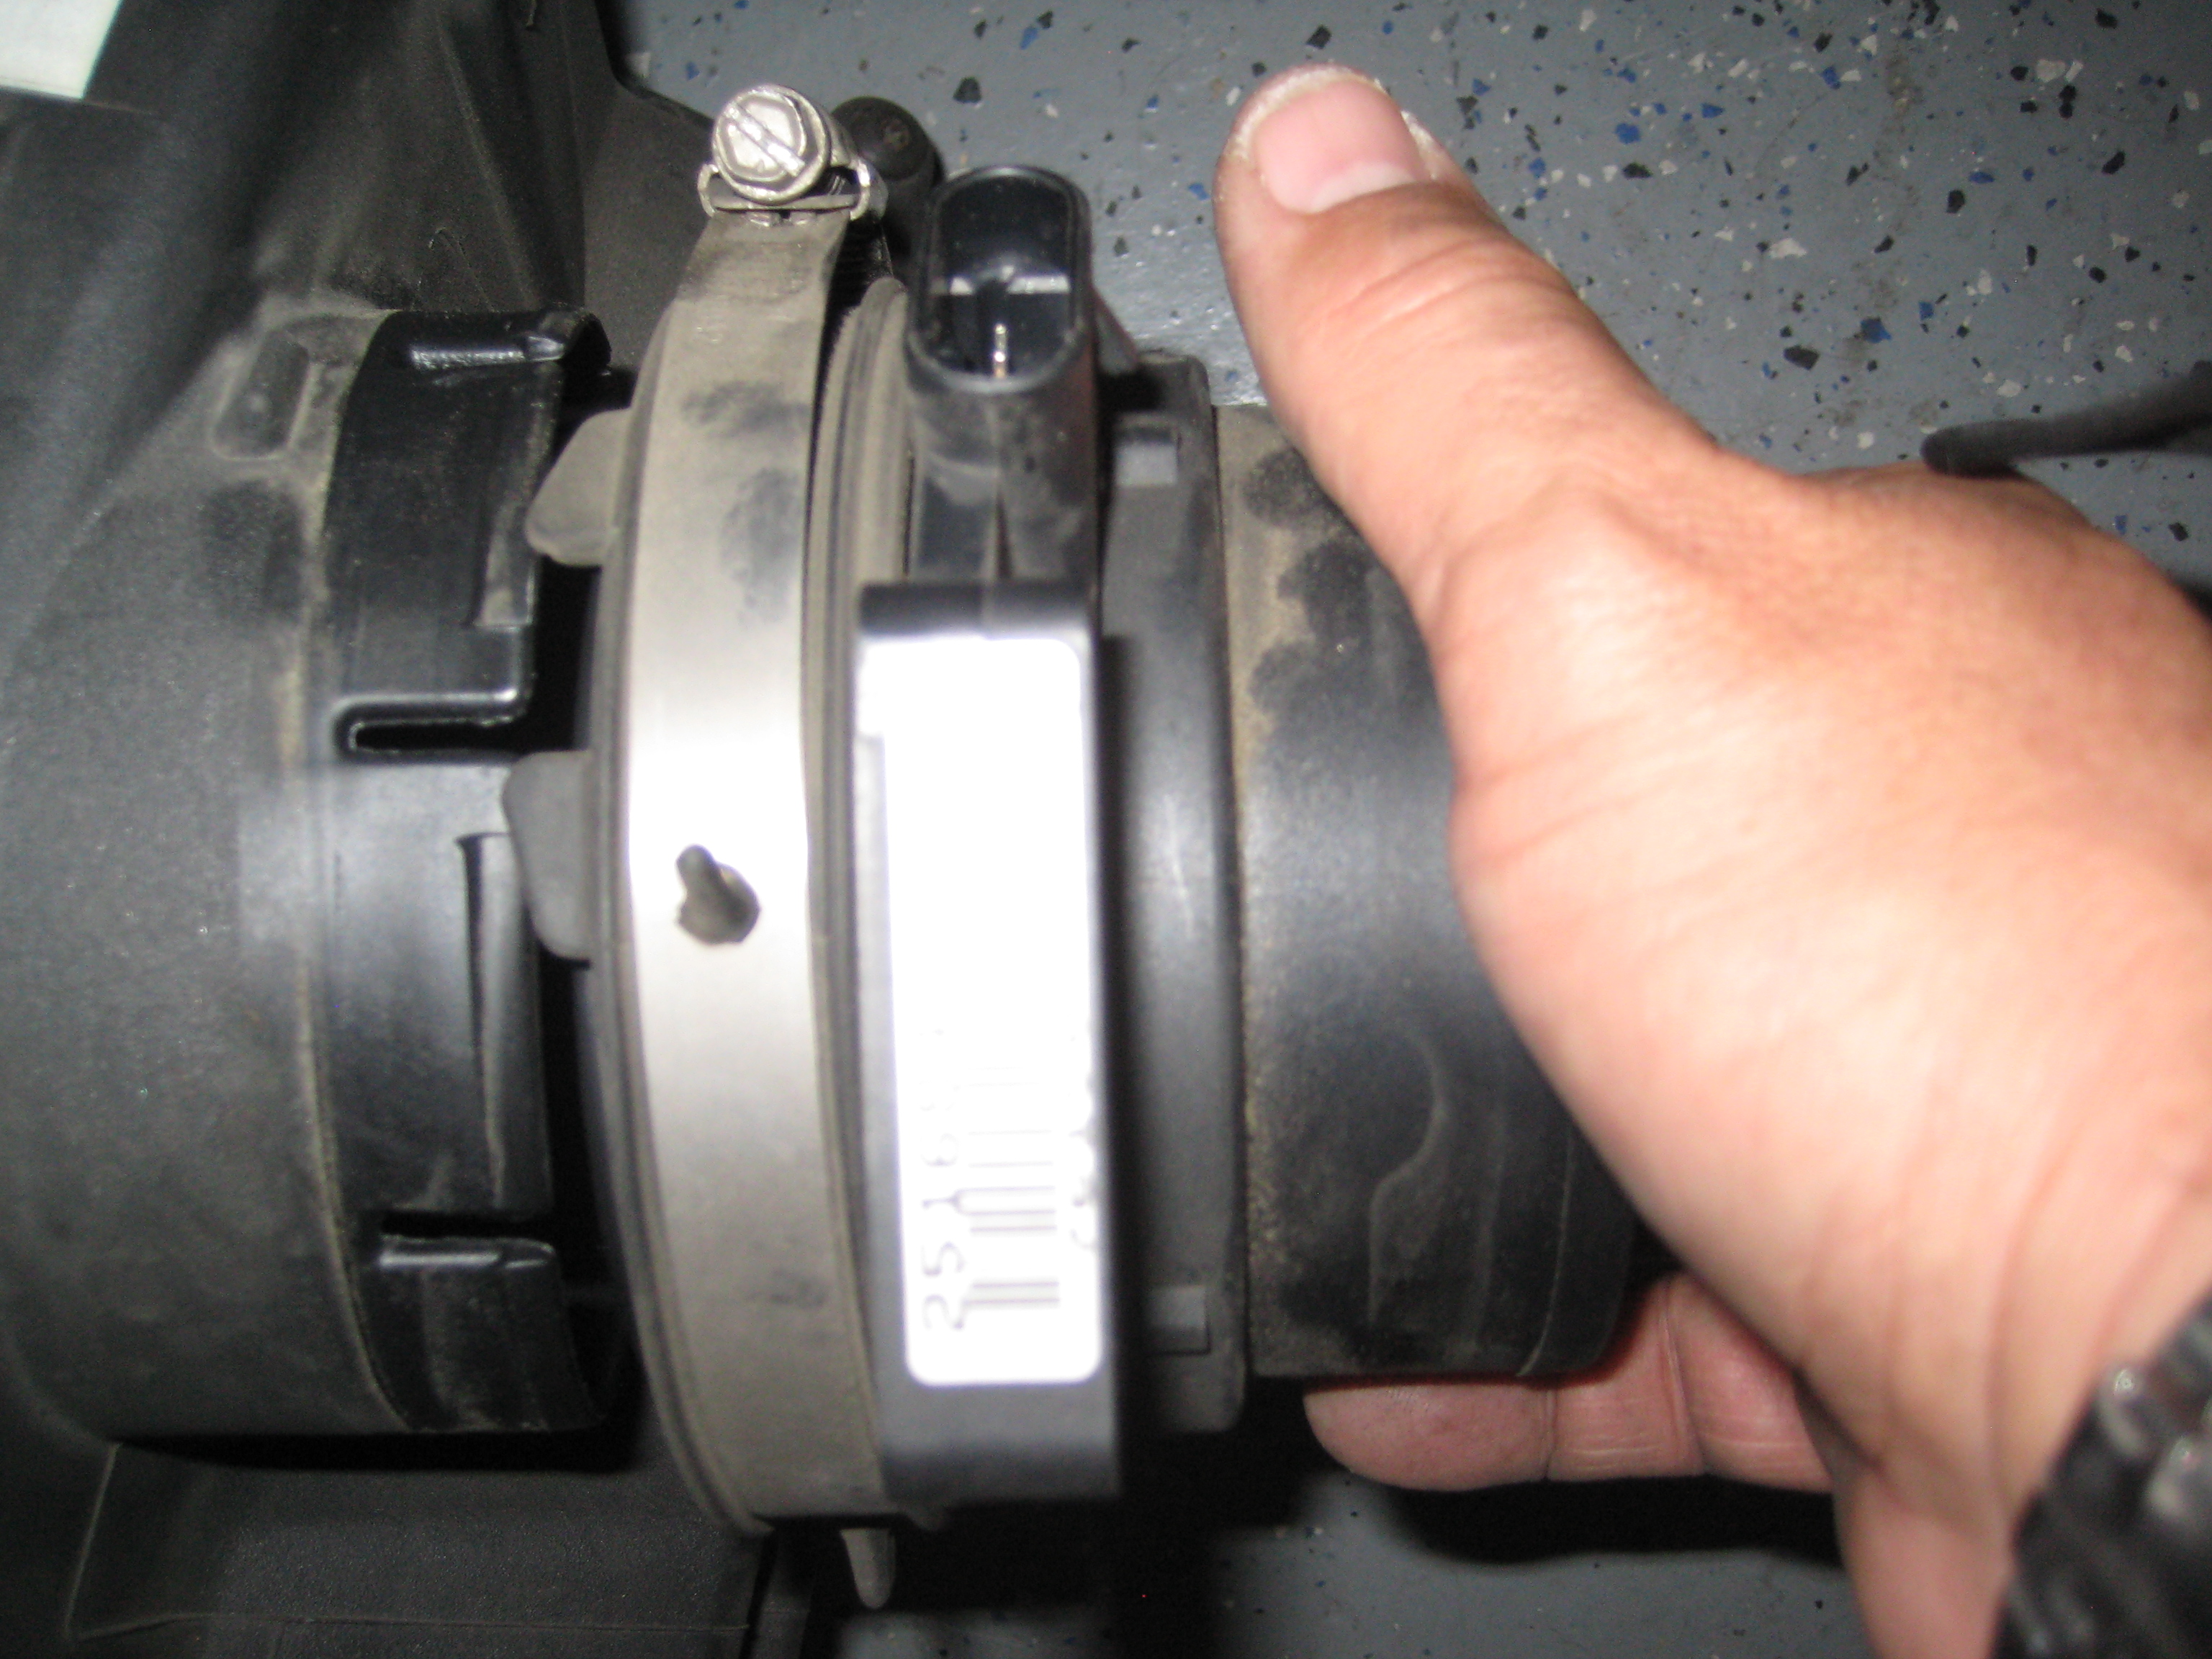
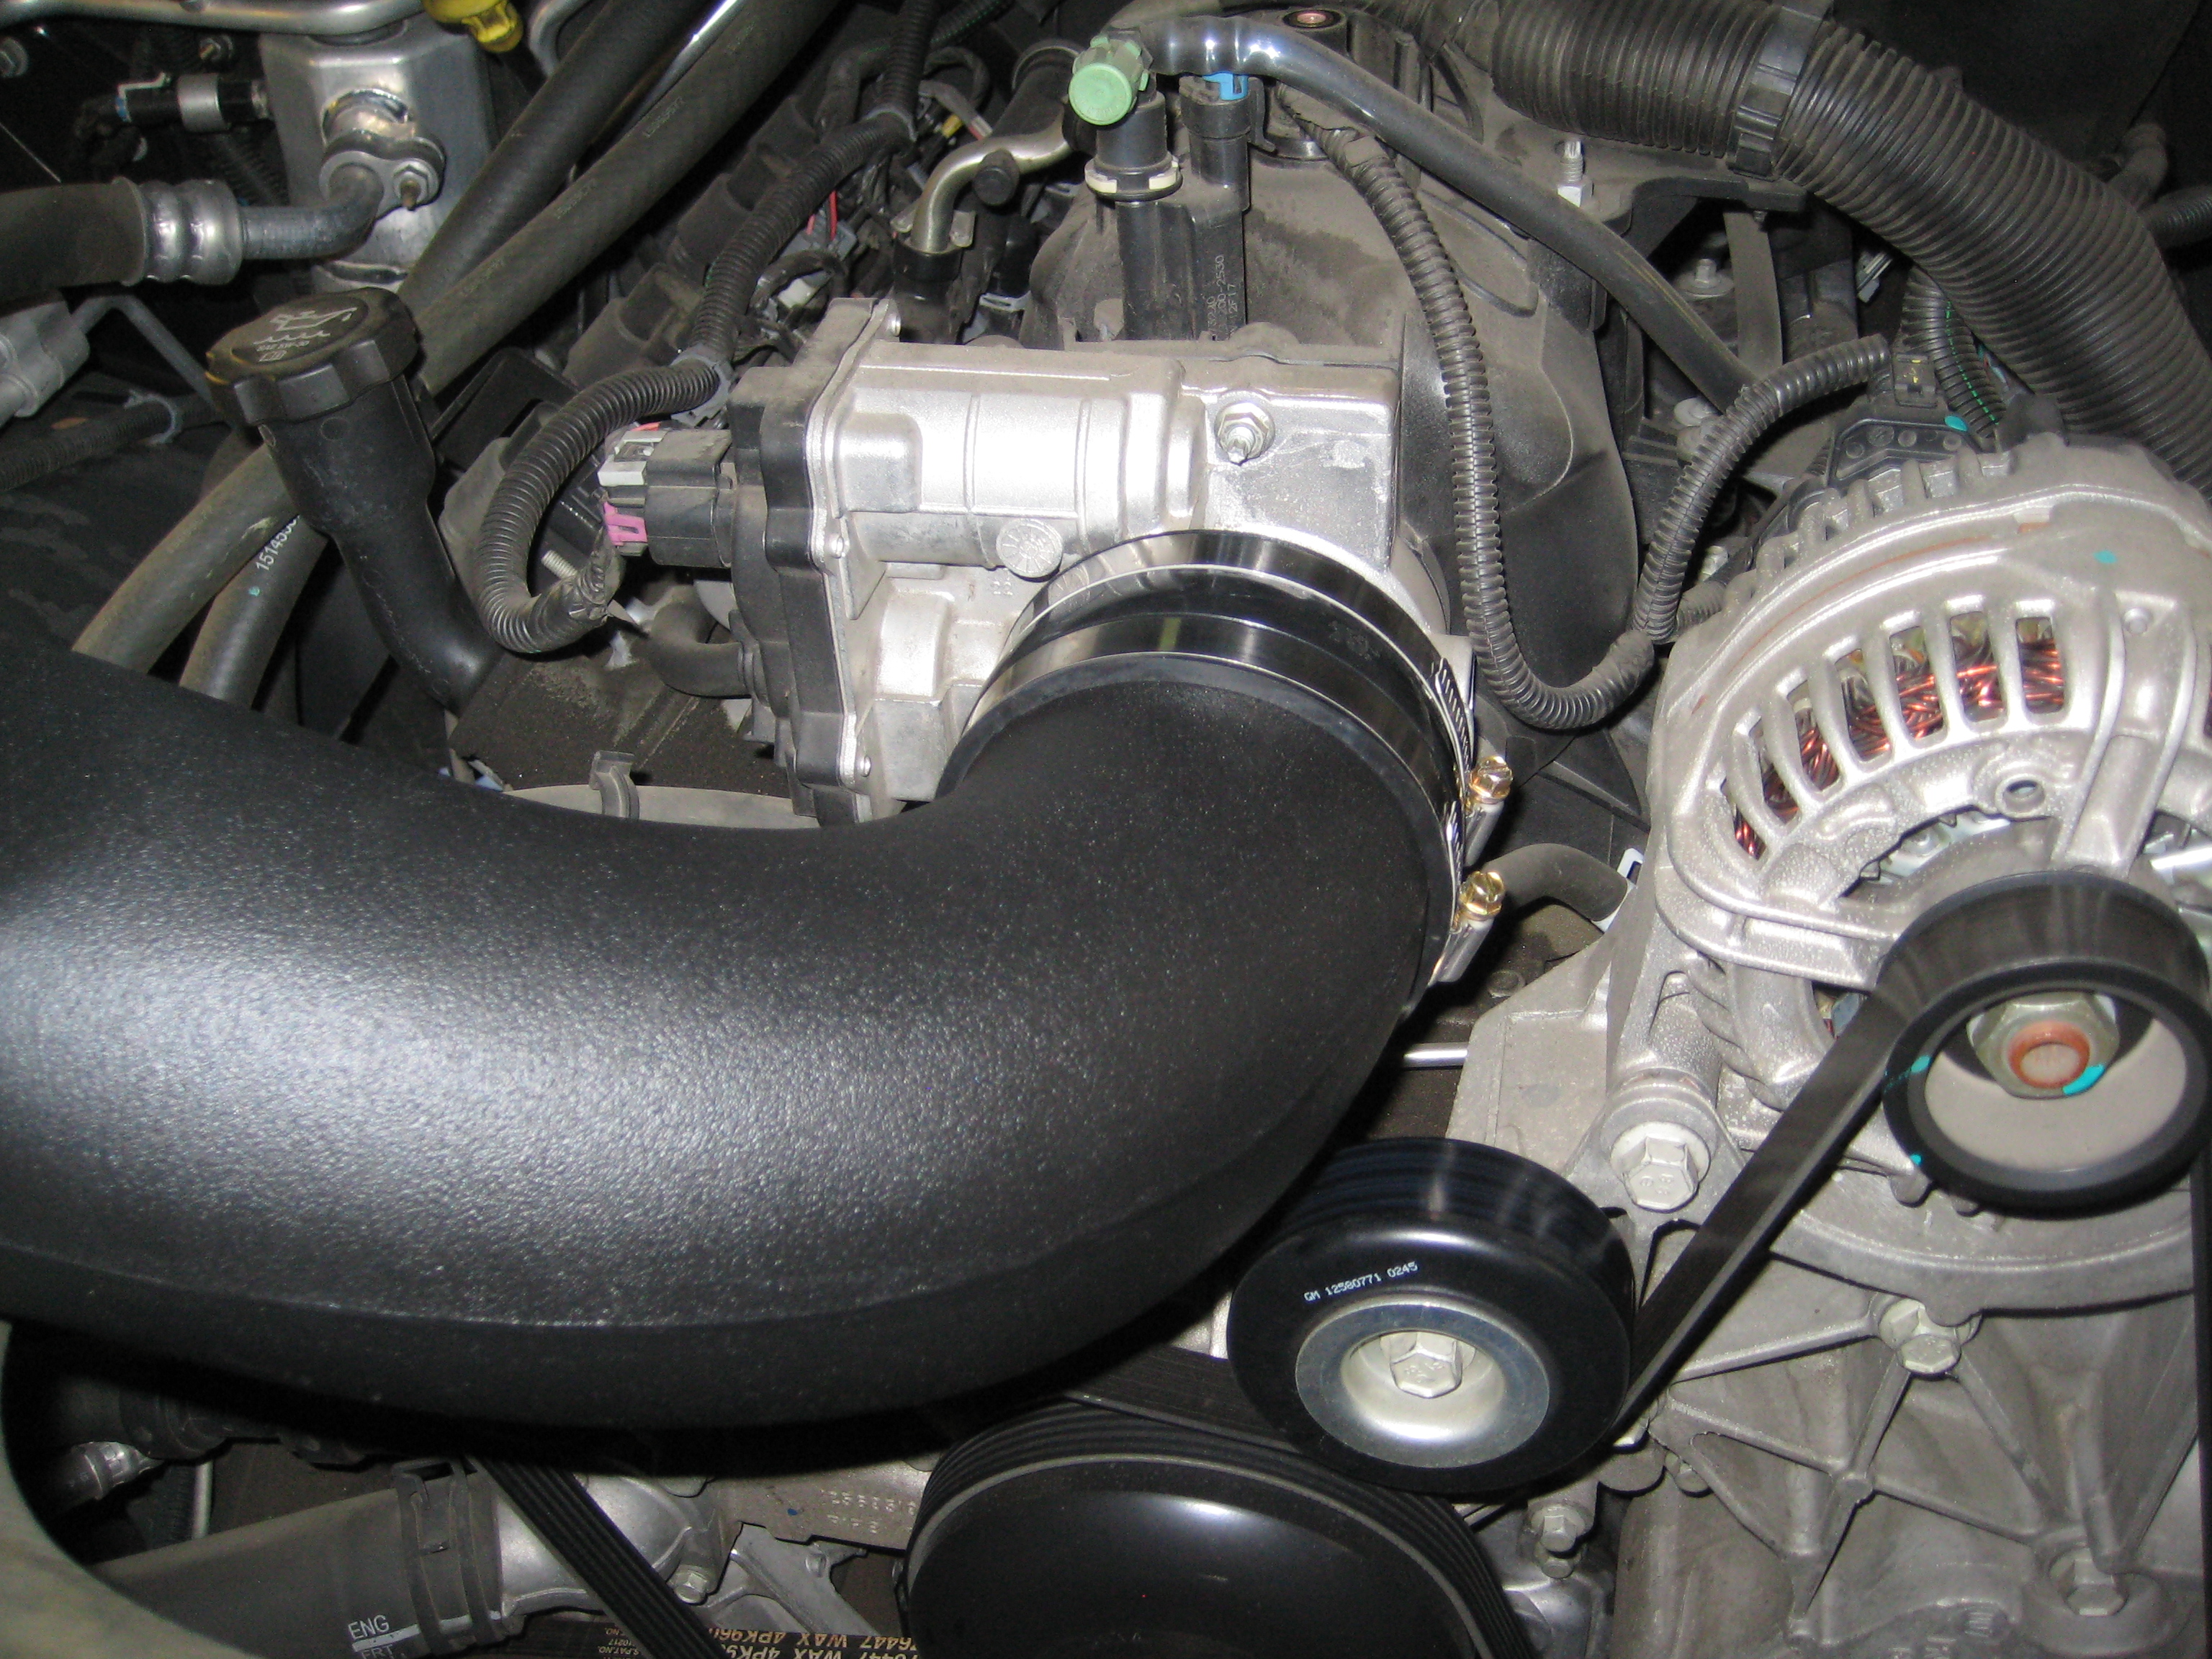
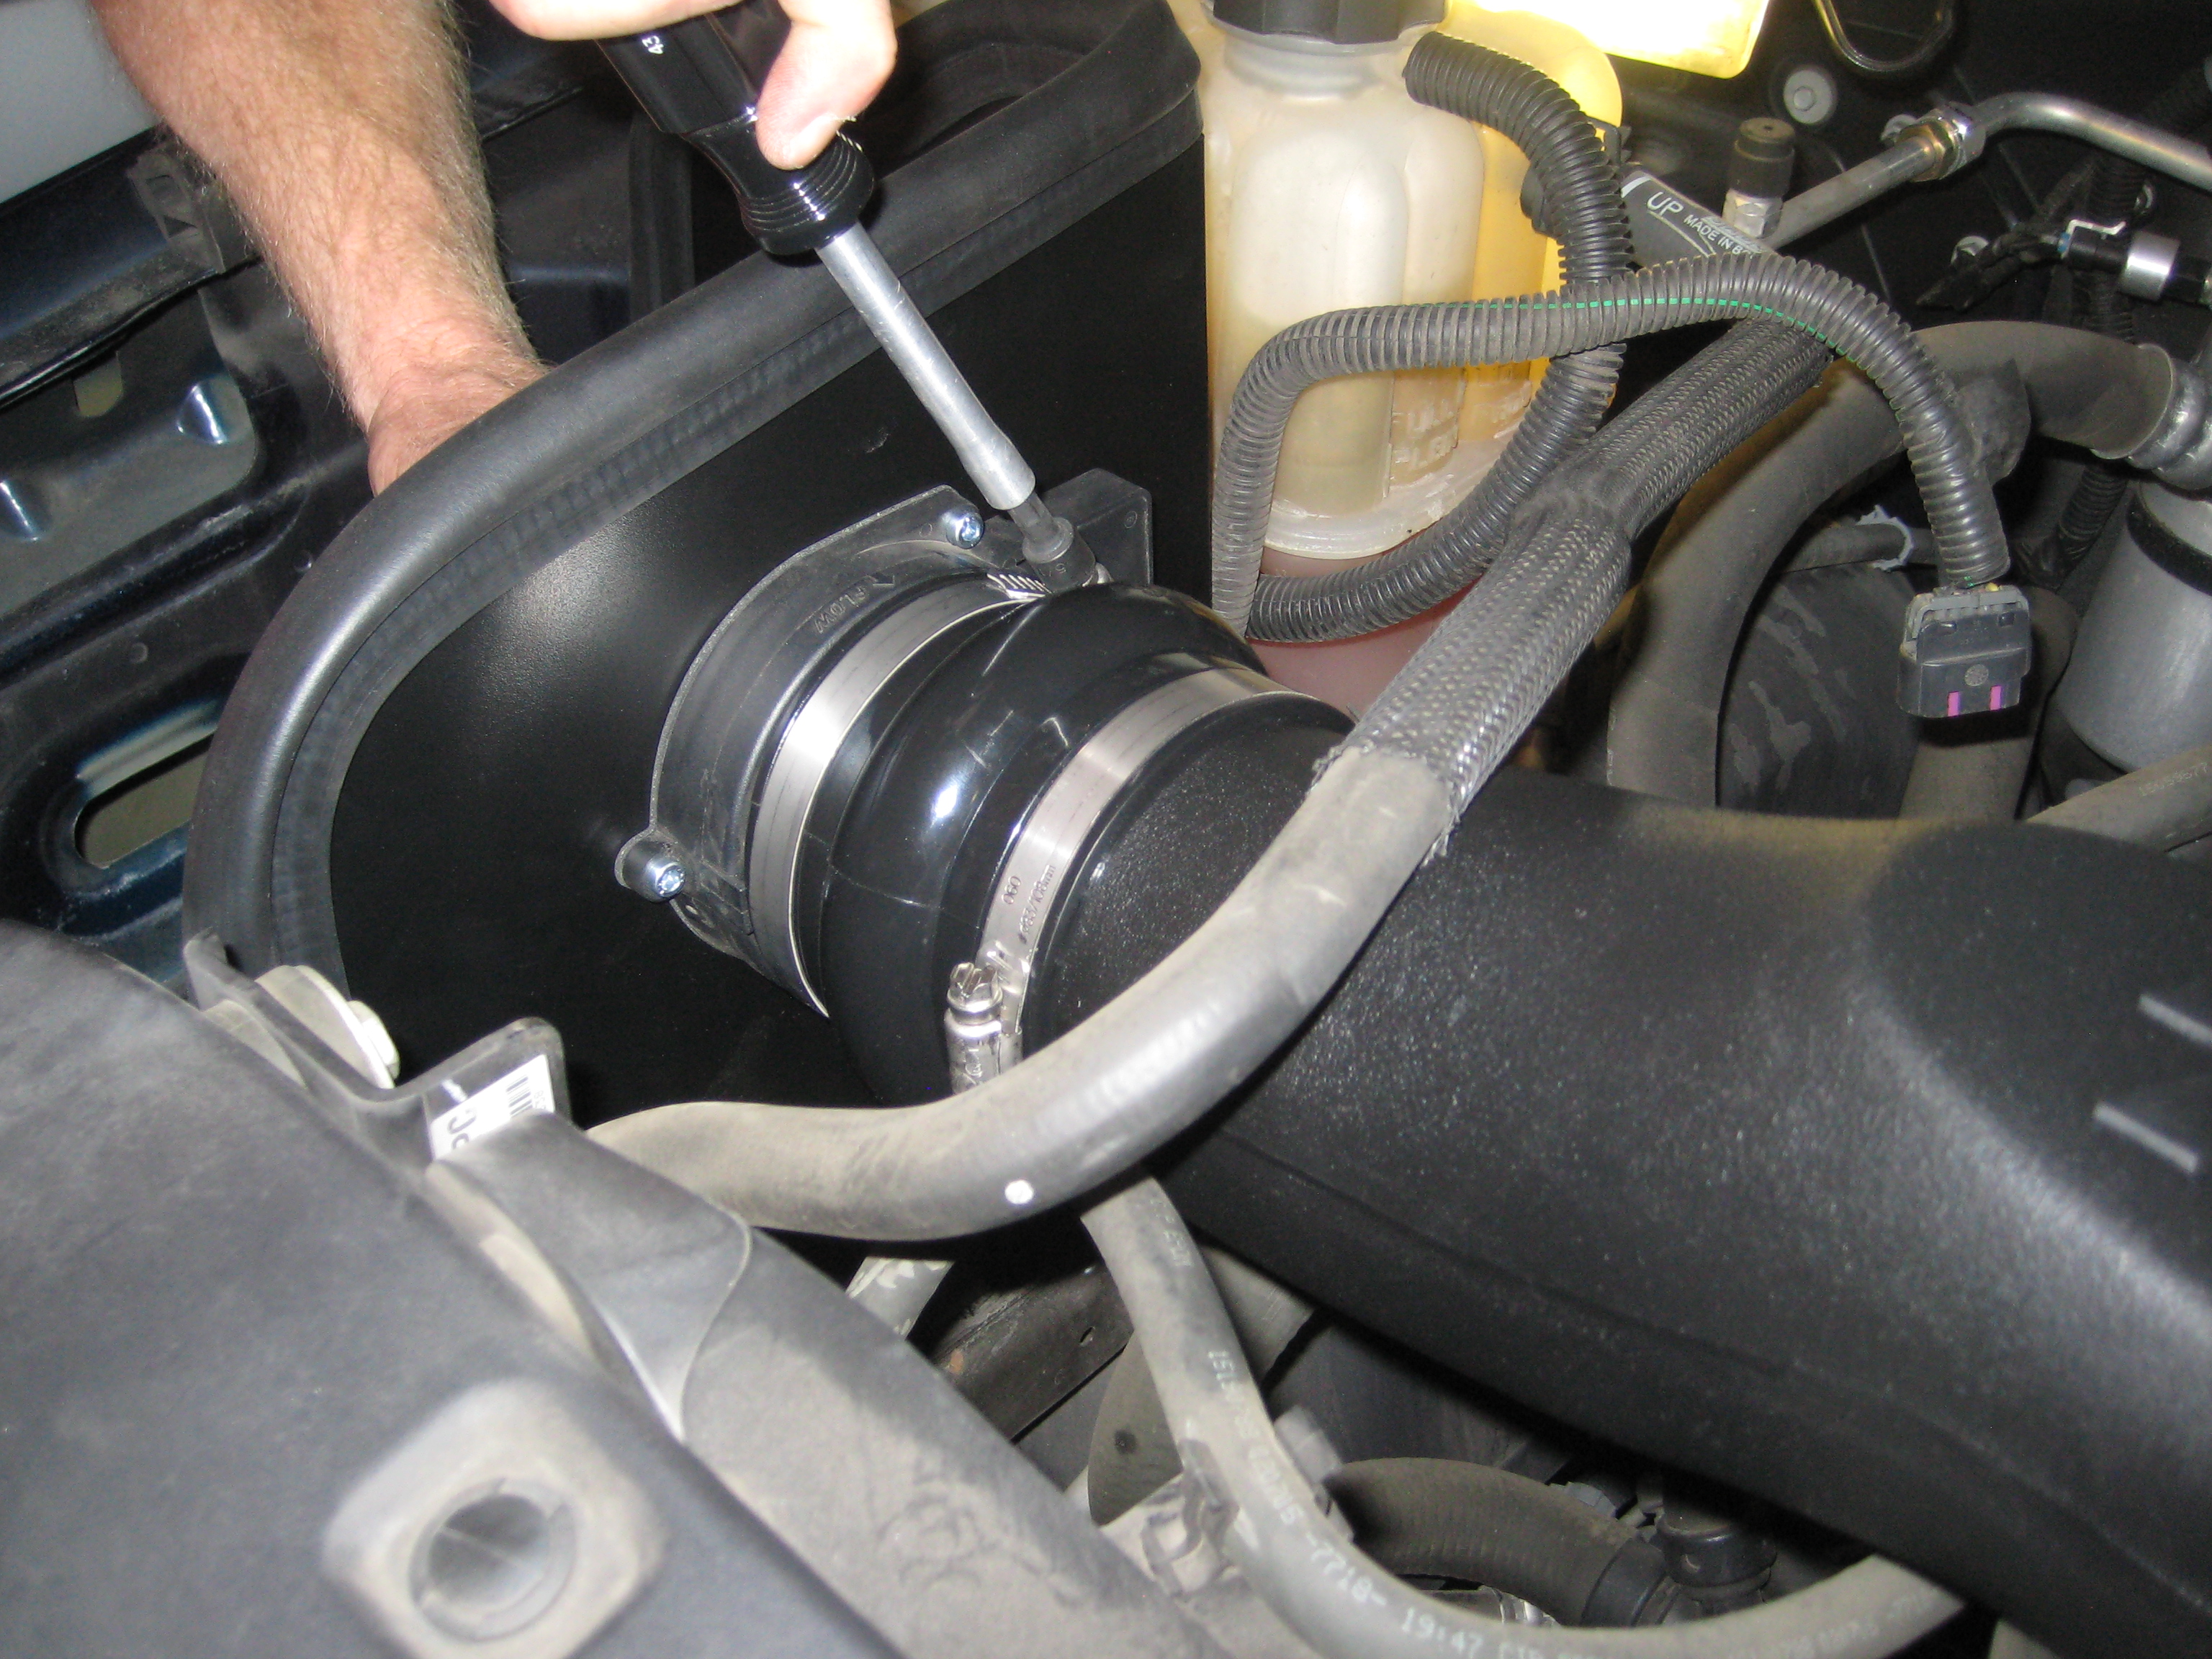
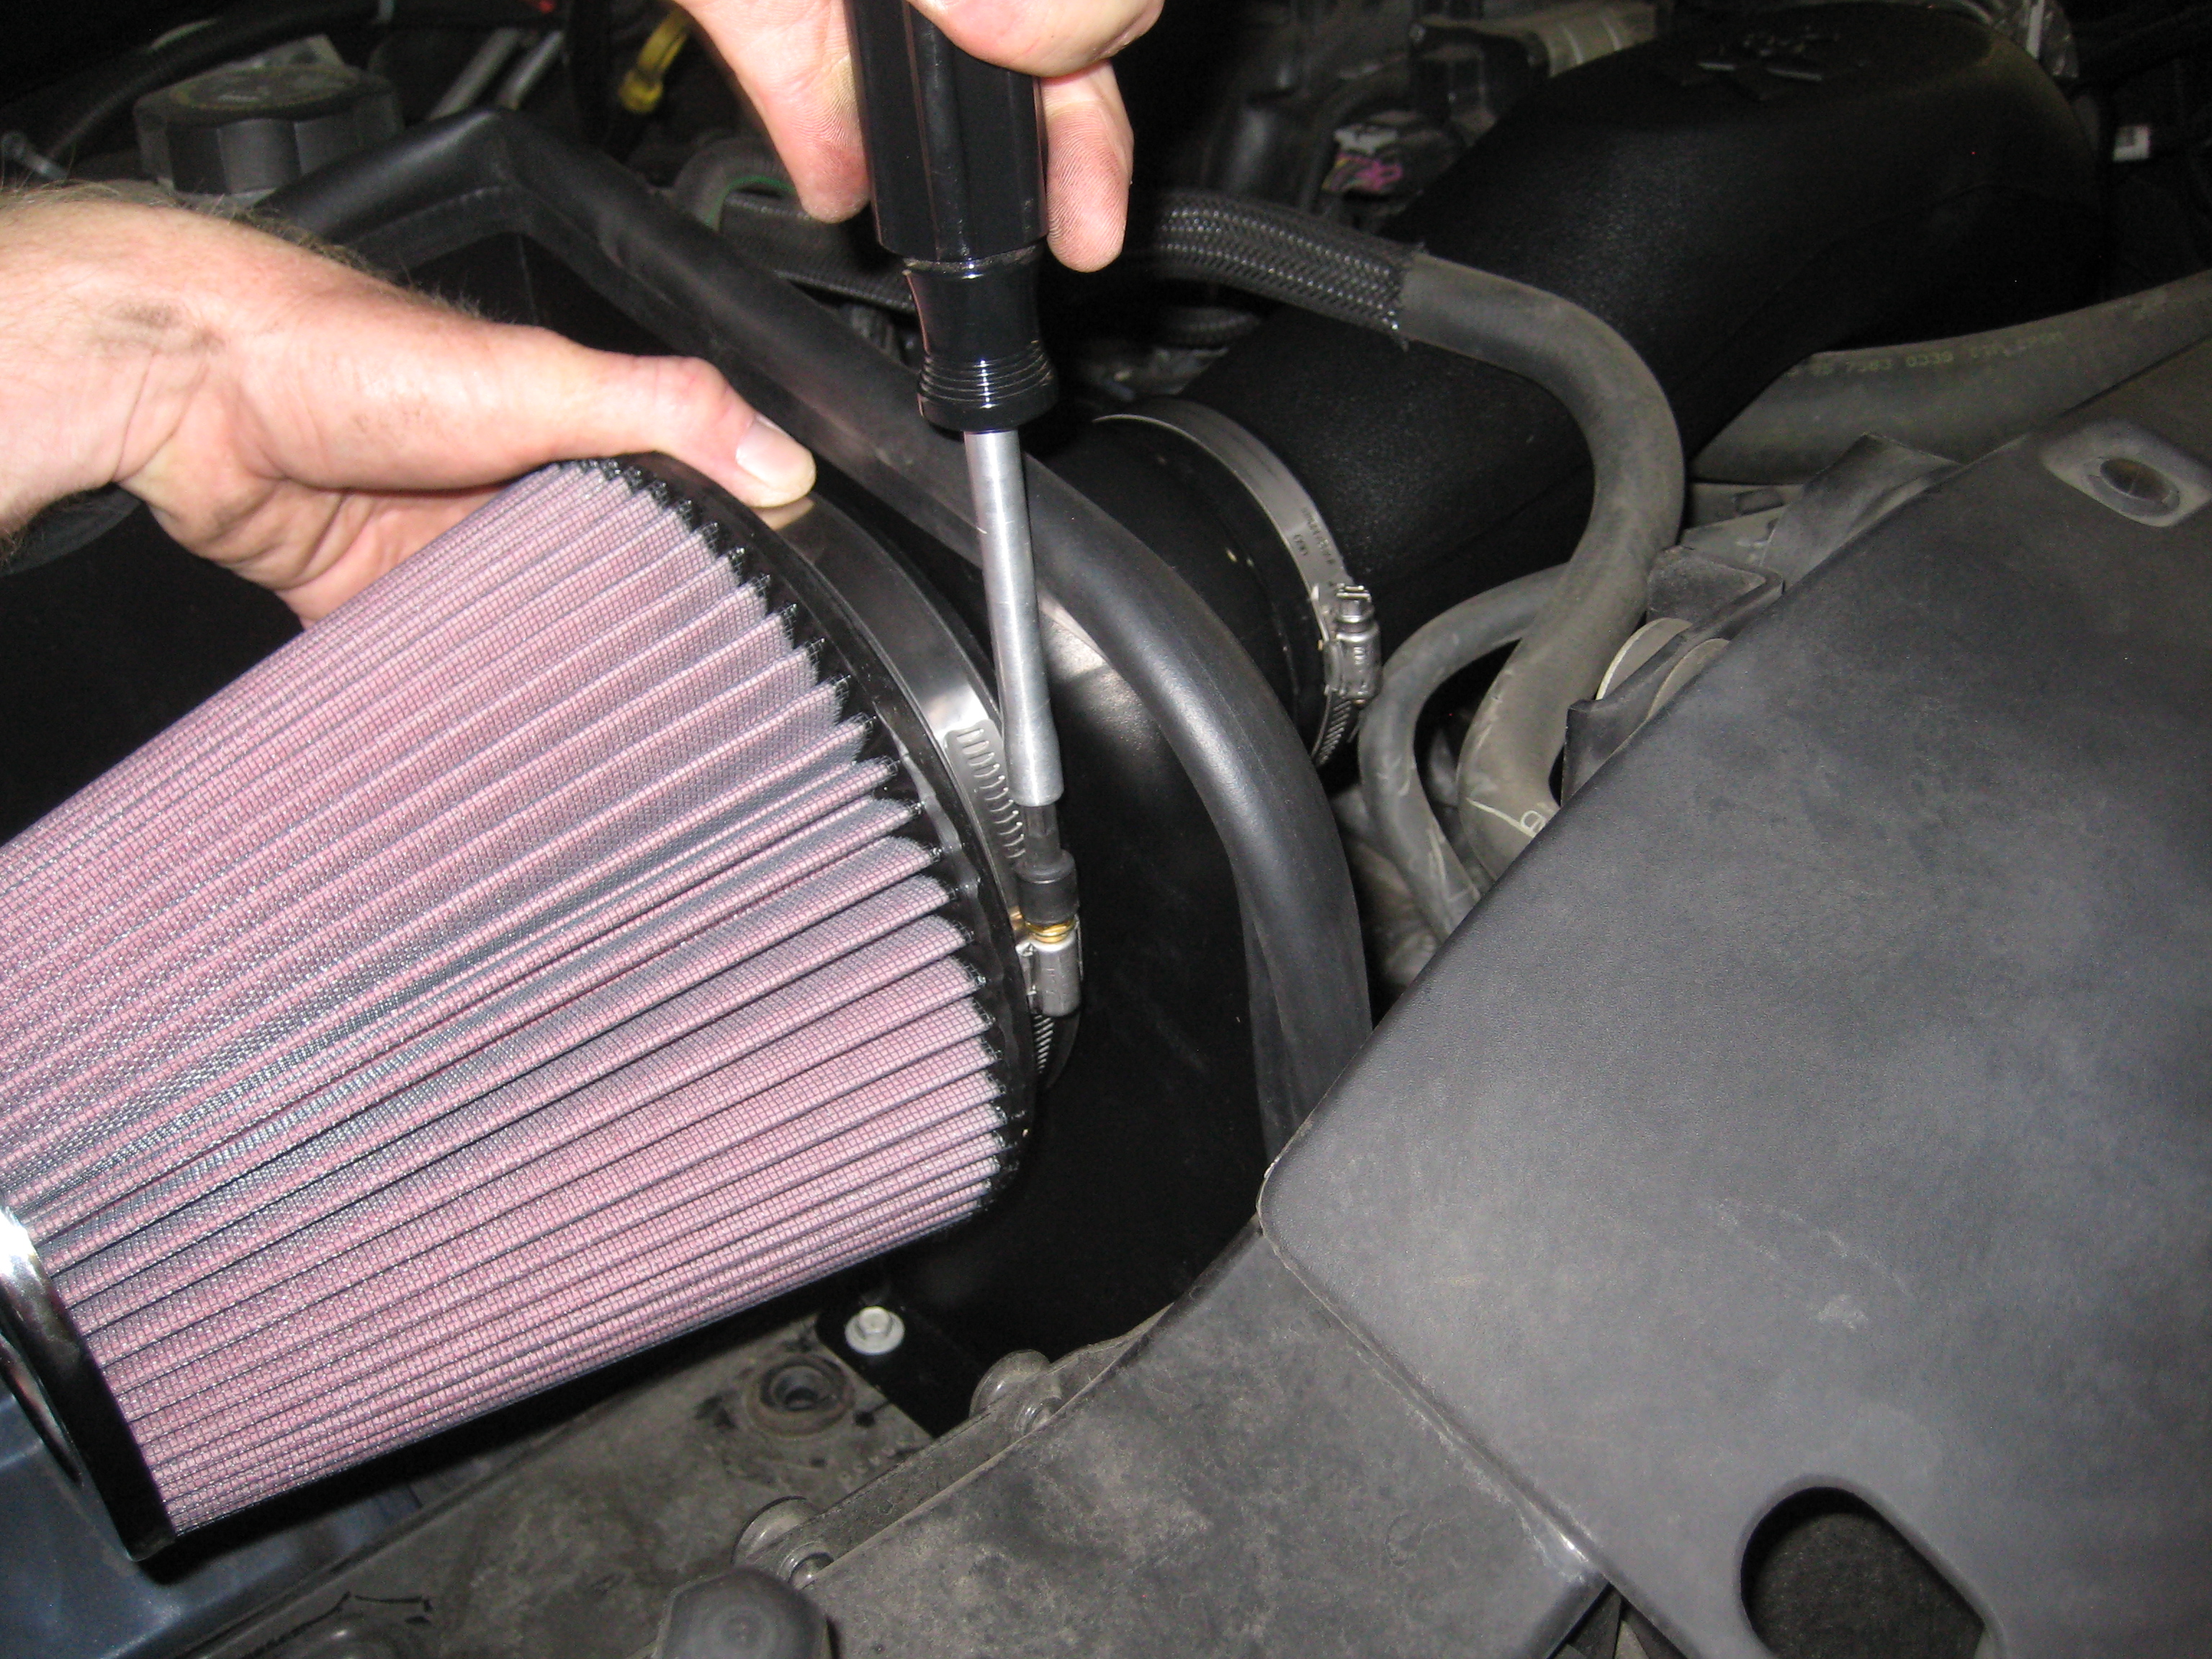
Installation
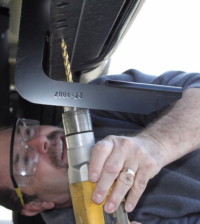
The instructions were clear and easy to follow. The only tools required were a standard screw driver and a socket set. The most difficult part of the install was actually the very first step, which was disconnecting the mass air sensor electrical connection. Removal of the grey clip securing the electrical connector to the sensor proved to be problematic. The clip didn’t release with any of my attempts and I was concerned I may break the clip if any additional force was applied. A quick search on YouTube provided a “how-to” video with my solution and away I went. The rest of the existing intake system came out without incident and very little effort.


Hypertech Power Programmer
Installation
The next piece in my Tahoe revitalization was to install the Hypertech Max Energy programmer I purchased. I chose this programmer based primarily on brand name recognition and a referral from my brother in law. He used the Hypertech on his 2008 Chevy Silverado and was pleased with the results.
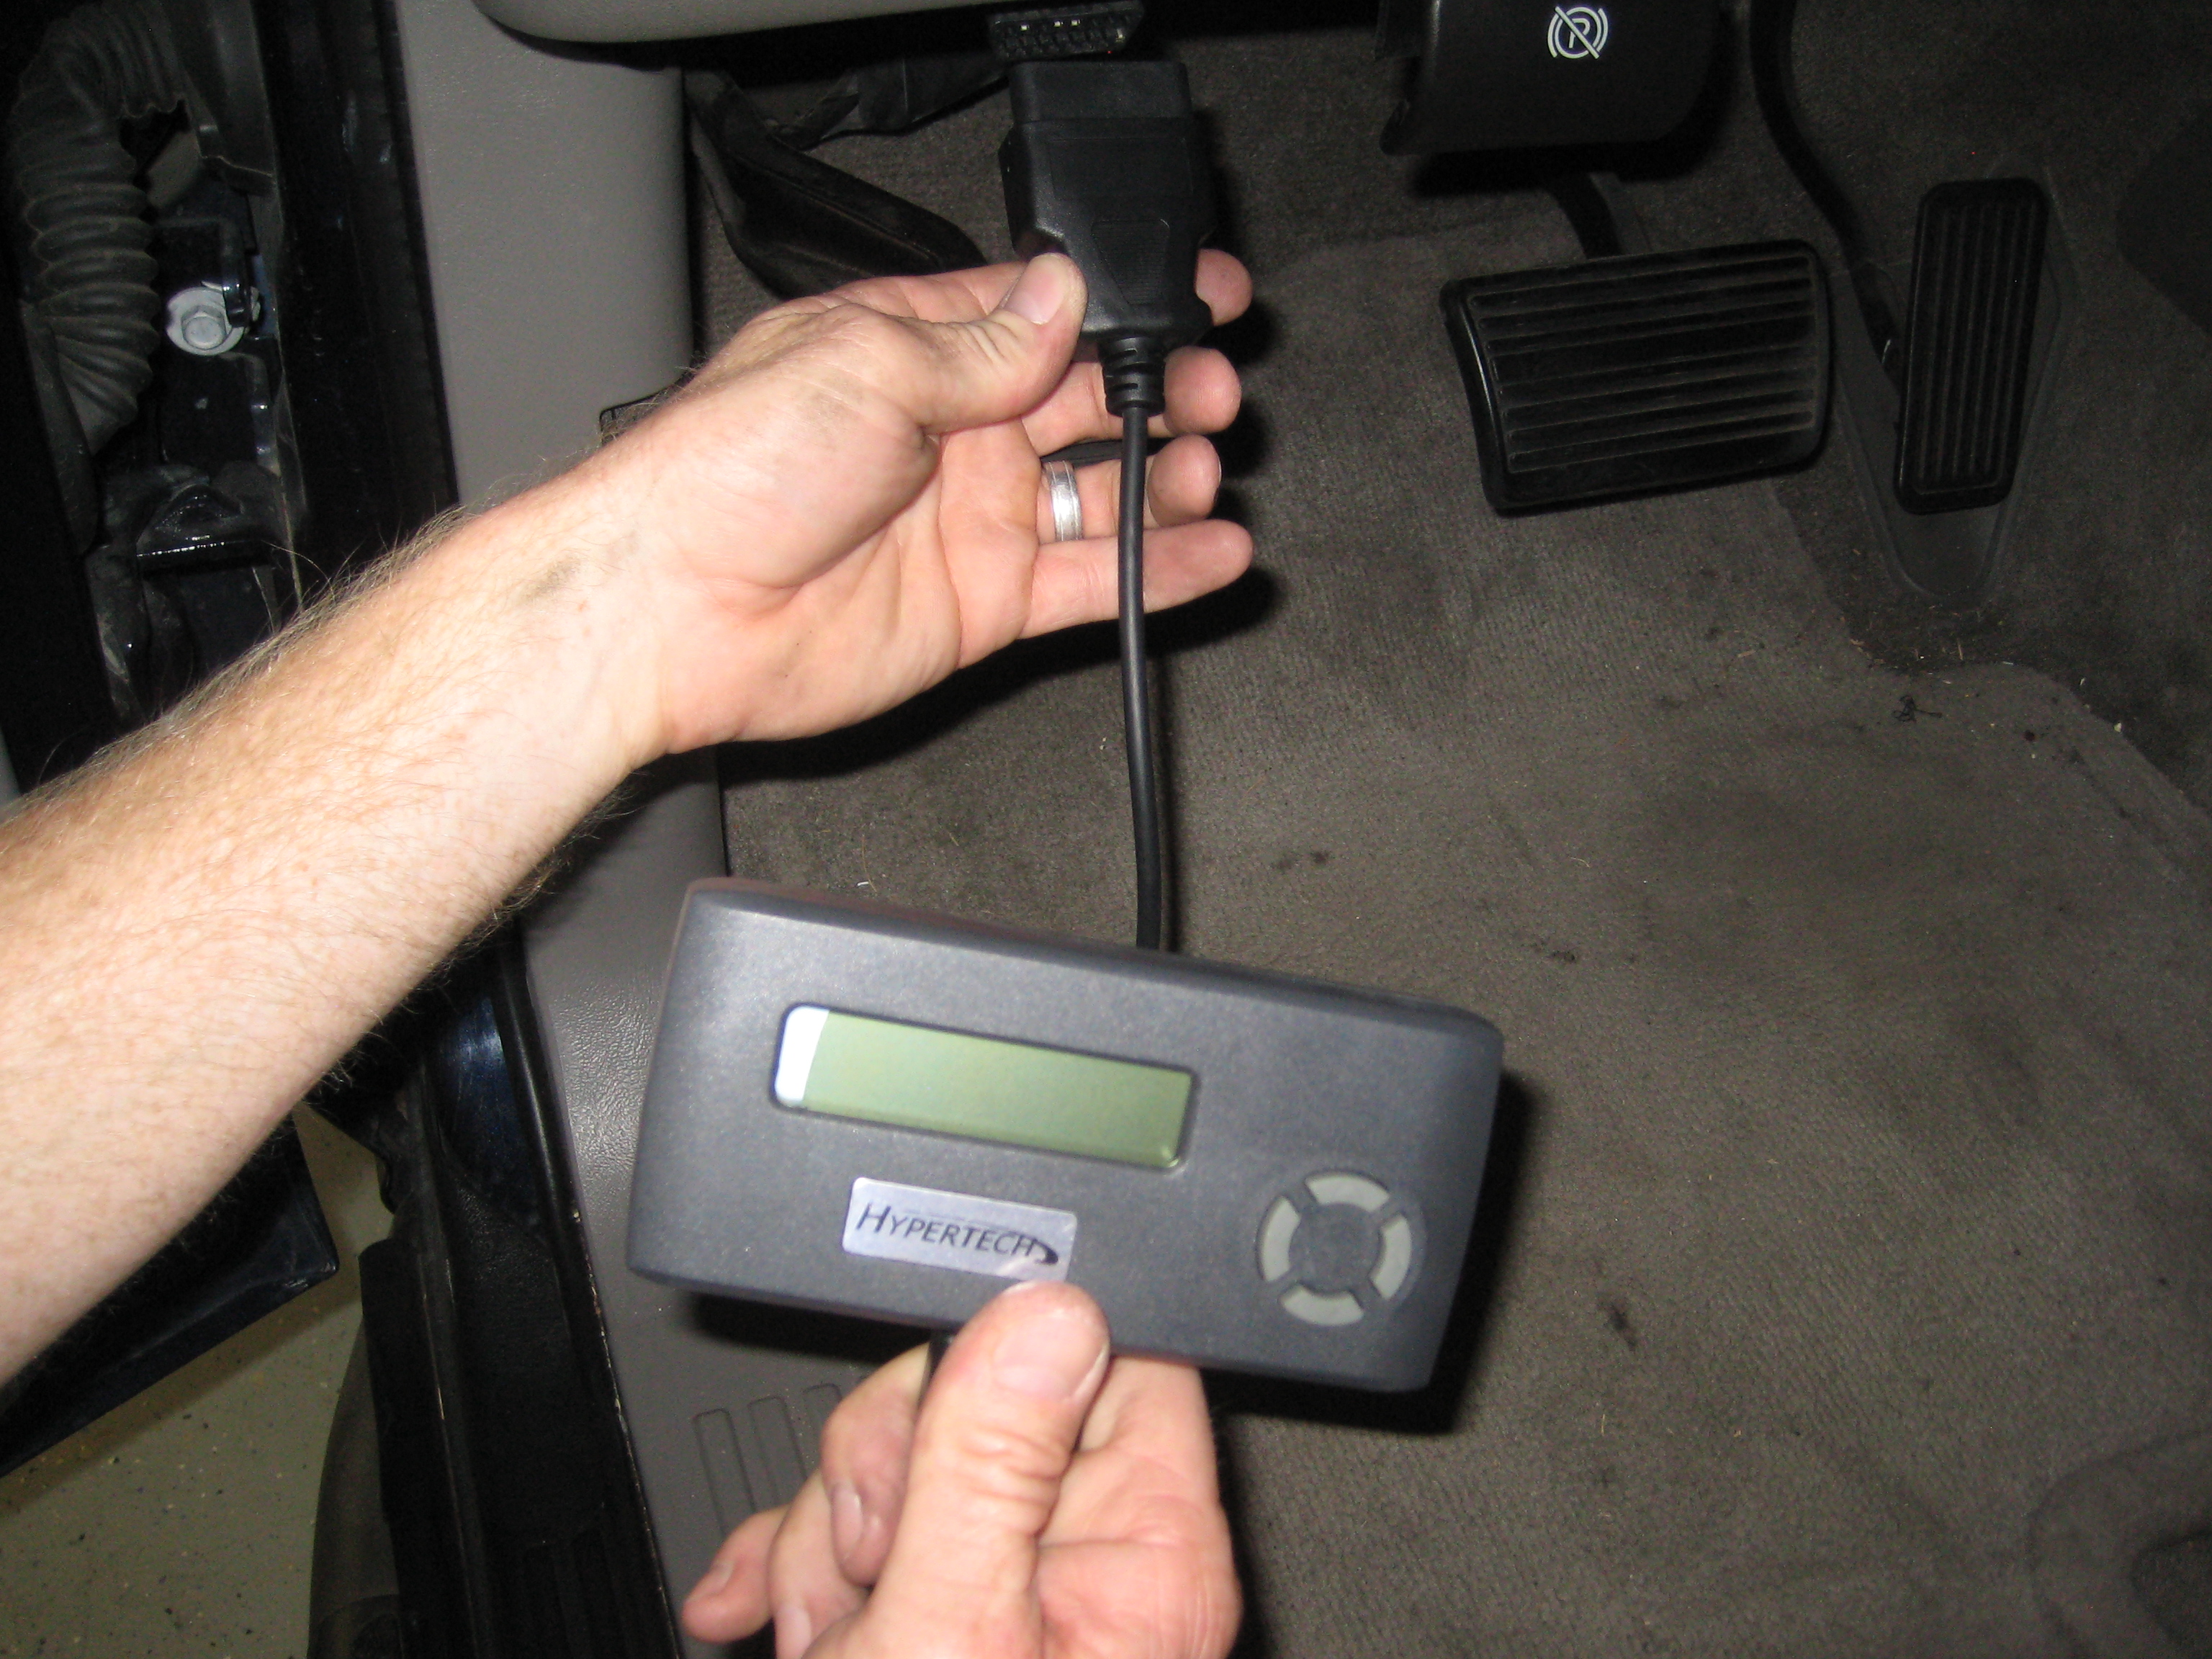
The programmer plugs right into the Tahoe using the OBD-II port just below the dash, left of the parking brake release. The instructions required I turn off all electronics; radio, lights, etc. I complied and began the process.
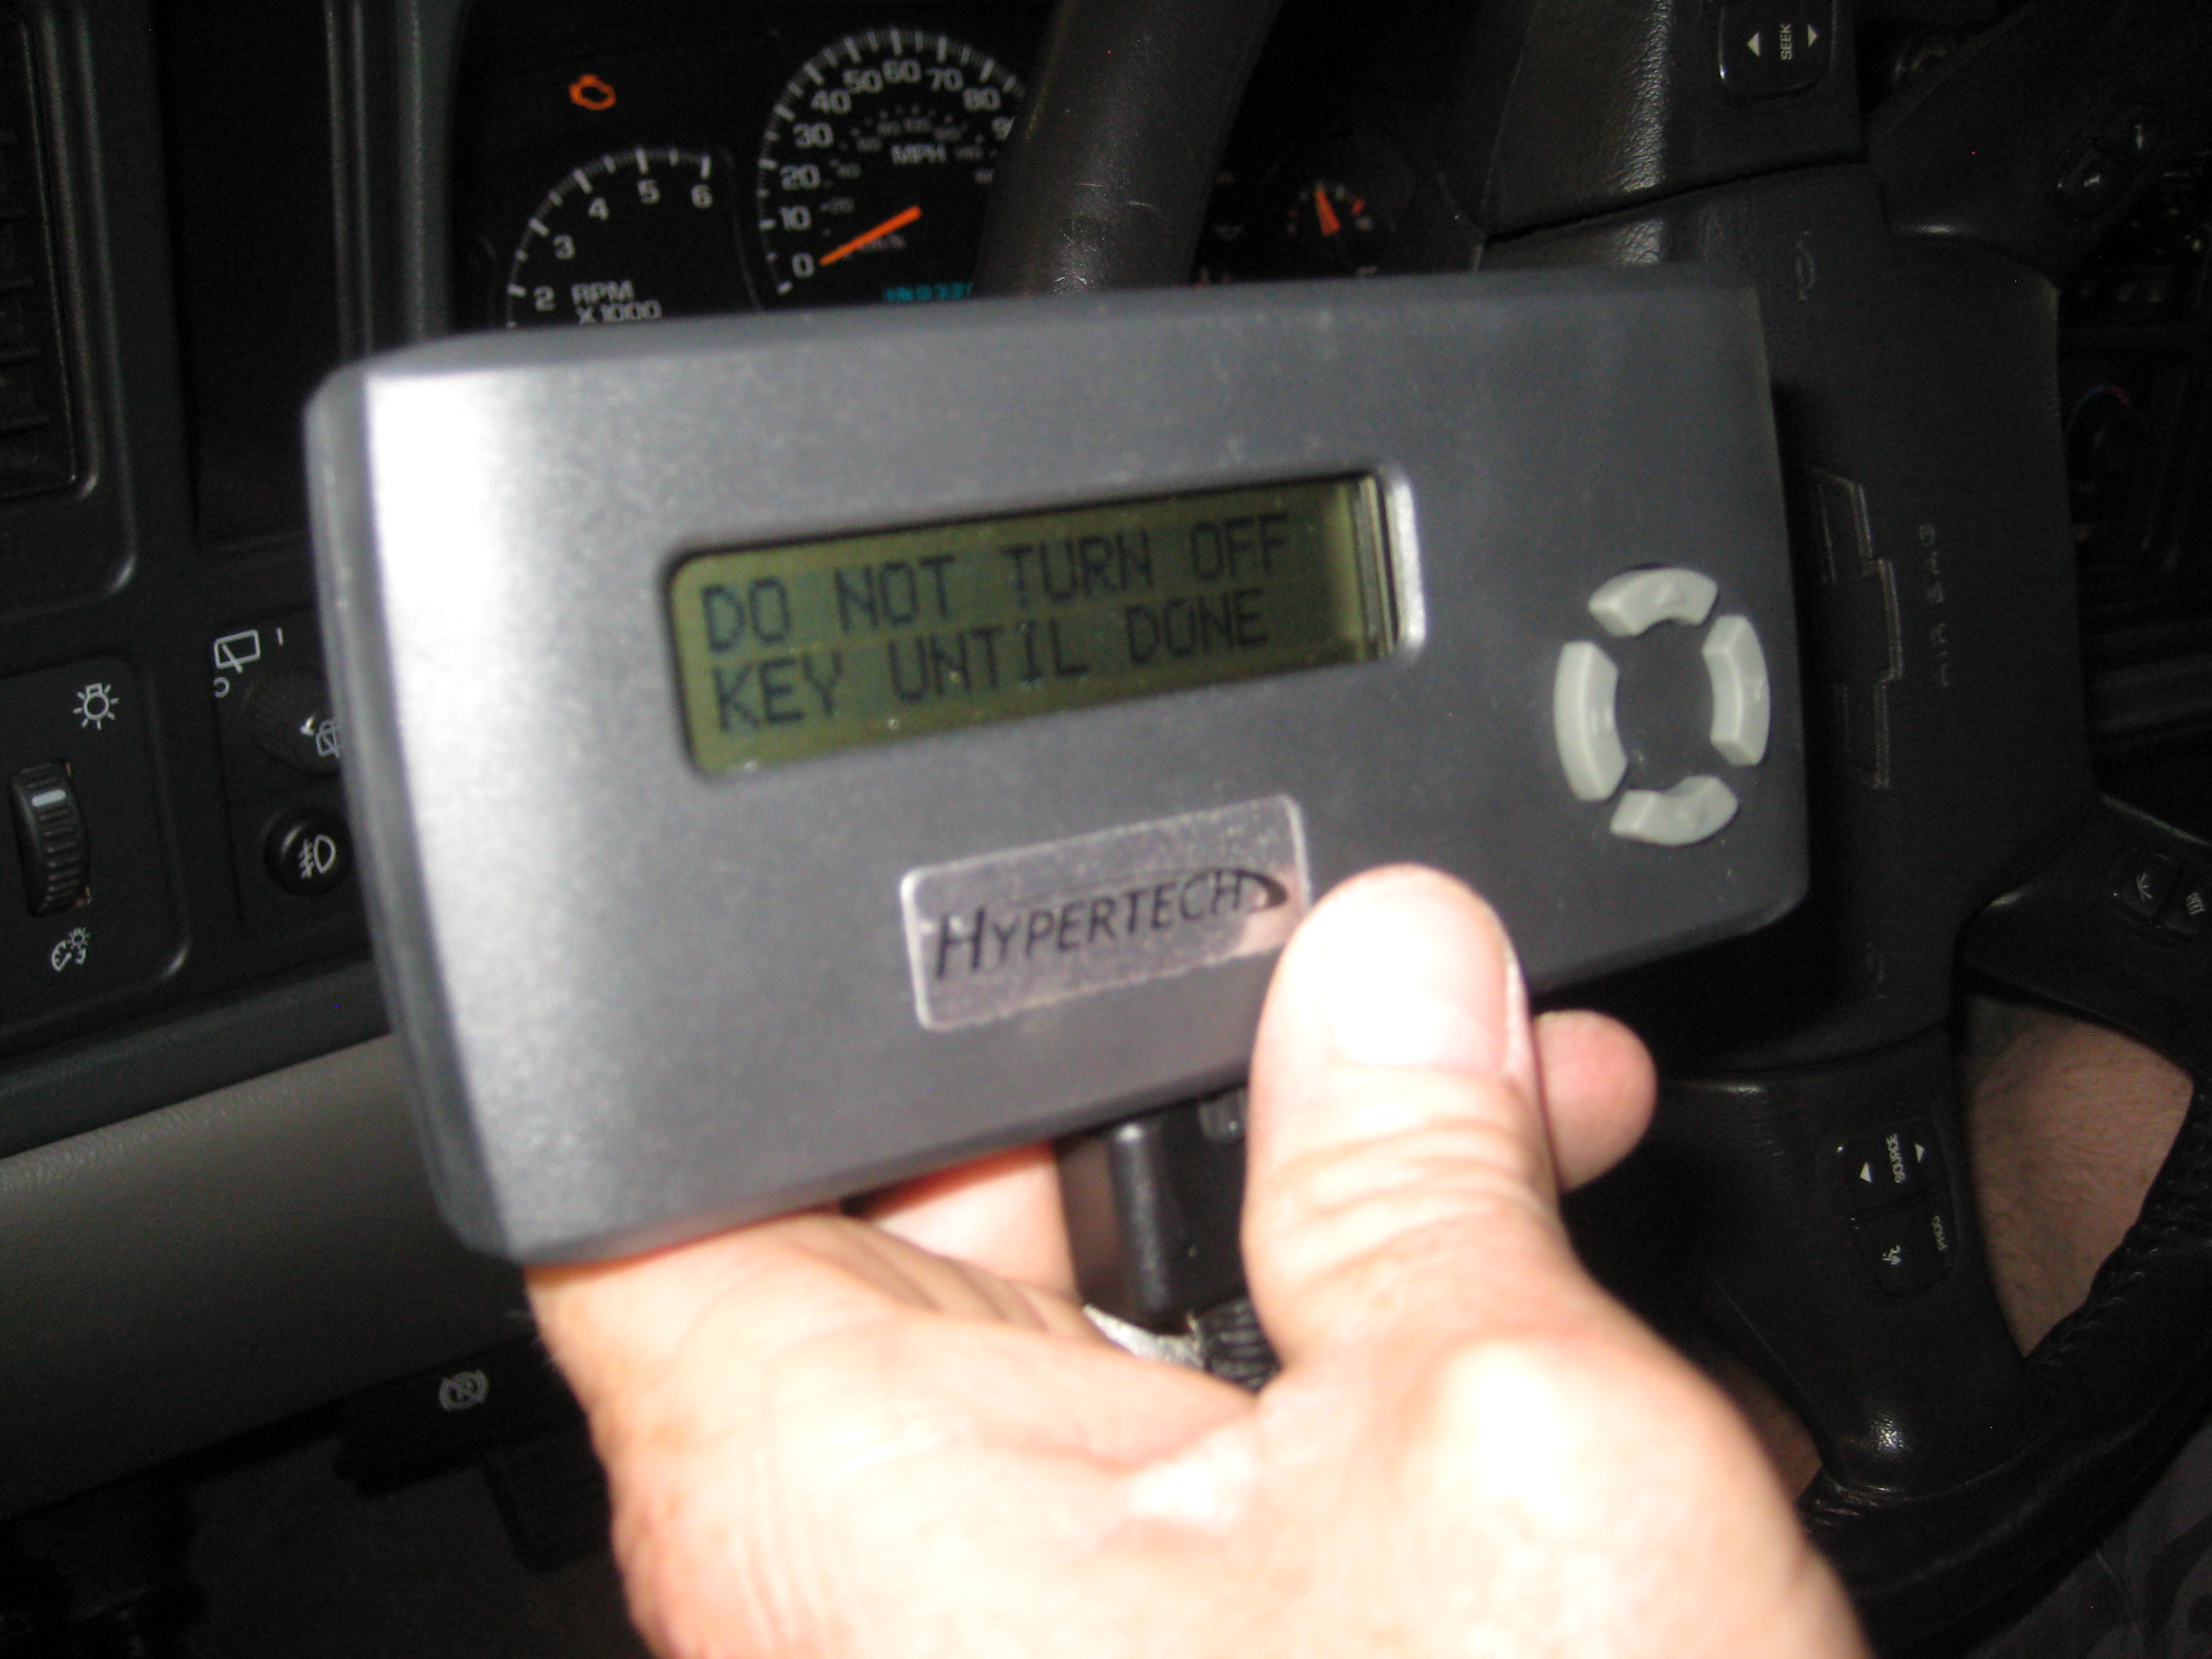
After answering a few questions about my vehicle and how I wanted it to be tuned, the program began. My goal was to select the option that would maximize fuel economy while using regular fuel, rather than premium and to increase throttle response and shift firmness (GM transmissions have a tendency to be a bit loose). Roughly 10 minutes later, my first program was done. It was a very simple and straight forward process.
I mention “my first program” being done because finding the right combination of shift points, rev limiter and shift firmness took a few attempts. My first program created a scenario where my shift point from 3rd to 4th gear was higher than my rev limiter, creating an awkward struggle between engine and transmission at around 5300RPMS. One of the handy features of the Hypertech programmer is the ability to go back into the programming mode to adjust any one or more settings without affecting others. A couple of tweaks later and a solid combination was found. My shifts were crisp and the increase in torque was a blast. Having a nice open stretch of highway nearby is helpful for experiencing all the benefits of the programmer.
Another great benefit of the Hypertech programmer is its ability to detect and clear any Diagnostic Trouble Codes like a check engine light on the dashboard. Instead of going to the dealer now I can look up the code and clear it myself.
The Bottom Line
The complete system was installed in roughly 1 hour. It’s been in for nearly 3 weeks now and I am very happy with the results. The most notable difference is the way the vehicle sounds and how quickly it responds off the line. It’s got a distinctive growl to it now, especially when I put my foot into it, and it definitely has gained torque and power when called upon.
I estimate the increase in fuel economy to be around 2 mpg right now. I’m still working out the numbers and attempting to get through a tank of fuel without trying to hear that great engine growl as I get to cruising speed on the highway.
Overall I am very happy with the ease of installation and performance of the K&N Intake and Hypertech Power Programmer.
Related Posts


-
 Kendall Motor Oil Knowledge Session-Things to know about Full Synthetic Motor Oil Additives
By AutoPartsWarehouse Staff, images courtesy of Kendall Motor Oil...
- November 10, 2017
-
 Kendall Motor Oil Knowledge Session-Things to know about Full Synthetic Motor Oil
By AutoPartsWarehouse Staff, images courtesy of Kendall Motor Oil...
- November 10, 2017
-
 Autolite Iridium XP Spark Plug Install
by Steve and Gavin Maloof The guys at AutoPartsWarehouse...
- August 2, 2017
-
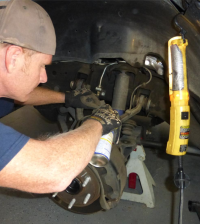
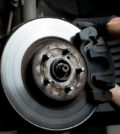 Car Care 101: Common Reasons Why Your Brakes Squeak
Does it bother you when you hear unusual noises...
- June 28, 2017
-
 Car Care Checklist for Summer: Part II
Here are more things to consider to get your...
- June 24, 2017
-
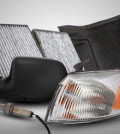 Top Five Auto Parts the Average Consumer Should Purchase Online — and Here’s Why!
AutoPartsWarehouse.com says the Internet is the best place for...
- January 21, 2013
-
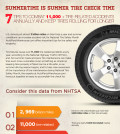 Summertime is Summer Tire Check Time: 7 Tips To Combat 11,000+ Tire-Related Accidents Annually — and Keep Tires Rolling for Longer
U.S. drivers put almost 3 billion miles on their...
- June 4, 2014
-
 AutoPartsWarehouse.com 2013 Child Passenger Safety Tips and Resource Guide
A Wake Up Call On Child Passenger Safety The...
- September 12, 2013
-
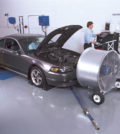
 6 Amazing Classic Car Restorations
Restoring old cars always come with a hefty price...
- November 24, 2014
-