- Summertime is Summer Tire Check Time: 7 Tips To Combat 11,000+ Tire-Related Accidents Annually — and Keep Tires Rolling for Longer
- 10 DIY Tips to Add Years to a Vehicle’s Life & Minimize Expensive Repairs
- Defensive Driving Tips to Avoid Costly Repairs As Wintery Driving Conditions Continue to Plague Roads
- AutoPartsWarehouse.com 2013 Child Passenger Safety Tips and Resource Guide
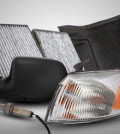
- Top Five Parts to Make Your Vehicle More Fuel Efficient
Review: Westin Running Boards
Overview
Product: Westin Running Board
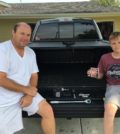
Vehicle: 2009 Honda Pilot
Level of Difficulty: Easy
After looking at the same Honda Pilot in the garage for four years, I decided it was time for a quick upgrade. I‘ve seen a few different running board styles around town and decided that adding them to our family truckster would enhance its functionality and style.
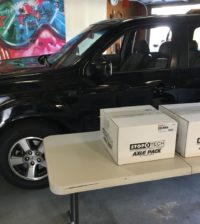
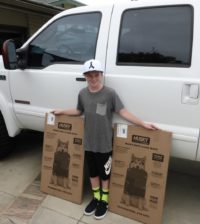
AutoPartsWarehouse has a huge assortment of exterior accessories to choose from and offers many leading brands. After sorting through all of the running board styles that would fit our Pilot I decided on simple black running boards and matching hardware kit from Westin Automotive. I placed my order and in just a few days two boxes showed up, here’s what arrived:
First Impressions
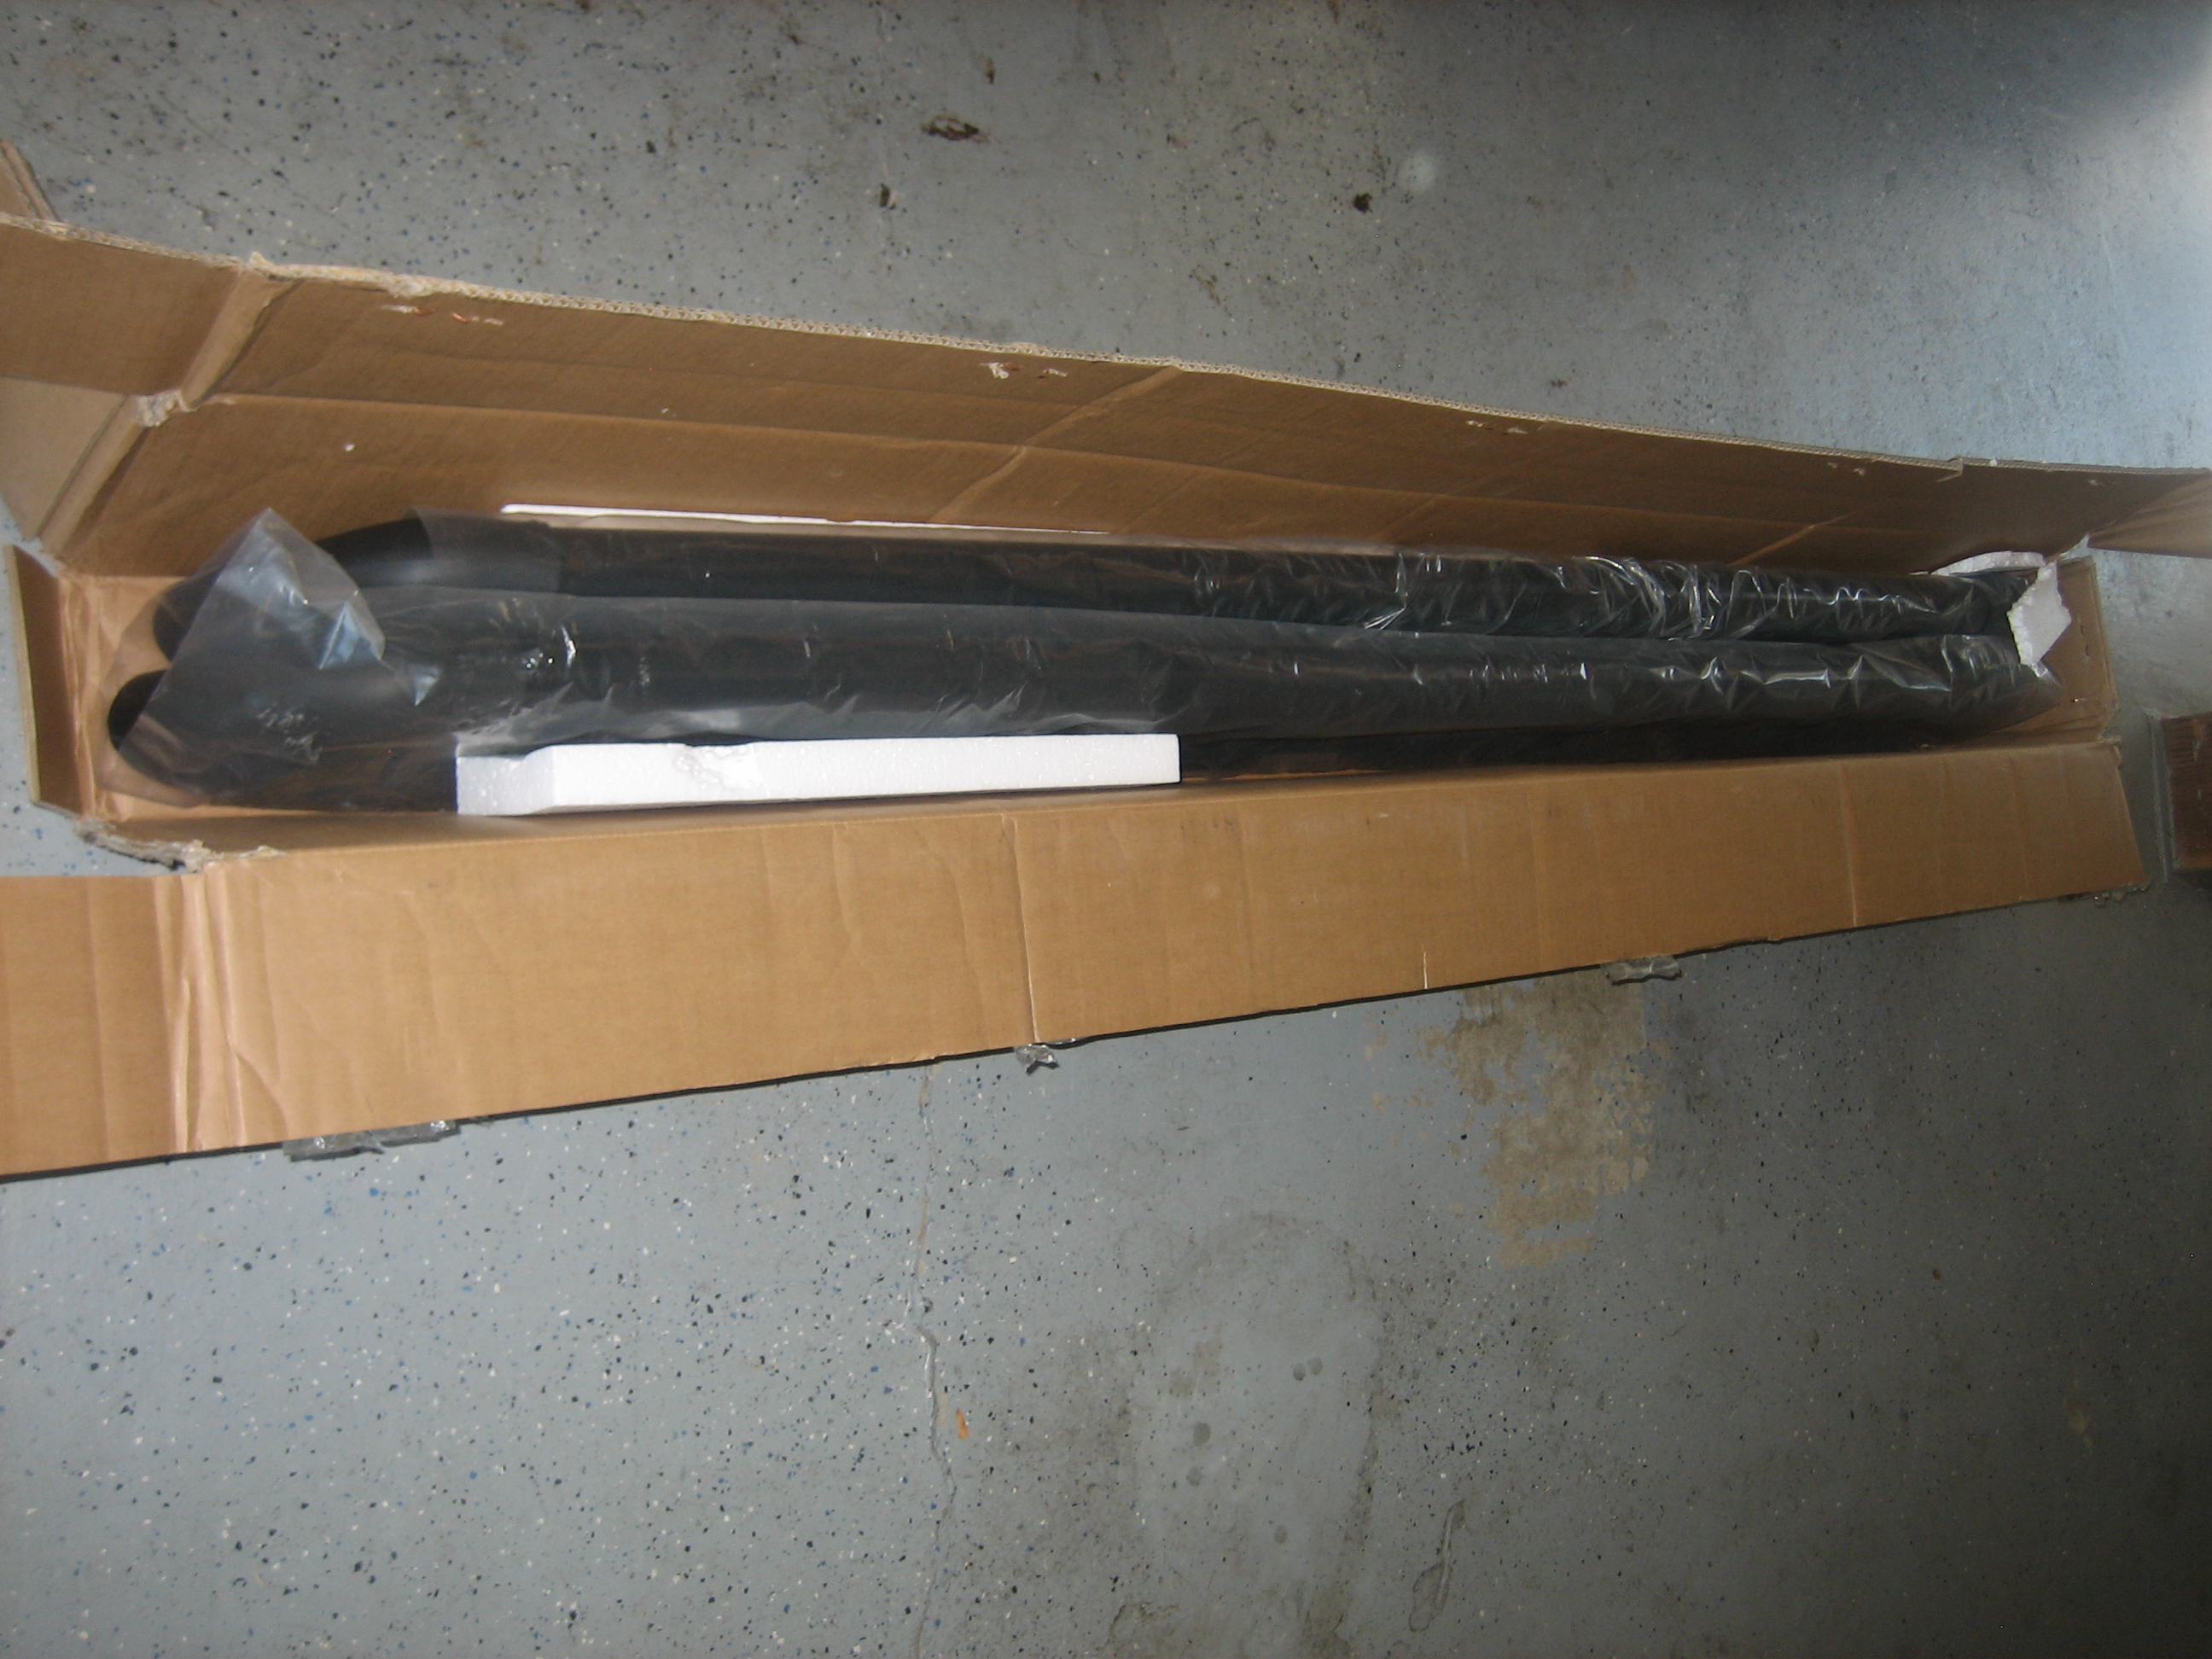
Unboxing the Westin Running Boards
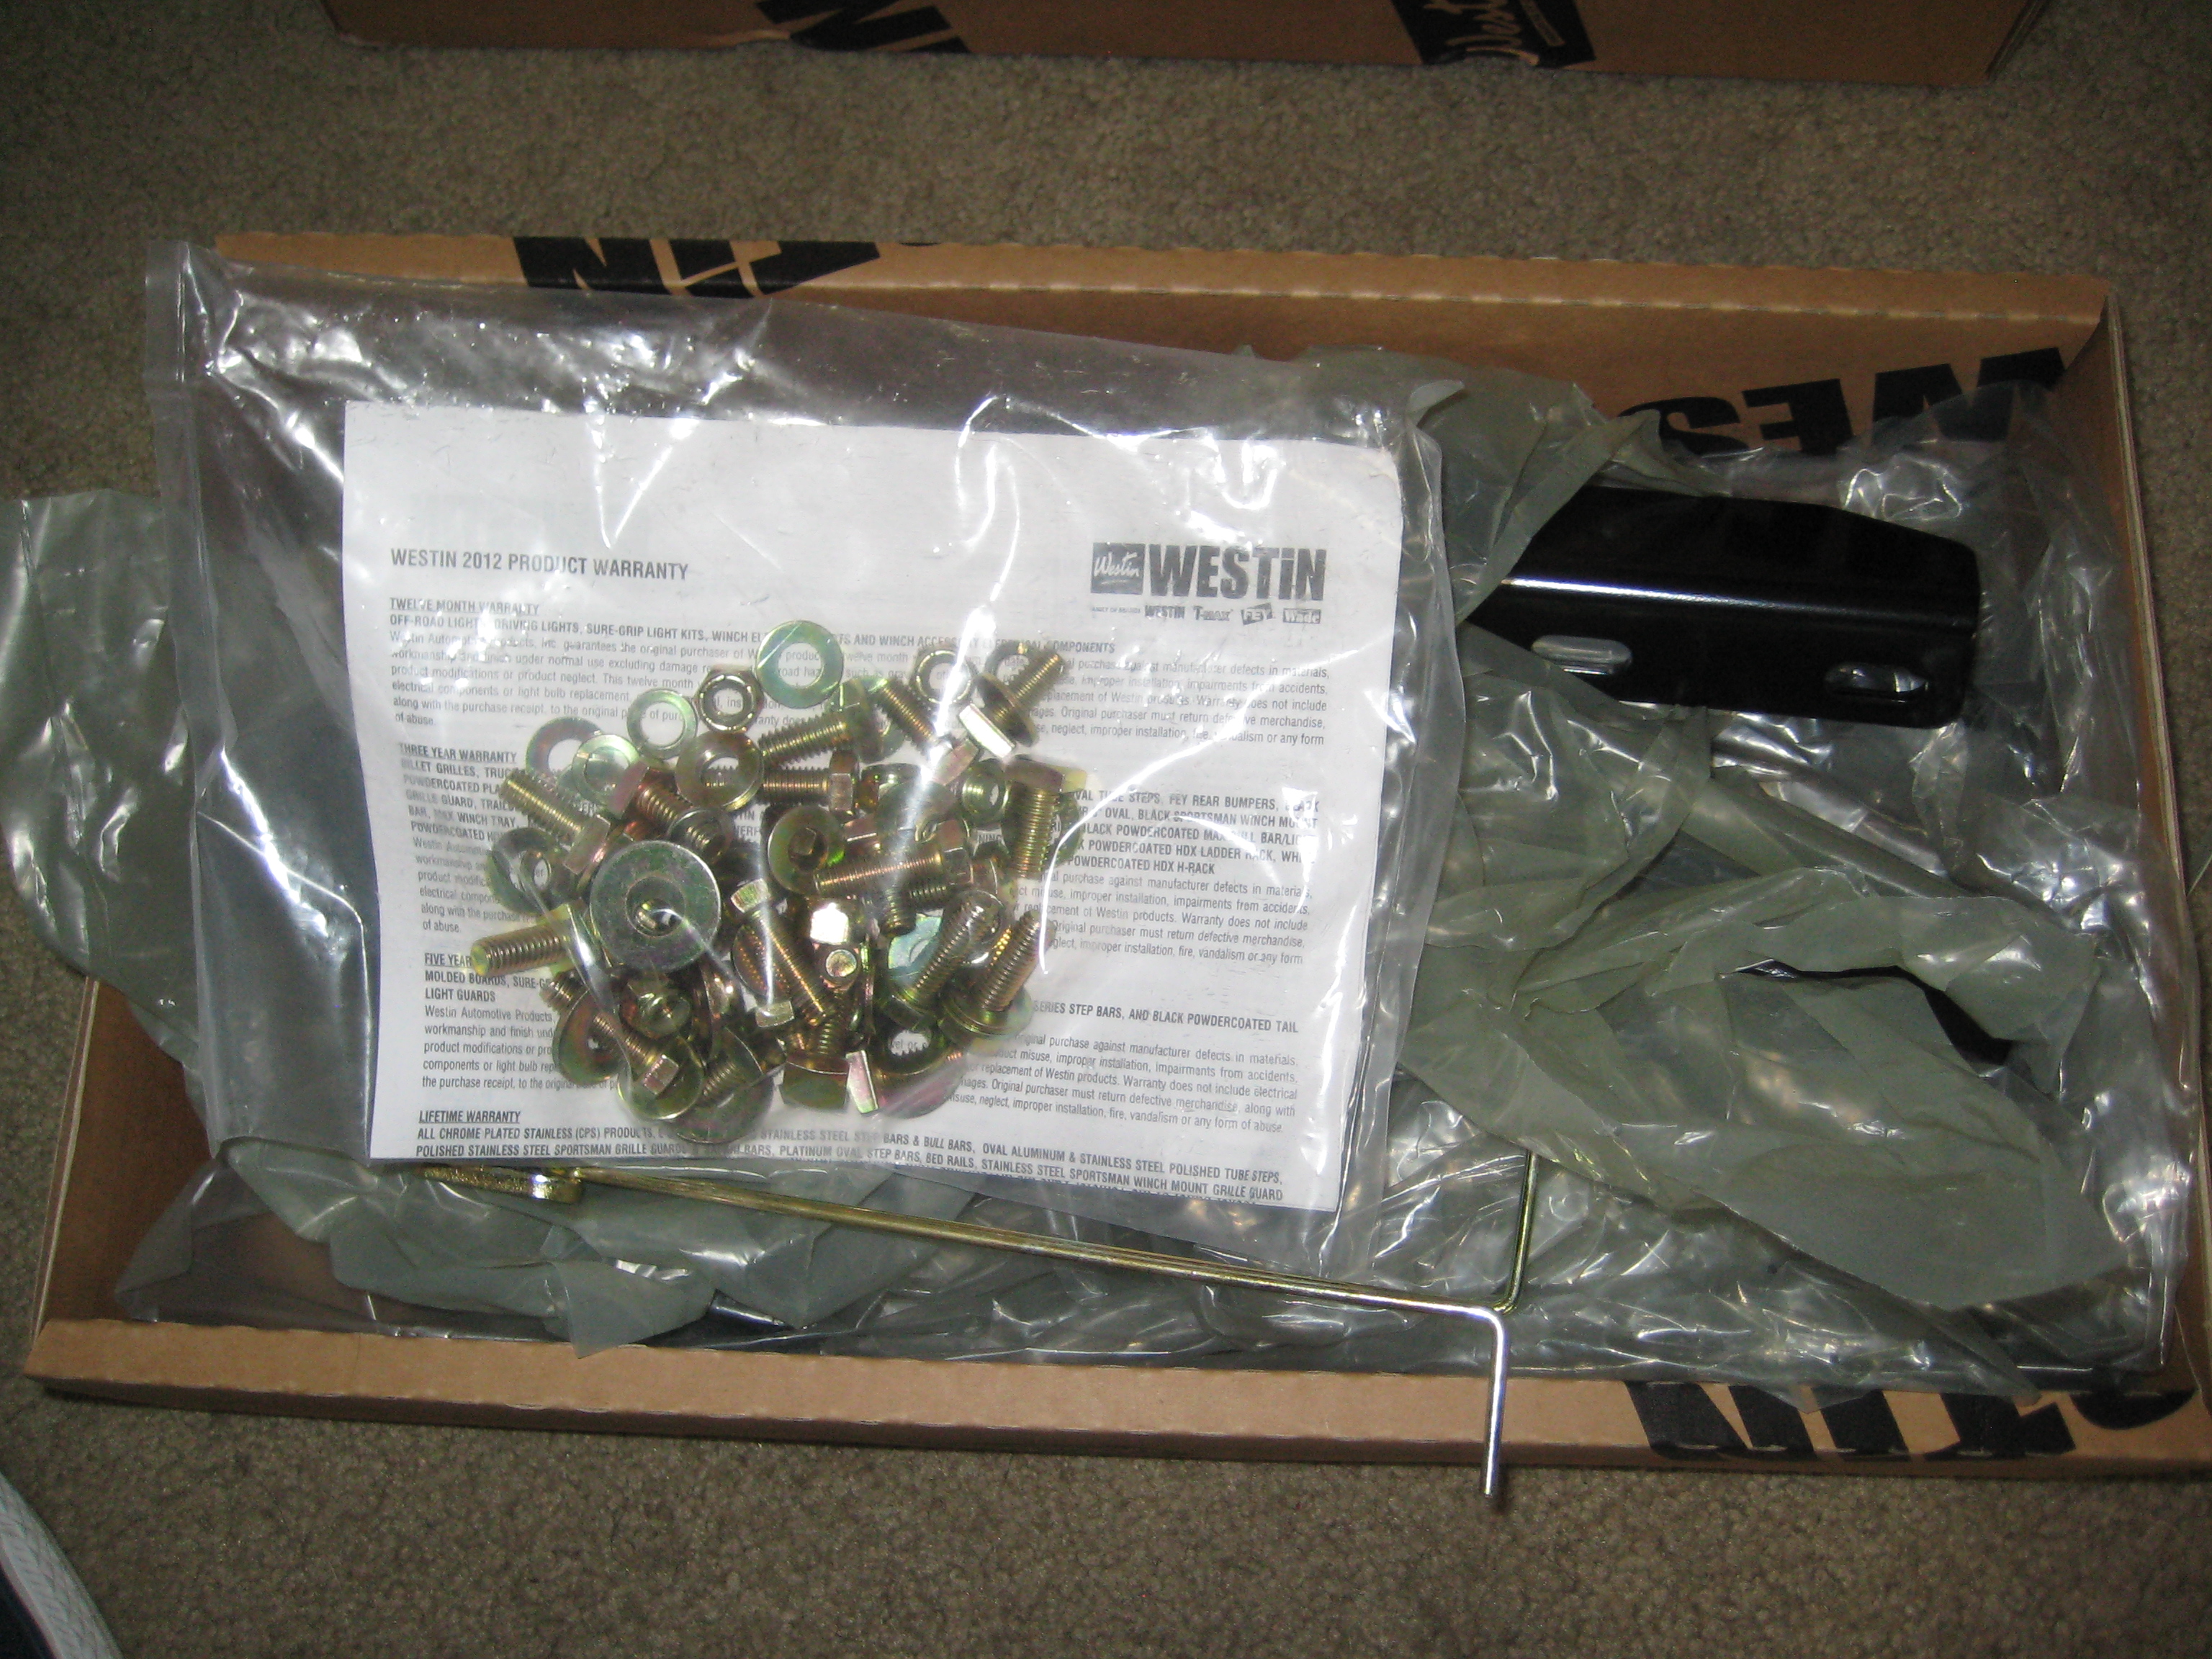
Installation kit and instruction manual
The long slender box contained the running boards. As I opened the box I found them neatly packed and wrapped to avoid scratches. The installation kit arrived next and was much heavier with all of the galvanized hardware, (6) steel brackets and instructions.
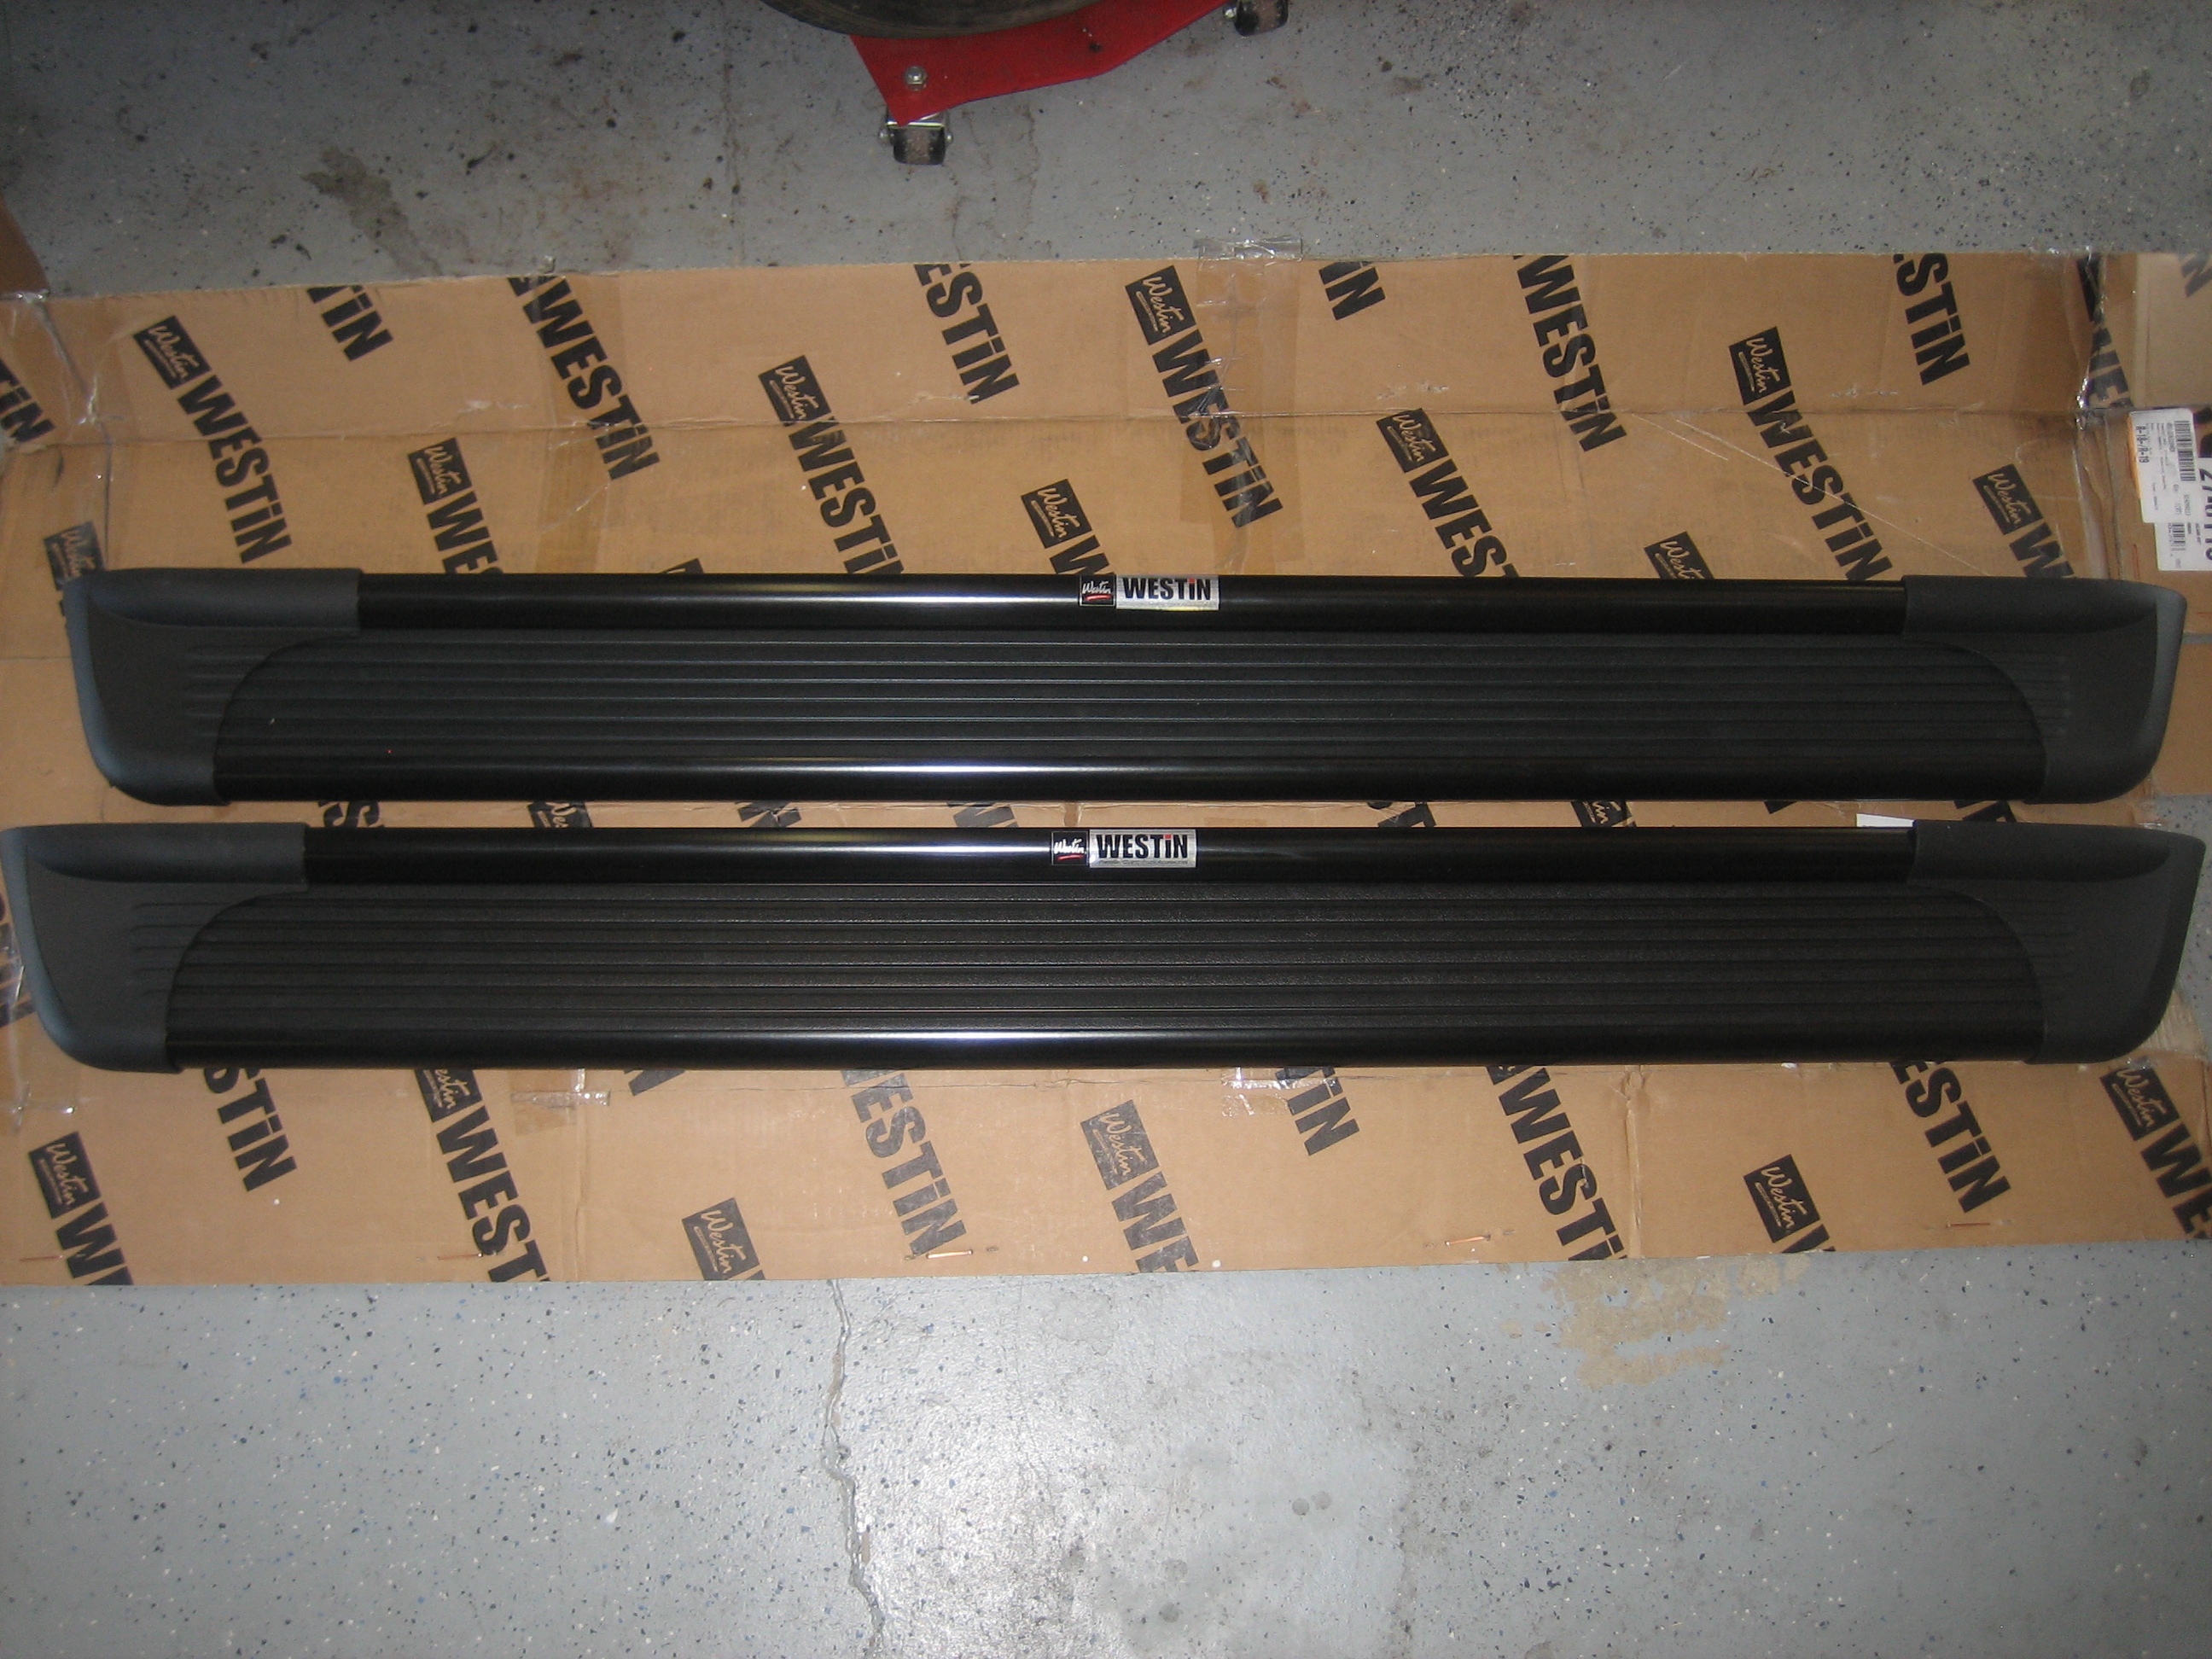
Westin Running Boards
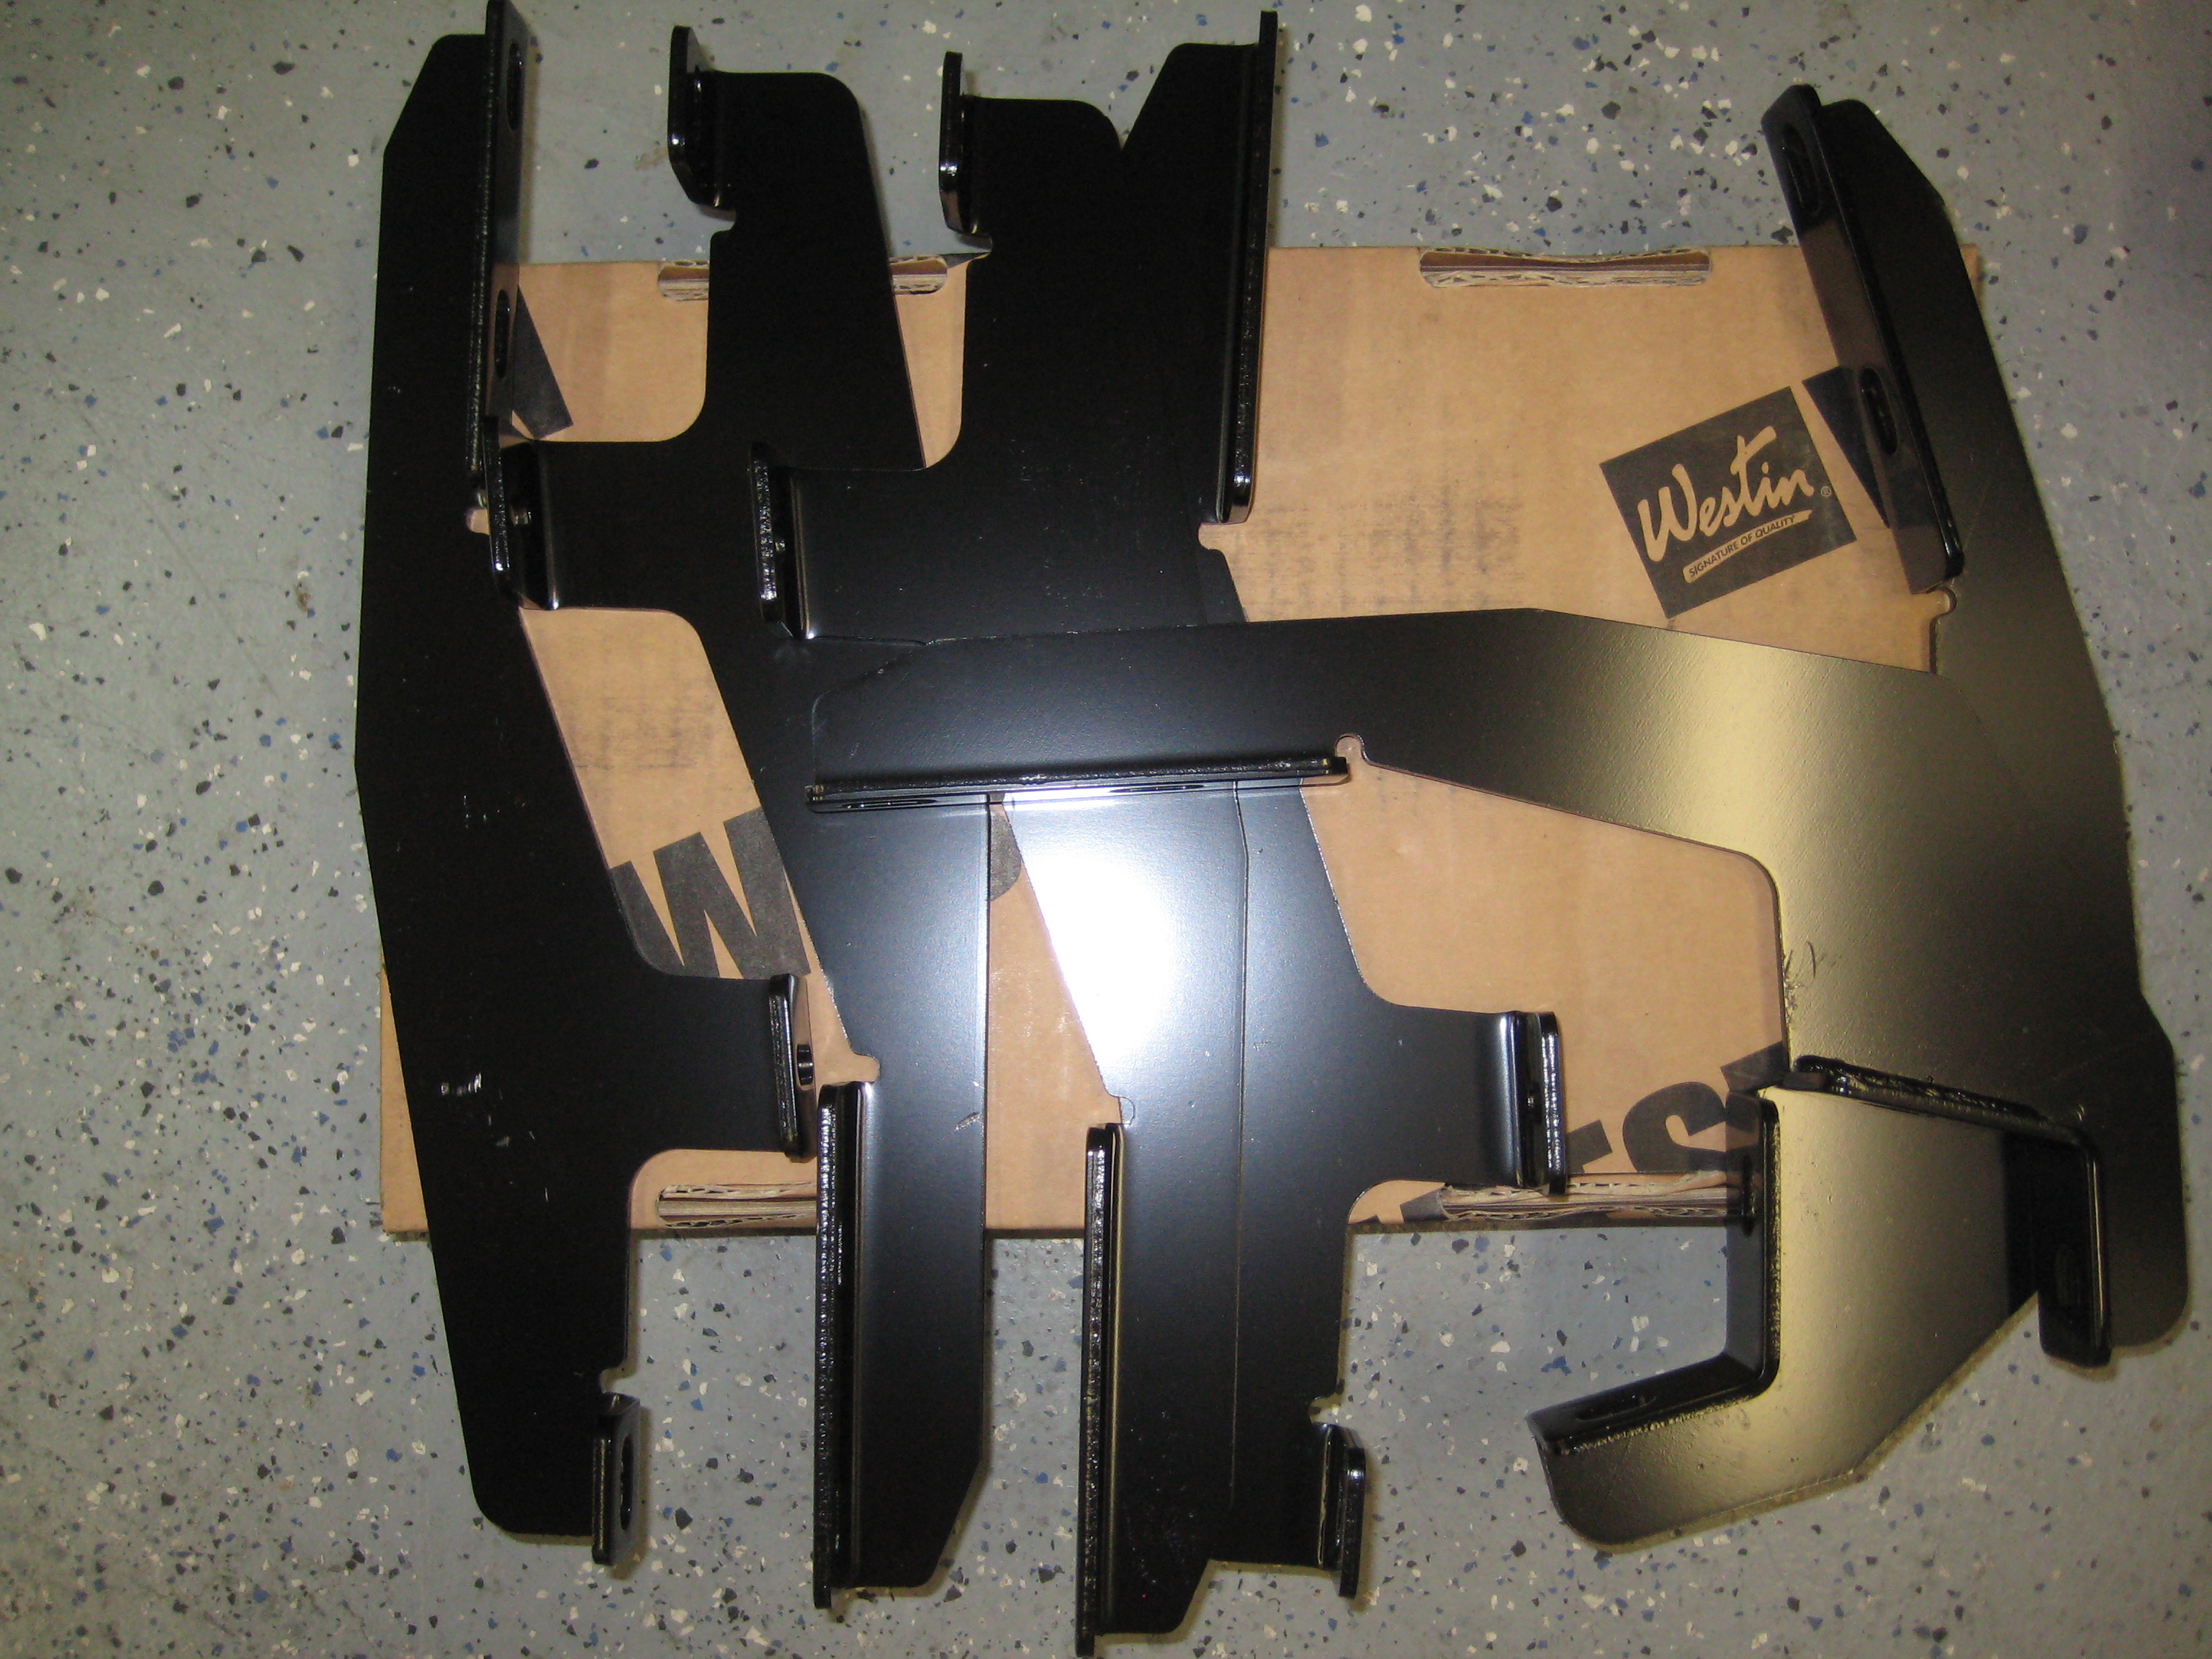
Steel brackets
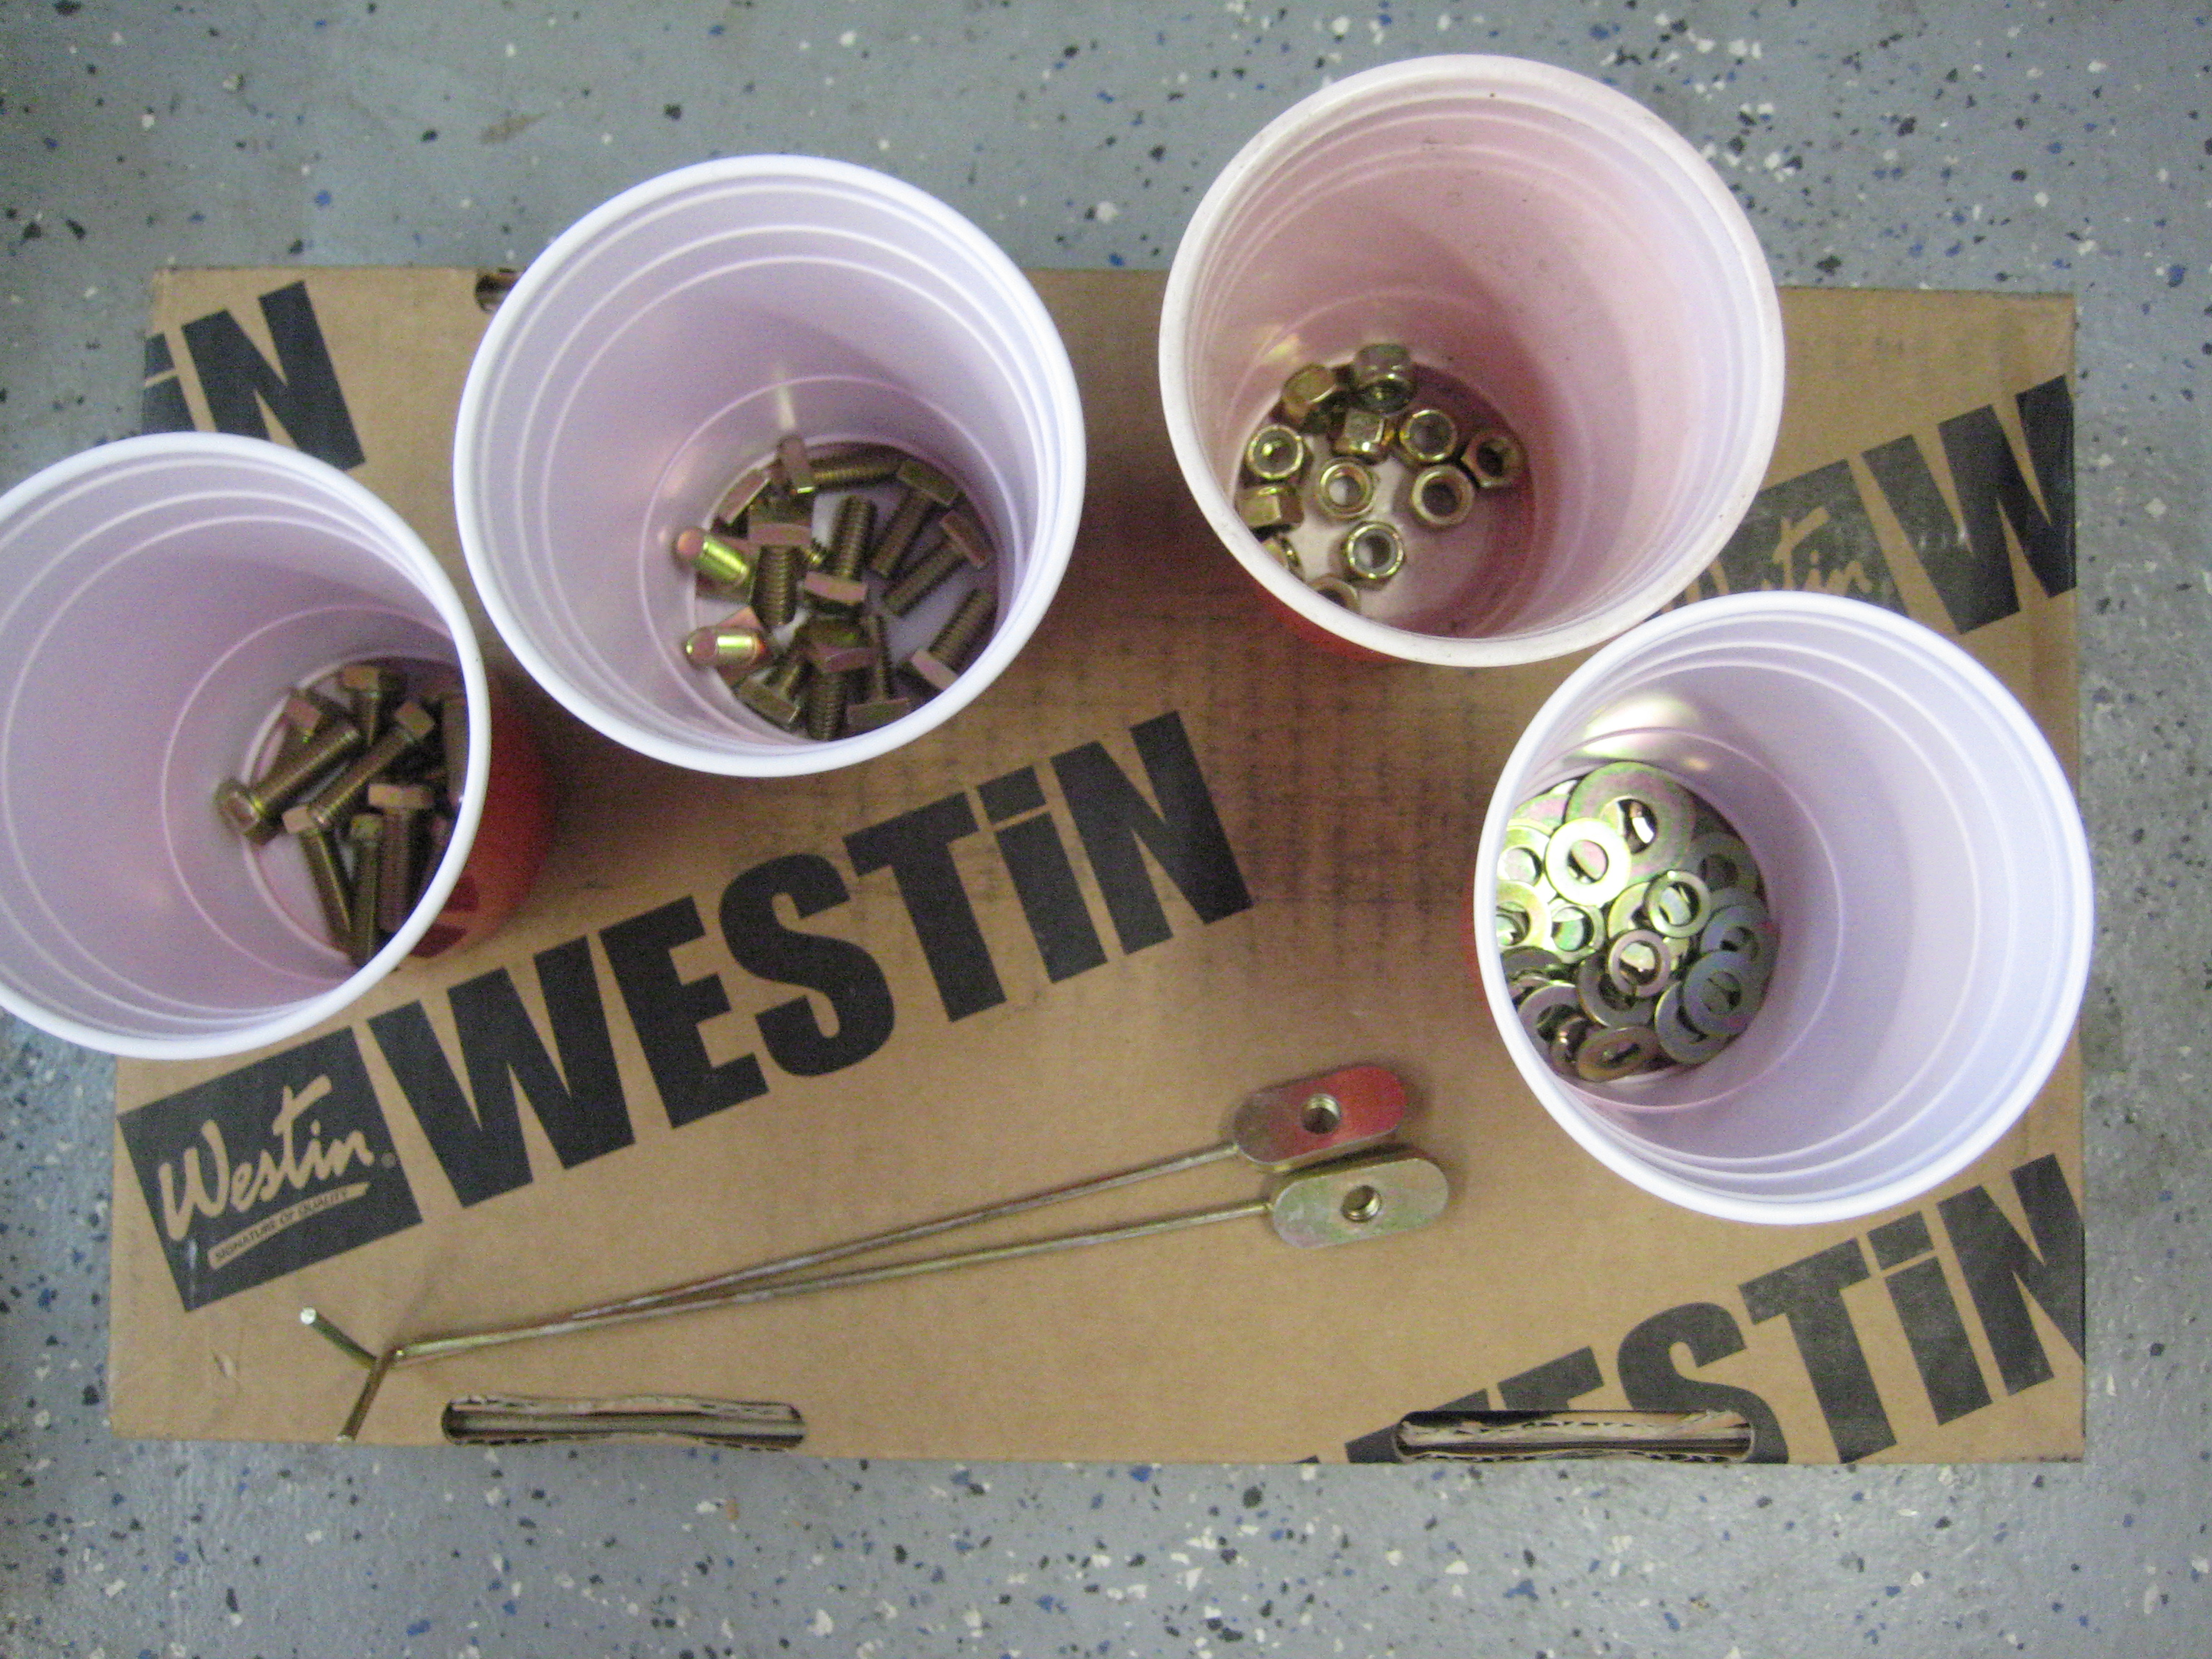
After reviewing the parts and instructions I organized the supplied hardware and laid out the tools required for the job, including a 3/8 drive and 13mm socket. I have a small compressor in the garage so I decided to use my air tools.

Tools needed for the installation
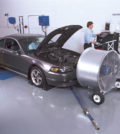
Fortunately the Pilot has enough ground clearance to reach the frame rails so I didn’t need to use a jack or lift. A creeper is handy if you have one at hand.
Installation
To begin with pull out the three support brackets and select one large bracket and two of the smaller brackets and the specific hardware to attach them to the frame rail on the driver side. The larger bracket mounts under the drivers’ door and the two smaller brackets will attach further down the frame rail towards the rear wheel. Once underneath the vehicle it’s a little more challenging to identify the threaded holes for each bracket. A flashlight and a little patience will pay off. If you have some WD-40 around that will help clear any debris out of the holes.
The first two drivers’ side brackets went on easily and the third bracket threw me a bit of a curveball.
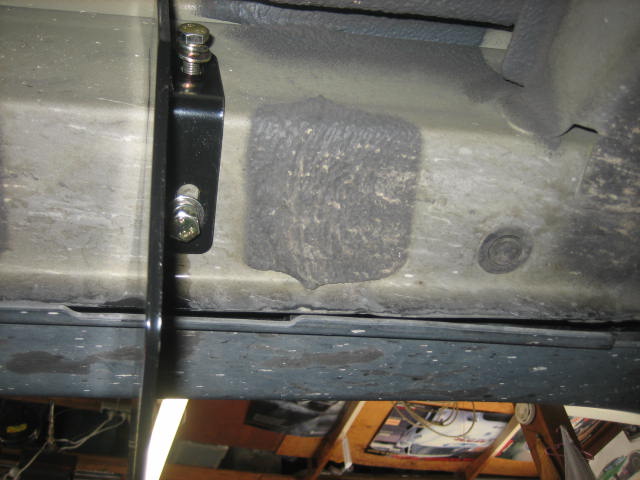
Westins’ instructions point out where the supplied wire nut needs to be inserted (since the hole in the frame isn’t threaded) and I couldn’t get it to fit through the opening in the frame. I realized what the instructions meant to say was that’s where the wire nut should end up and that it should be inserted through one of the larger rubber plugged holes in the frame. Once I figured that out the next challenge was to get the wire nut to stay in position while the third bracket is held in position as I get the bolt threaded. The wire nut is a bit tricky to locate since you are positioning it via “remote control” with the attached wire-small movements translate to big changes in direction. After a few minutes of cursing I had a brainstorm and found a magnet to hold the wire nut in position in the frame while I held the bracket and started the bolt.
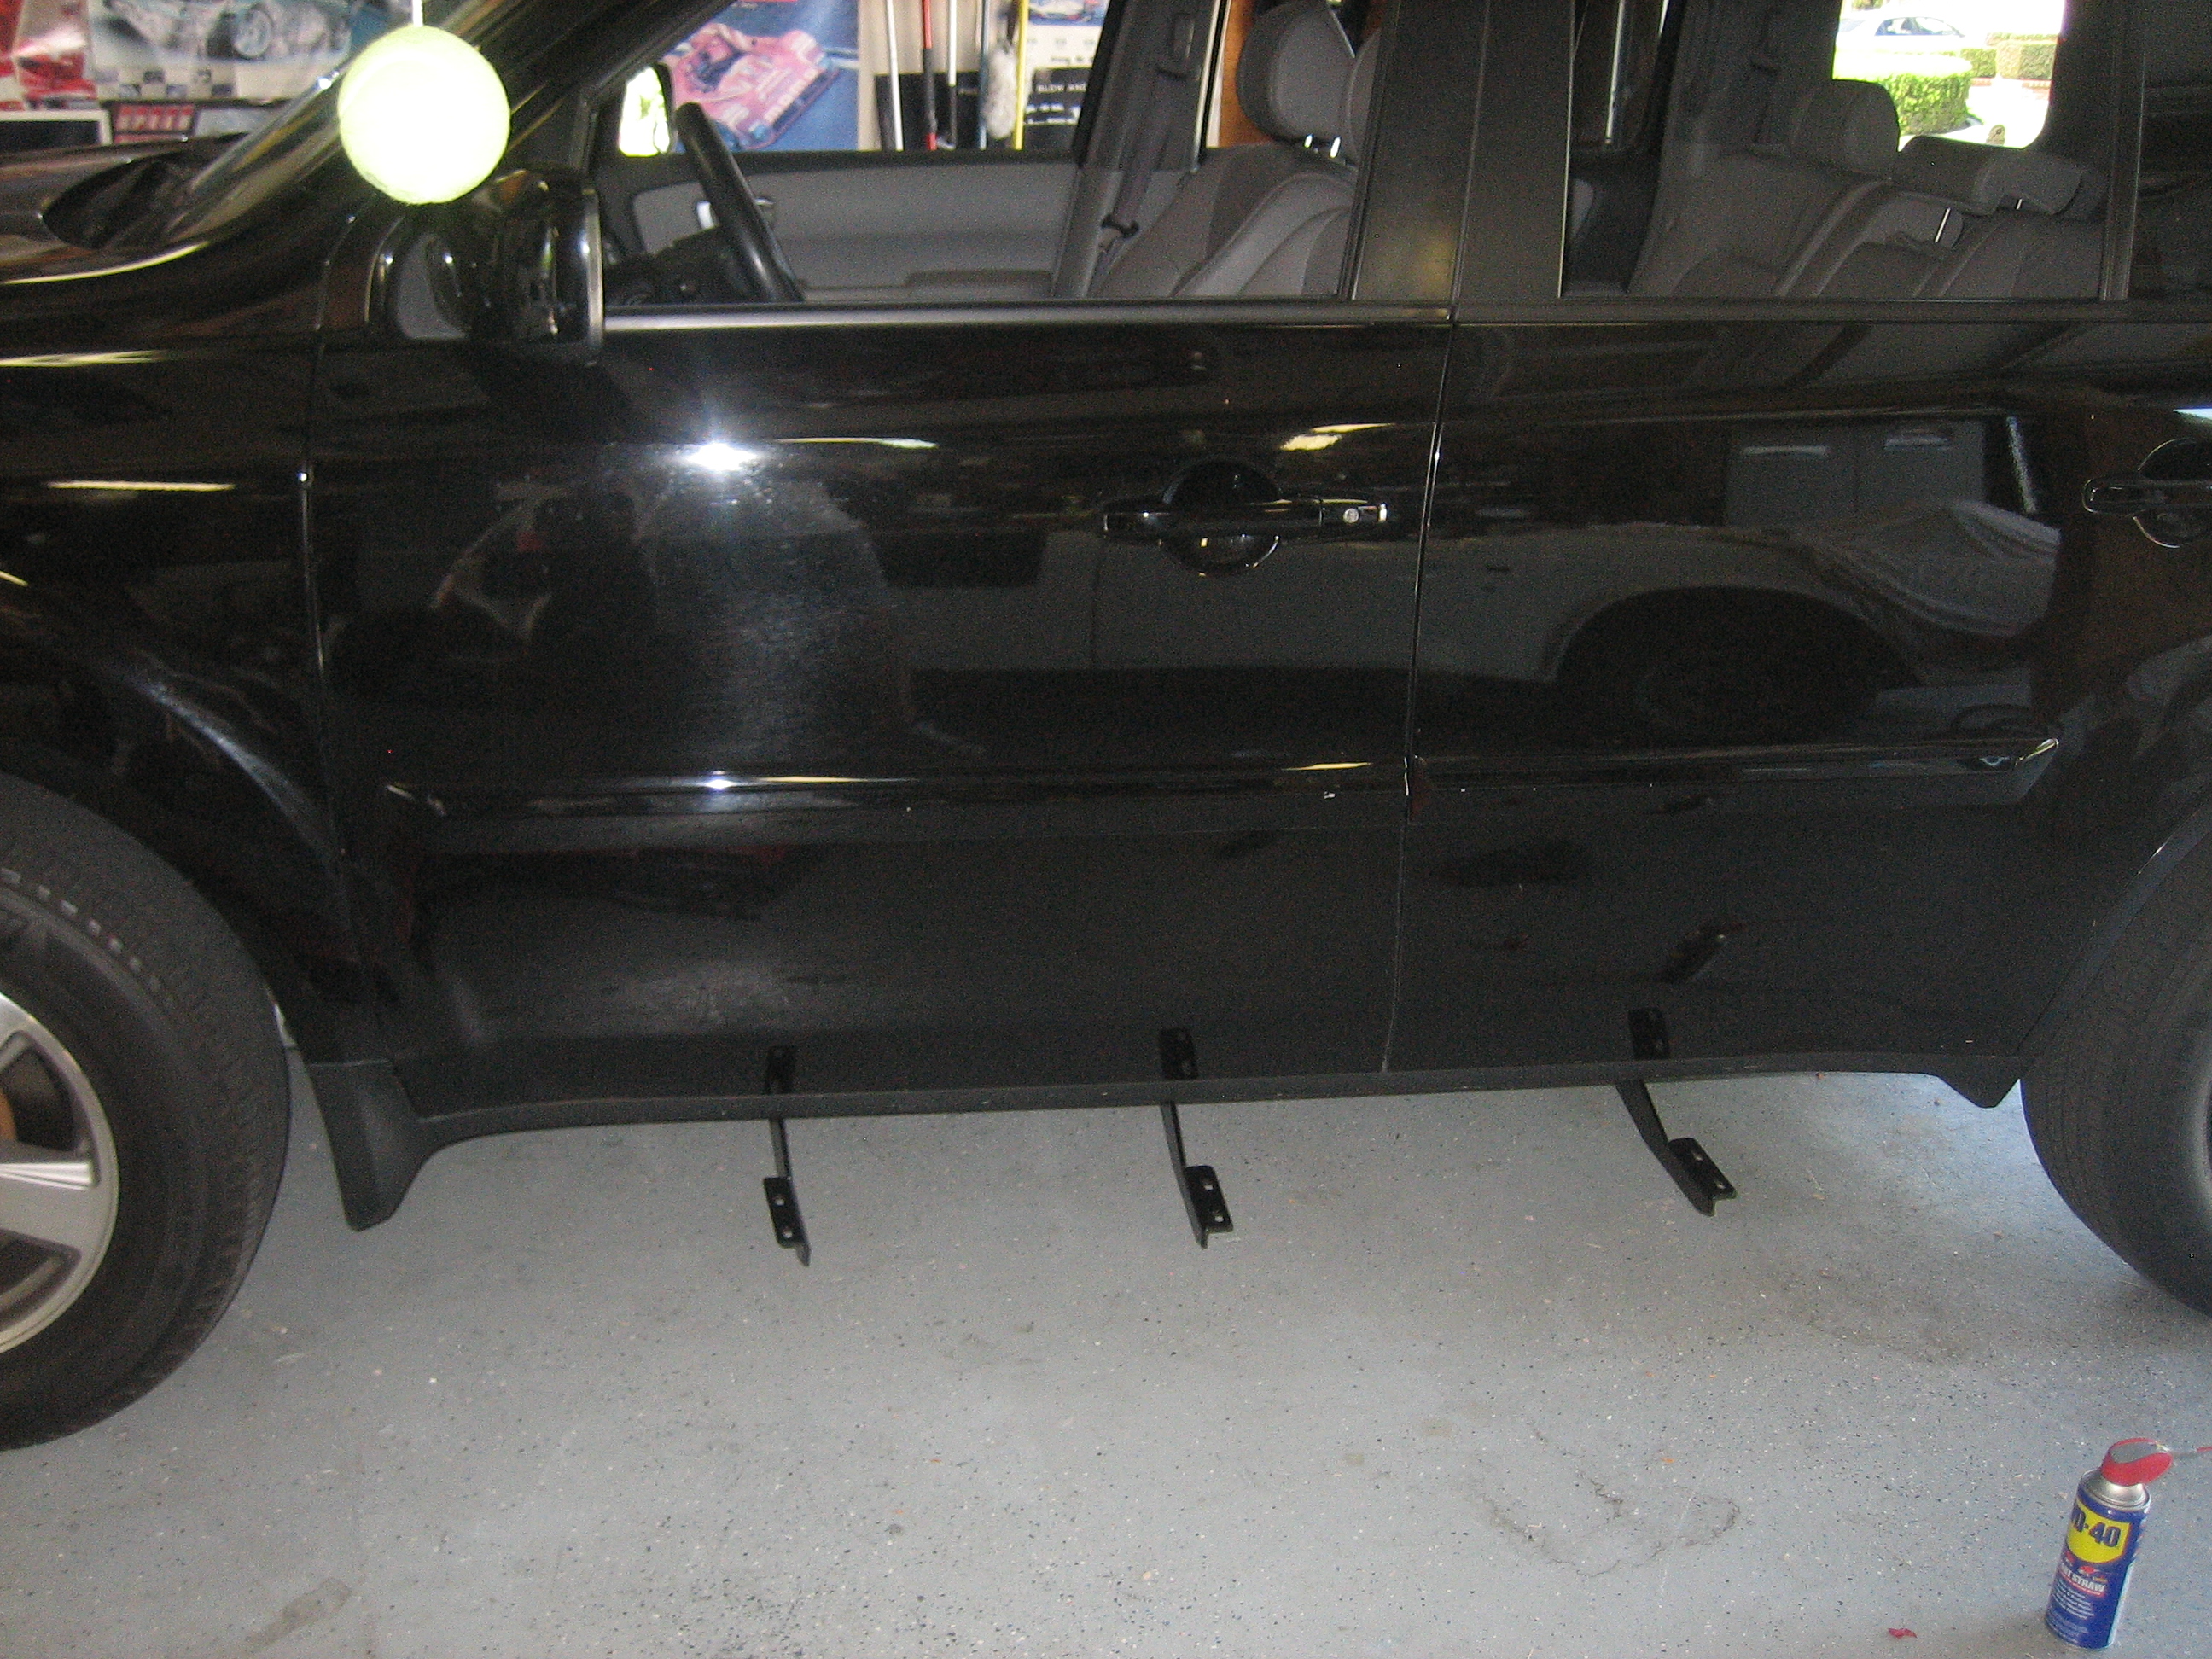
With the lessons learned from the Driver’s side, the passenger side brackets went on more quickly. Since the directions caution against tightening the hardware prior to completing the installation; I placed the running boards on the brackets and hand-tightened the bolts securing the running boards to the brackets.
The bottom line
I found that there was a bit of measuring/eyeballing the running boards between the fenders before I was prepared to tighten all of the fasteners to the recommend specification of 23ft. lbs torque.
Overall, the Westin running board install was painless and took about 90 minutes start to finish. If you are looking for an easy and inexpensive way to dress-up your late model SUV or truck I would highly recommend tackling this project in your garage sometime soon.
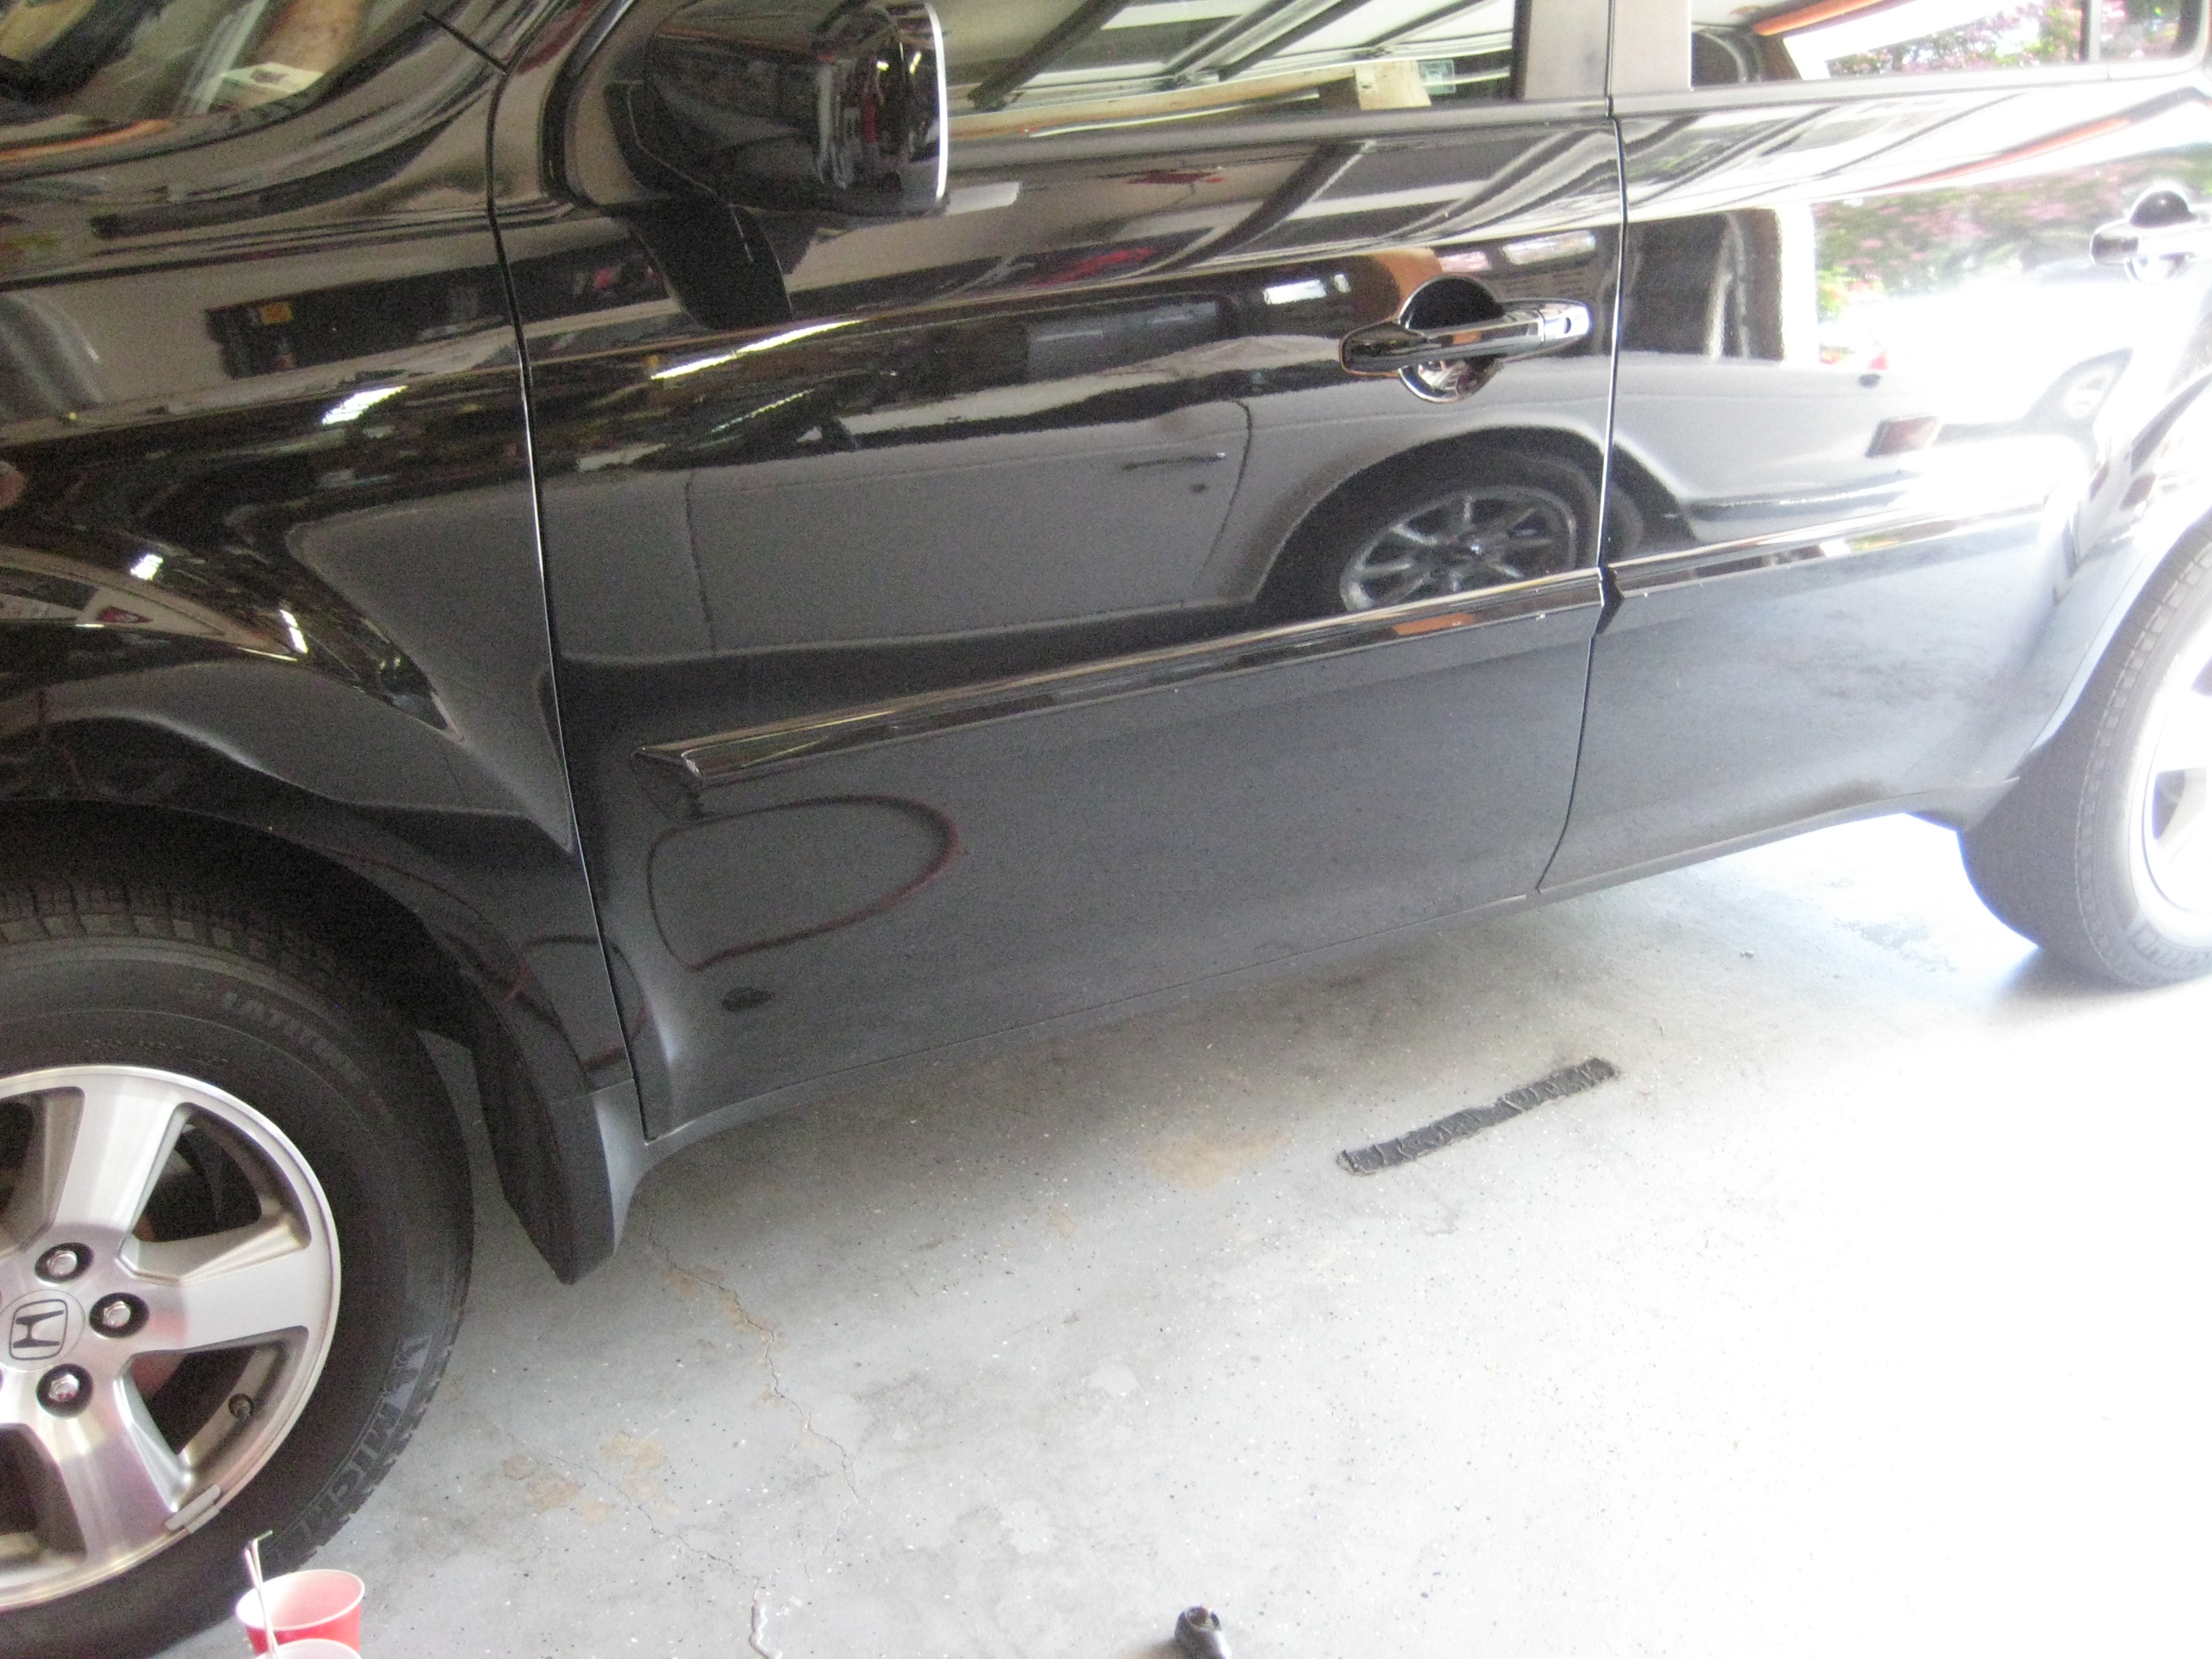
Before installation
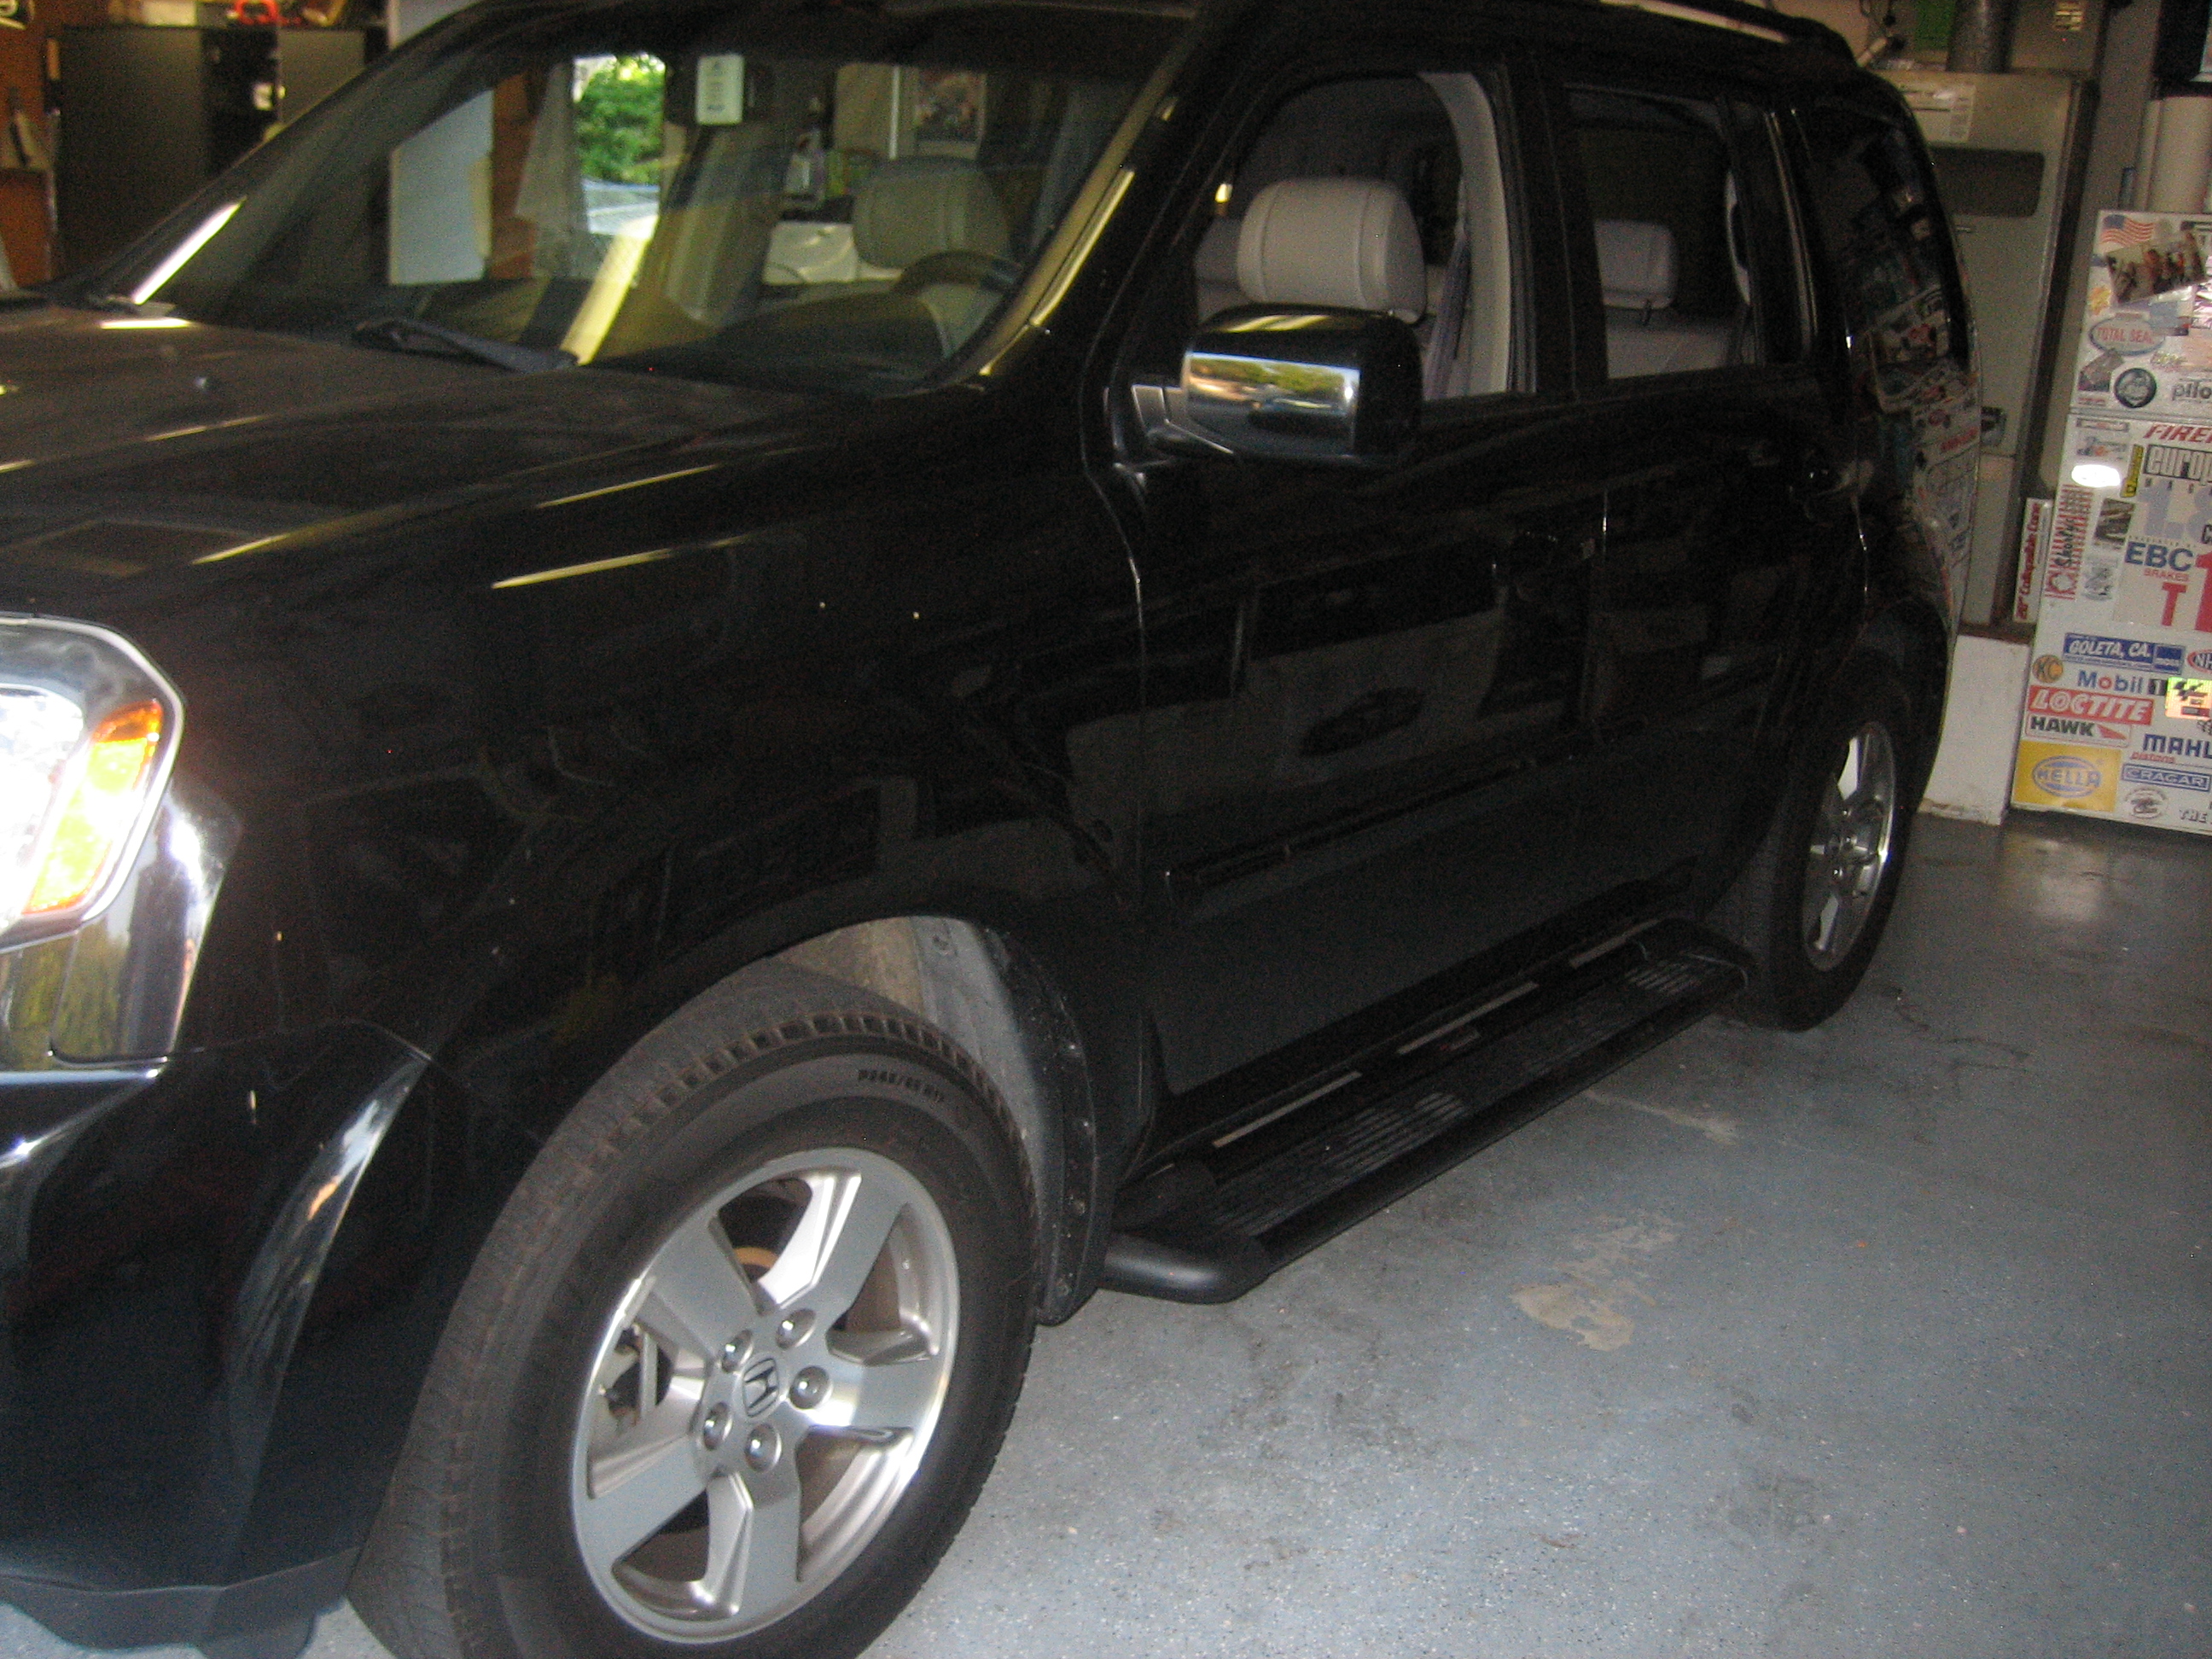
After installation
Related Posts

-
 Kendall Motor Oil Knowledge Session-Things to know about Full Synthetic Motor Oil Additives
By AutoPartsWarehouse Staff, images courtesy of Kendall Motor Oil...
- November 10, 2017
-
 Kendall Motor Oil Knowledge Session-Things to know about Full Synthetic Motor Oil
By AutoPartsWarehouse Staff, images courtesy of Kendall Motor Oil...
- November 10, 2017
-
 Autolite Iridium XP Spark Plug Install
by Steve and Gavin Maloof The guys at AutoPartsWarehouse...
- August 2, 2017
-
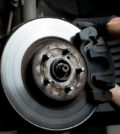 Car Care 101: Common Reasons Why Your Brakes Squeak
Does it bother you when you hear unusual noises...
- June 28, 2017
-
 Car Care Checklist for Summer: Part II
Here are more things to consider to get your...
- June 24, 2017
-
 Top Five Auto Parts the Average Consumer Should Purchase Online — and Here’s Why!
AutoPartsWarehouse.com says the Internet is the best place for...
- January 21, 2013
-
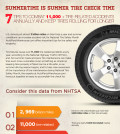 Summertime is Summer Tire Check Time: 7 Tips To Combat 11,000+ Tire-Related Accidents Annually — and Keep Tires Rolling for Longer
U.S. drivers put almost 3 billion miles on their...
- June 4, 2014
-
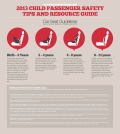 AutoPartsWarehouse.com 2013 Child Passenger Safety Tips and Resource Guide
A Wake Up Call On Child Passenger Safety The...
- September 12, 2013
-
 6 Amazing Classic Car Restorations
Restoring old cars always come with a hefty price...
- November 24, 2014
-